
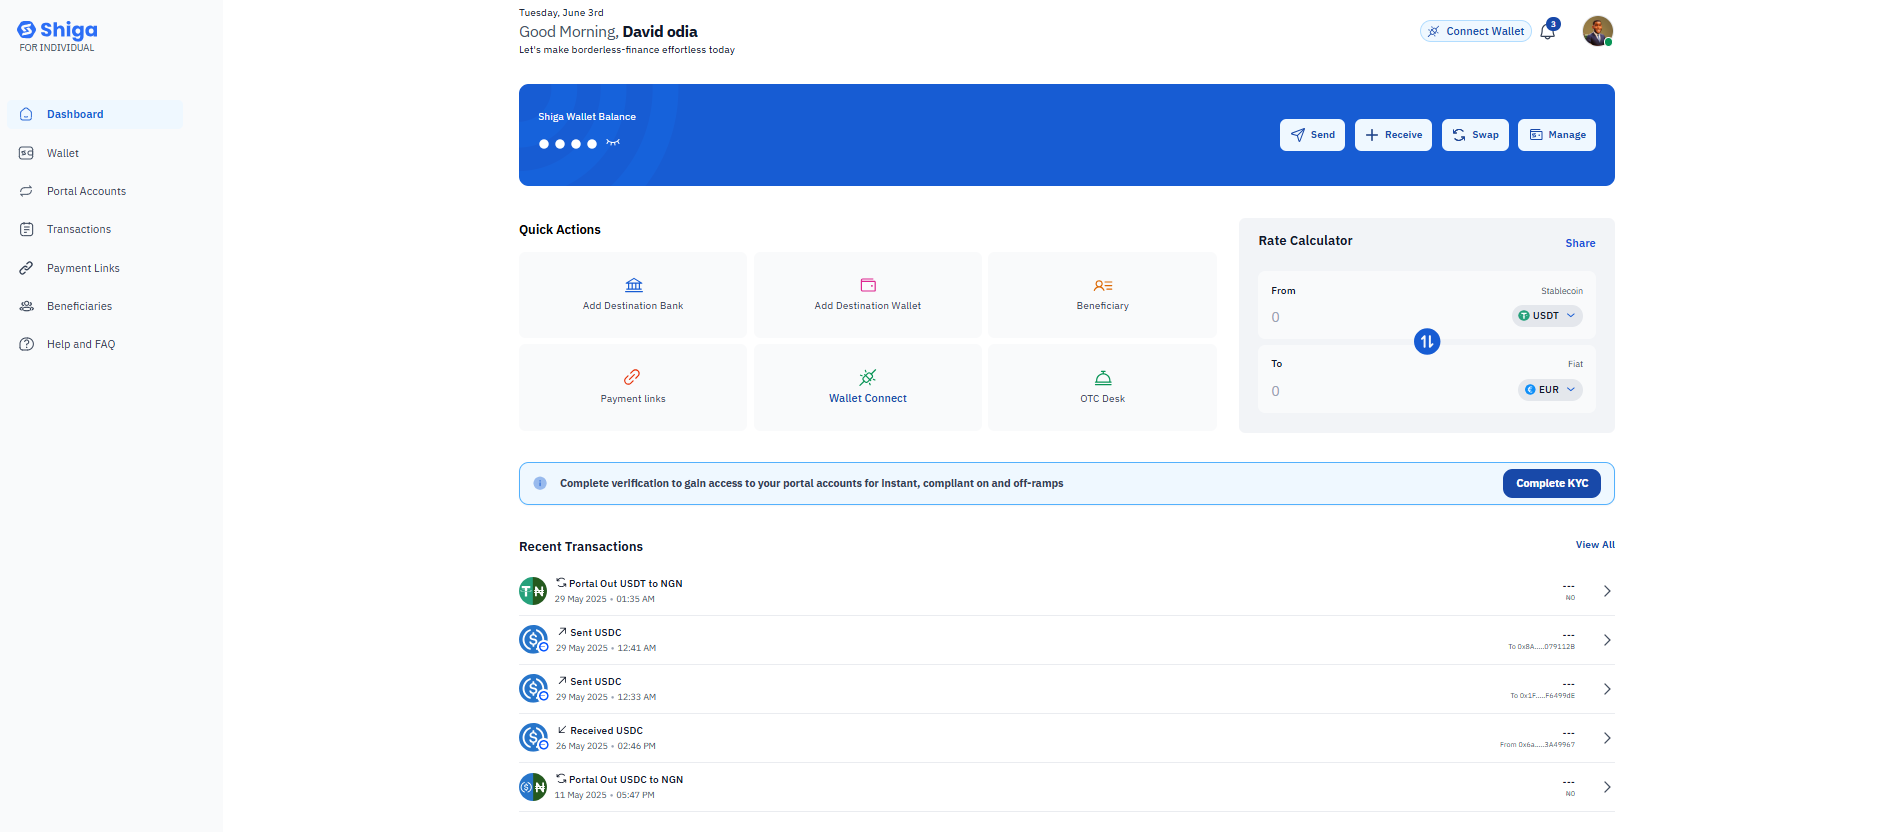
- Log in to your Shiga account.
- Reuse the same email address or mobile number to create a new Shiga account.
- Verify another account using the same KYC documents (if applicable).
-
Access or reactivate any Subaccounts linked to your Main Account.
How to Deactivate Your Shiga Account
Method 1: When Logged In (Self-Service).
-
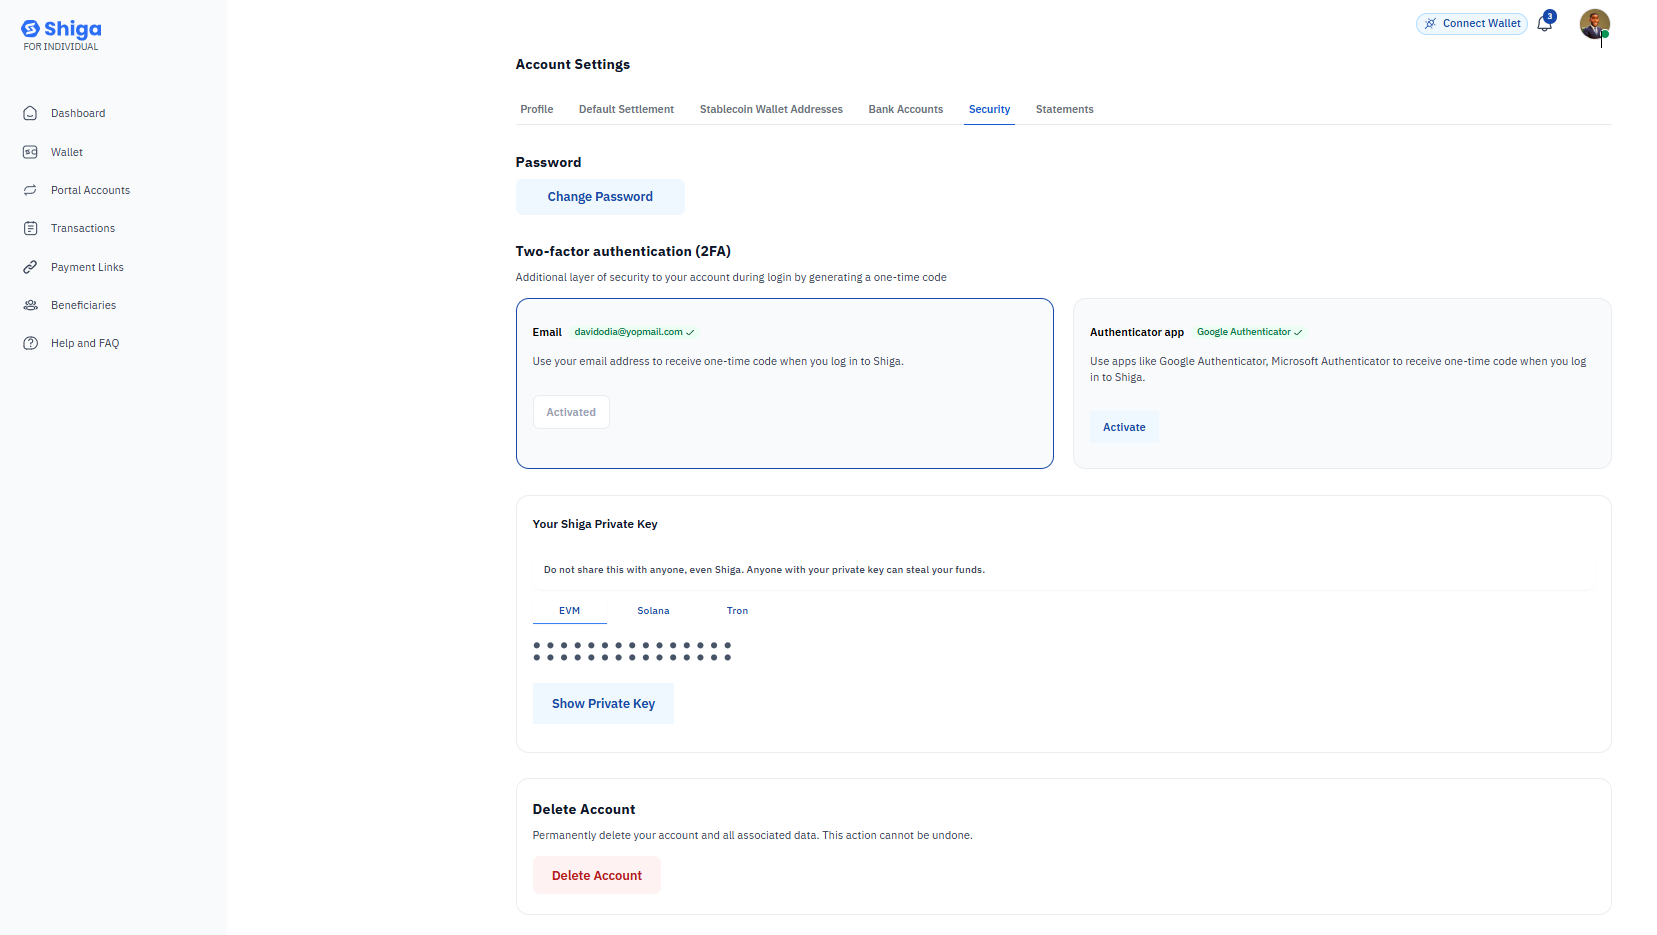
Navigate to Security Settings
- Log in to your Shiga account.
- Click your profile icon (top-right corner).
-
Select Settings → Account & Security.
-
Initiate Deactivation
- Under Account Activities, click Deactivate Account
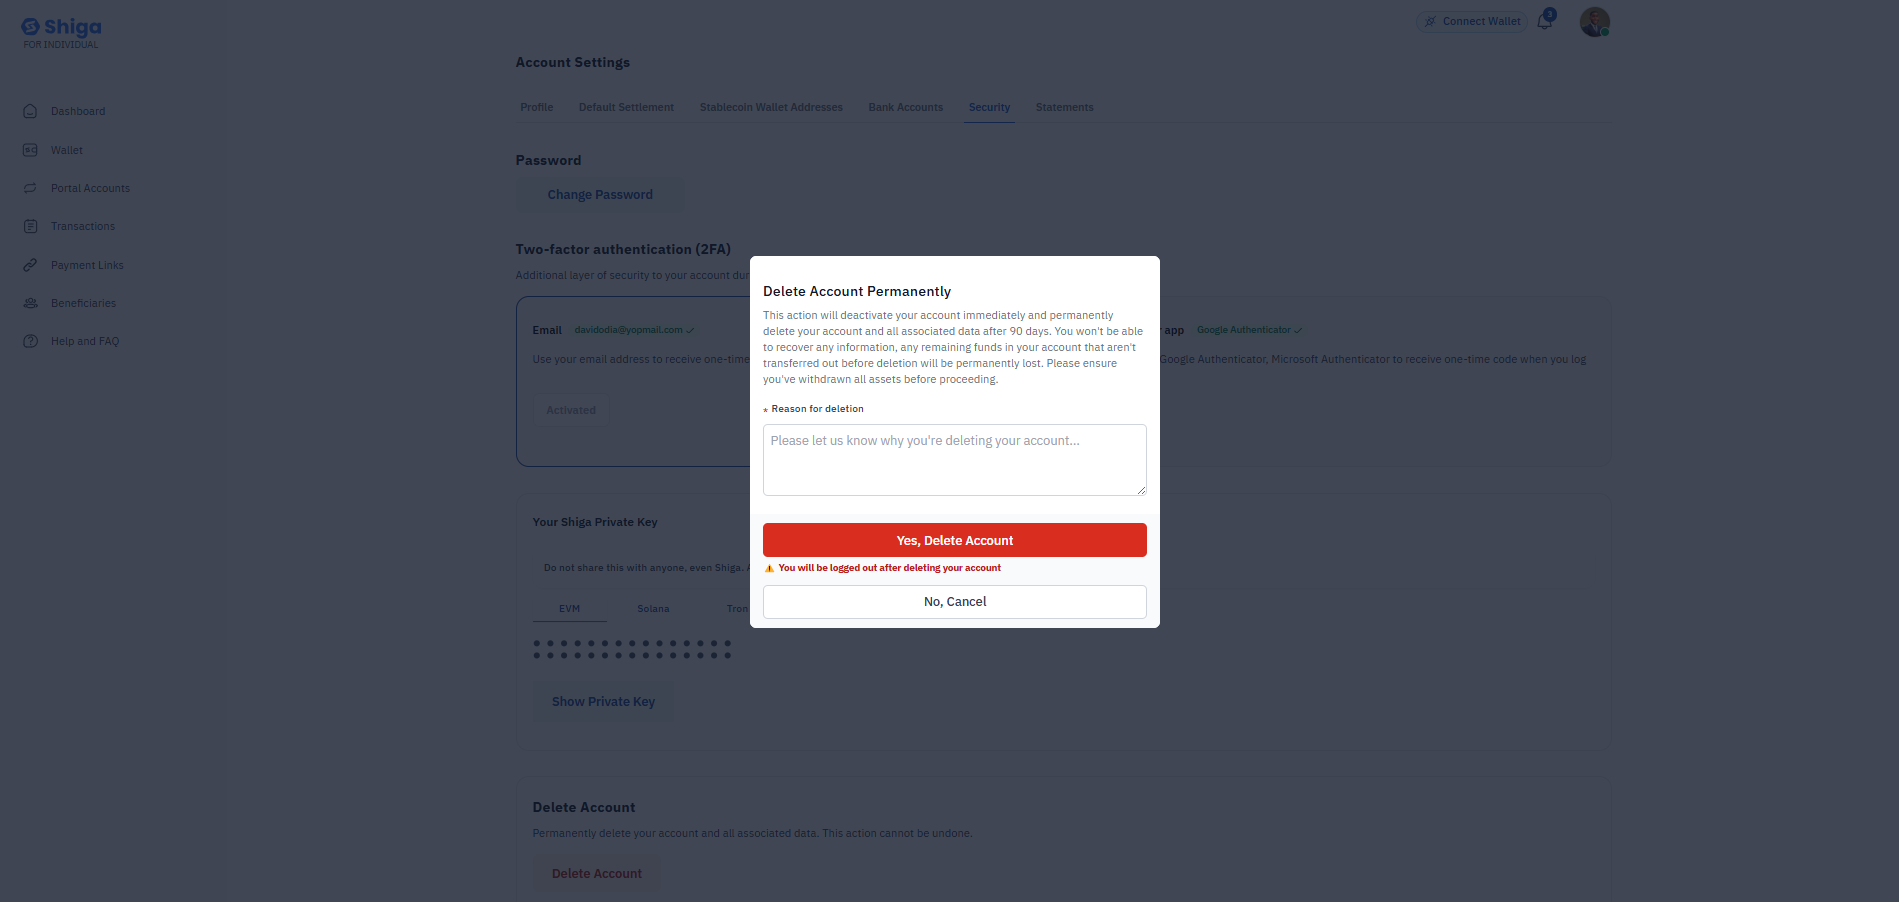
- Select your reason:
- Suspicious activity (for compromised accounts)
- Discontinuing use (voluntary closure).
- Other (describe in text box).
-
Confirm Deactivation
- Review consequences (see warnings below).
- Click Confirm to finalize.
Method 2: When Logged Out (Assisted Process)
Start deactivation Request- Visit Shiga Contact Page
- Write us a message and we’ll get in touch via email.
Immediate Effects
- Login access revoked permanently.
- Registered email/phone cannot be reused.
- KYC-verified documents are permanently linked.