

Individual Onboarding Overview
Opening a personal Enta account gives you a crypto wallet that can hold, send and spend USD₮, XAU₮ and Bitcoin. The sign-up screen puts it plainly: “Setup wallet to hold, send, and spend USD₮, XAU₮ and Bitcoin in three quick steps.”This is the individual path. If you’re opening an account for a company, start with Business Overview instead — that route adds business verification and owner invitations.
The two stages
Getting fully set up happens in two stages, and you can use Enta between them. Stage 1 — create your account. You choose a personal account, confirm your email, and create a passkey. At the end of this you have a working wallet and you’re a Tier 1 user. See Sign up.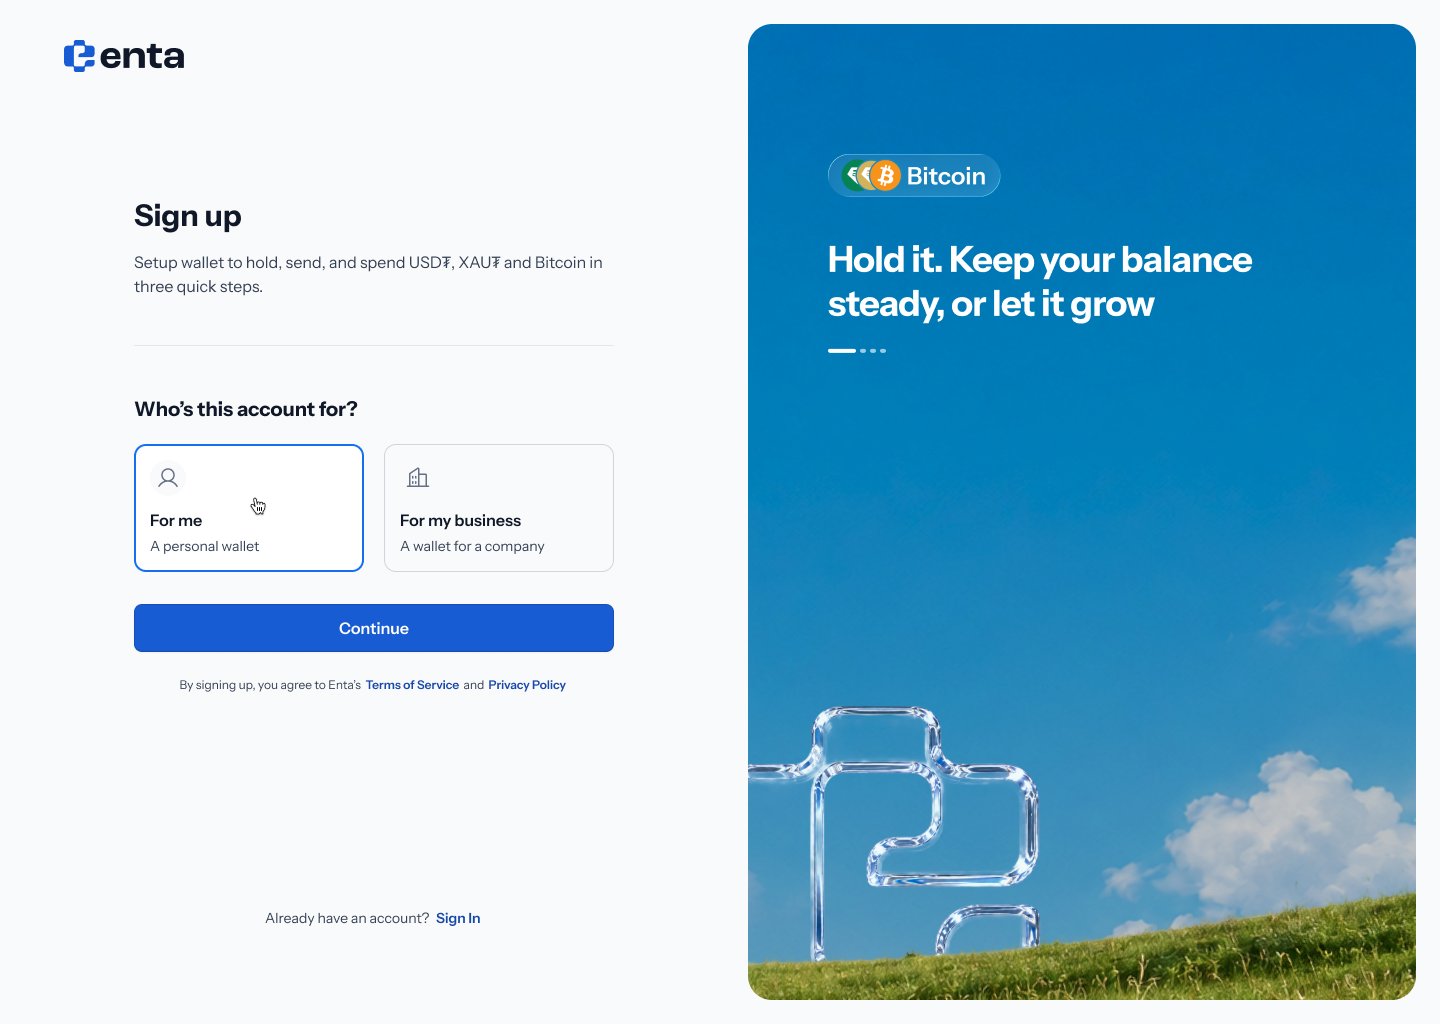
What each tier can do
Tier 1 — your wallet works immediately. You can send, swap and receive crypto, and your Dashboard shows a zero balance until you fund it. A prompt sits at the top of the page headed “Make the most of Enta, verify your identity”, tracking how far through verification you are.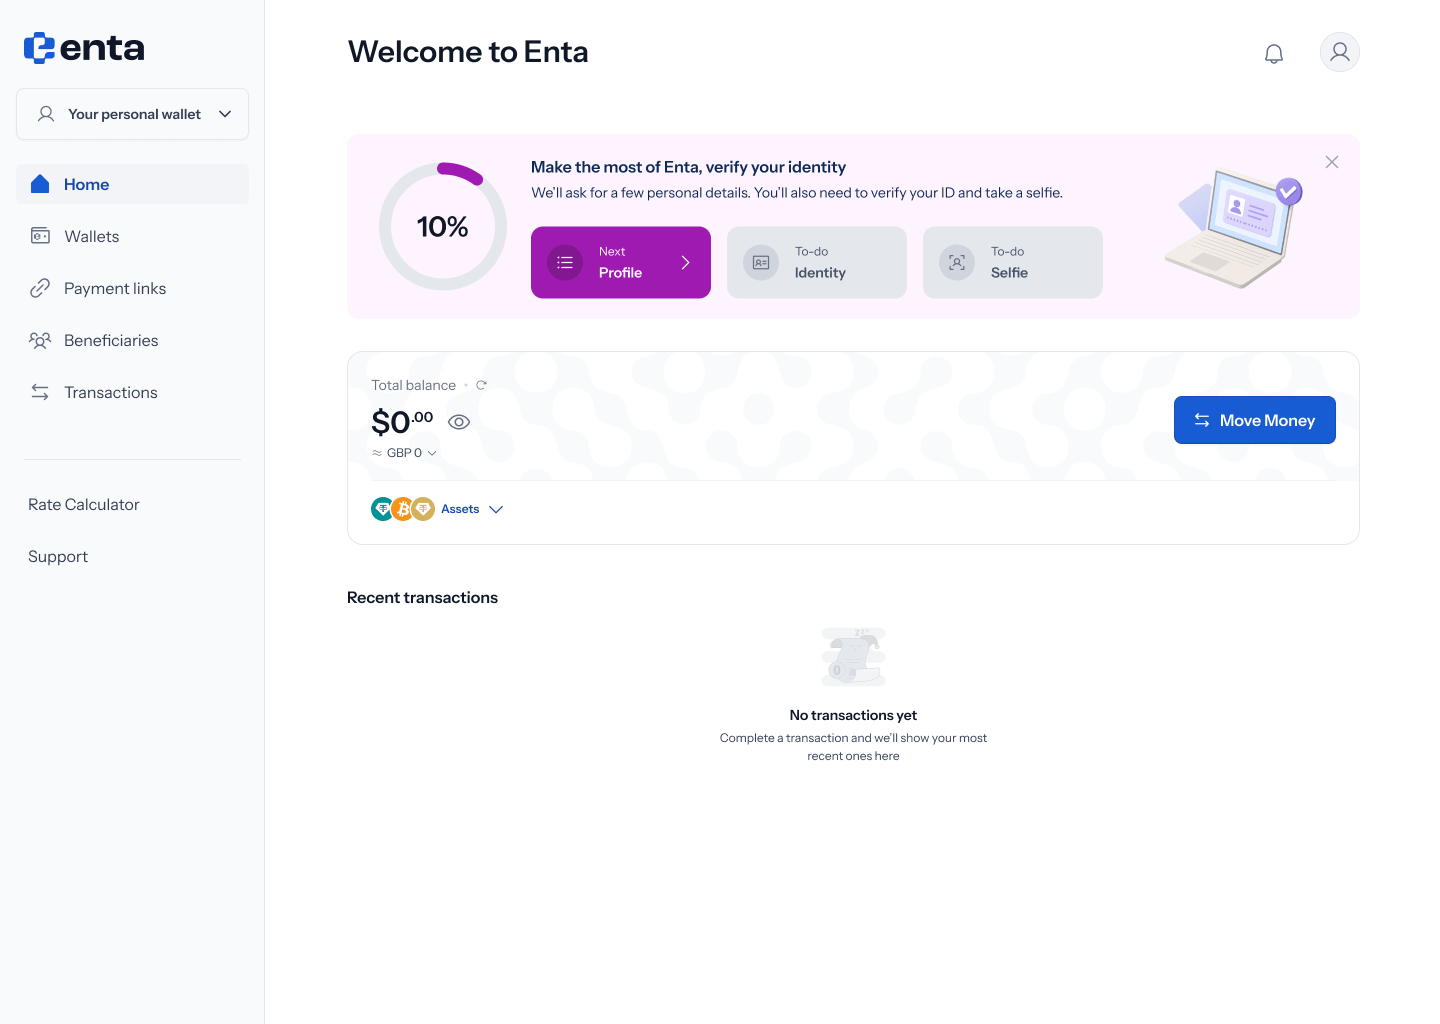
.png?fit=max&auto=format&n=Baykm_7aZyi0IY2t&q=85&s=2c2c2d23db7d000f73553a198b68912c)
No passwords
Enta doesn’t use passwords at all. Your account is locked to your device with your face or fingerprint, using a passkey. The explainer panel during sign-up describes it as “a safer way to sign in. Your device or password manager stores it securely, and you unlock it with your face or fingerprint.” Two things follow from that. Passkeys can sync across your devices — “Apple, Google or your password manager can sync it for you” — and they’re phishing-proof, because “Passkeys only work on the real Enta site”.What you’ll need before you start
- An email address you can open right now — the first step sends you a link
- A device with Face ID, Touch ID, fingerprint, or Windows Hello
- For verification: your legal name and date of birth as they appear on your ID, your address, a government-issued ID, and a few minutes to take a selfie
- For Naira transactions specifically: your BVN and NIN