

KYC (Individual)
Verifying your identity moves you from Tier 1 to Tier 2, which unlocks converting between crypto and regular money. It’s three steps — Profile, Address, Identity — after a short intro screen, and a progress bar across the top tracks where you are.Verifying a company account is a different, longer process. See KYB Landing.
1. Choose your currencies
Verification starts at “Unlock currency transactions” — “Convert from EUR, GBP, NGN and more to crypto and back”. Under “Select currency needed” pick the currencies you plan to use: Euro, Pound, Naira. You can select more than one.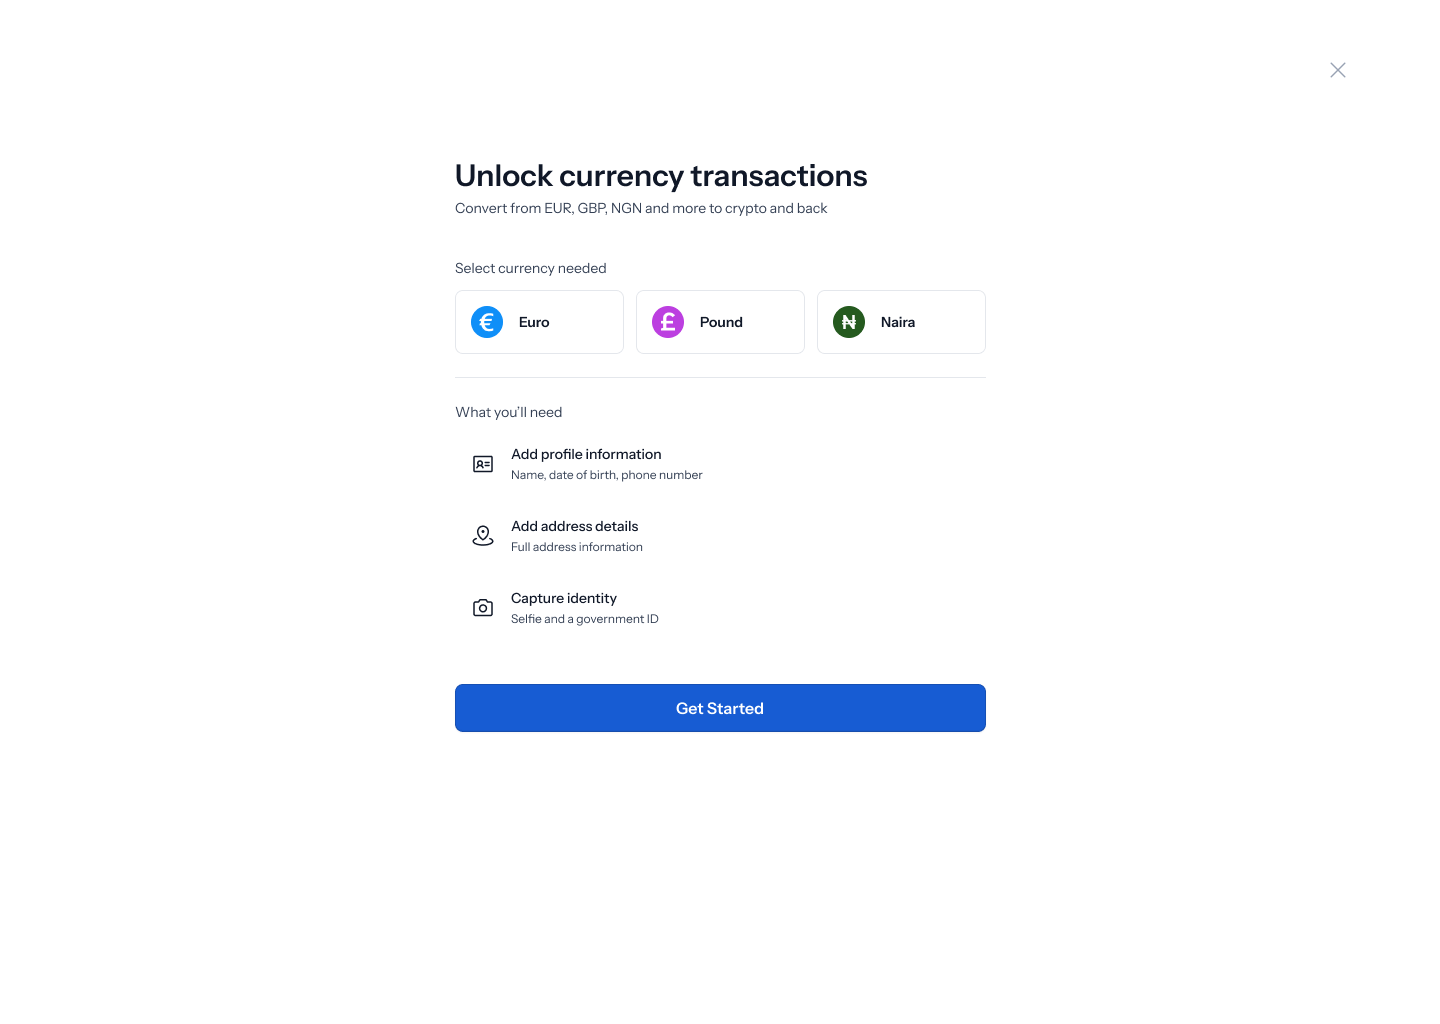
- Add profile information — “Name, date of birth, phone number”
- Add address details — “Full address information”
- Capture identity — “Selfie and a government ID”
Selecting Naira changes what’s required. The profile line expands to “Name, date of birth, phone number, BVN, NIN”, and a checkbox appears that you must tick: “I understand that BVN and NIN are required for Naira transactions”.
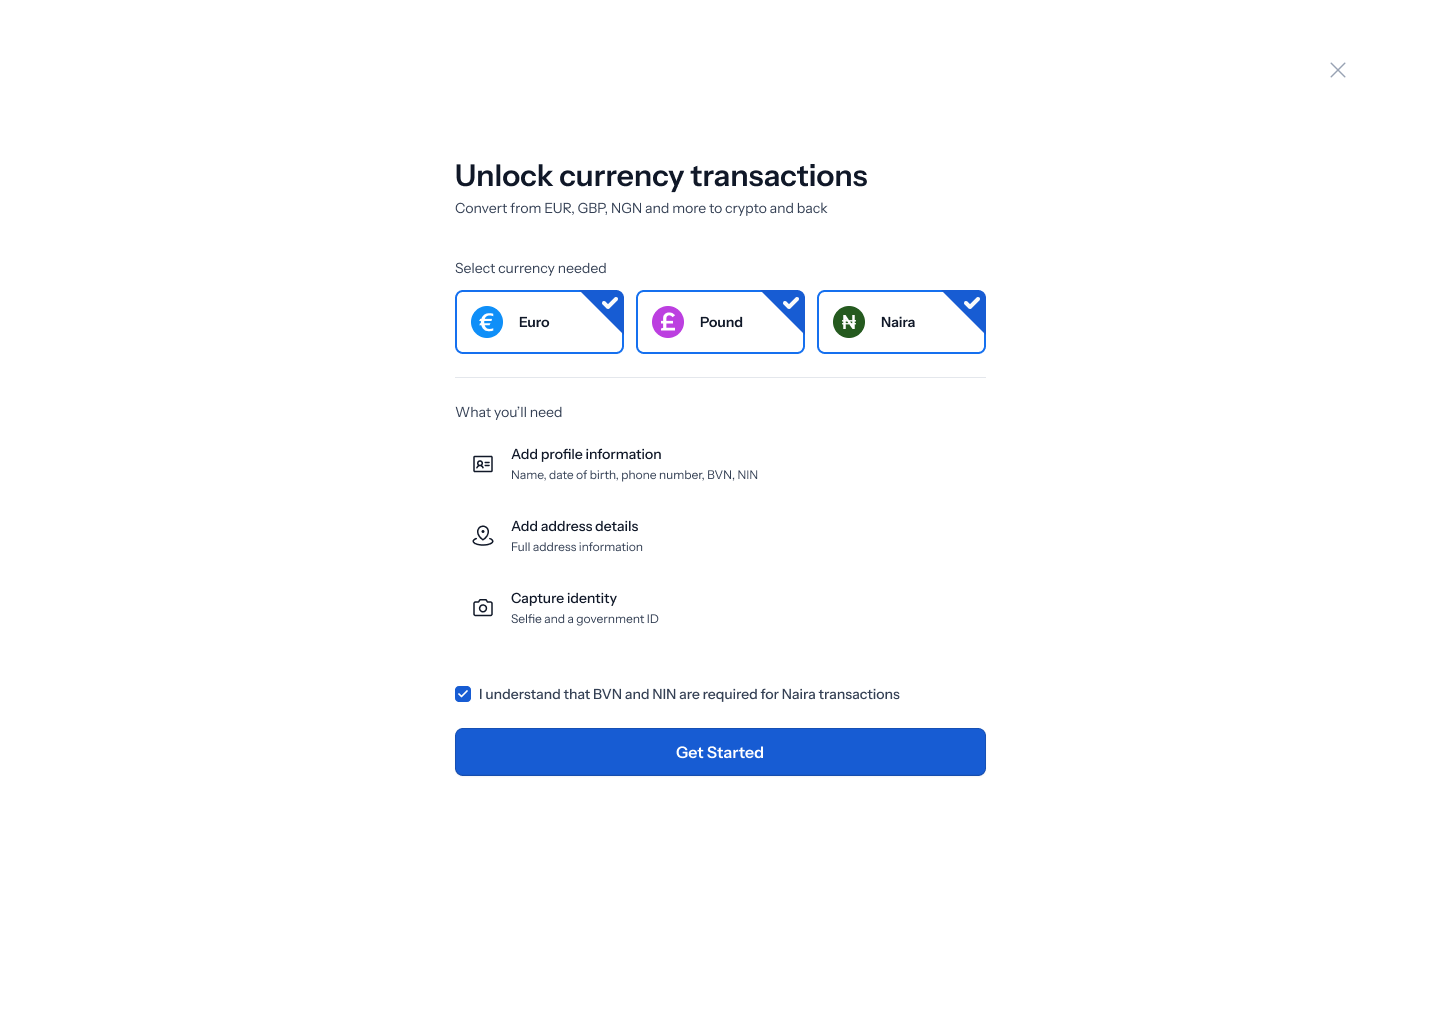 Tap Get started.
2. Tell us about yourself
The Profile step asks “Tell us about yourself” — “As it appears on your government-issued ID.” Fill in: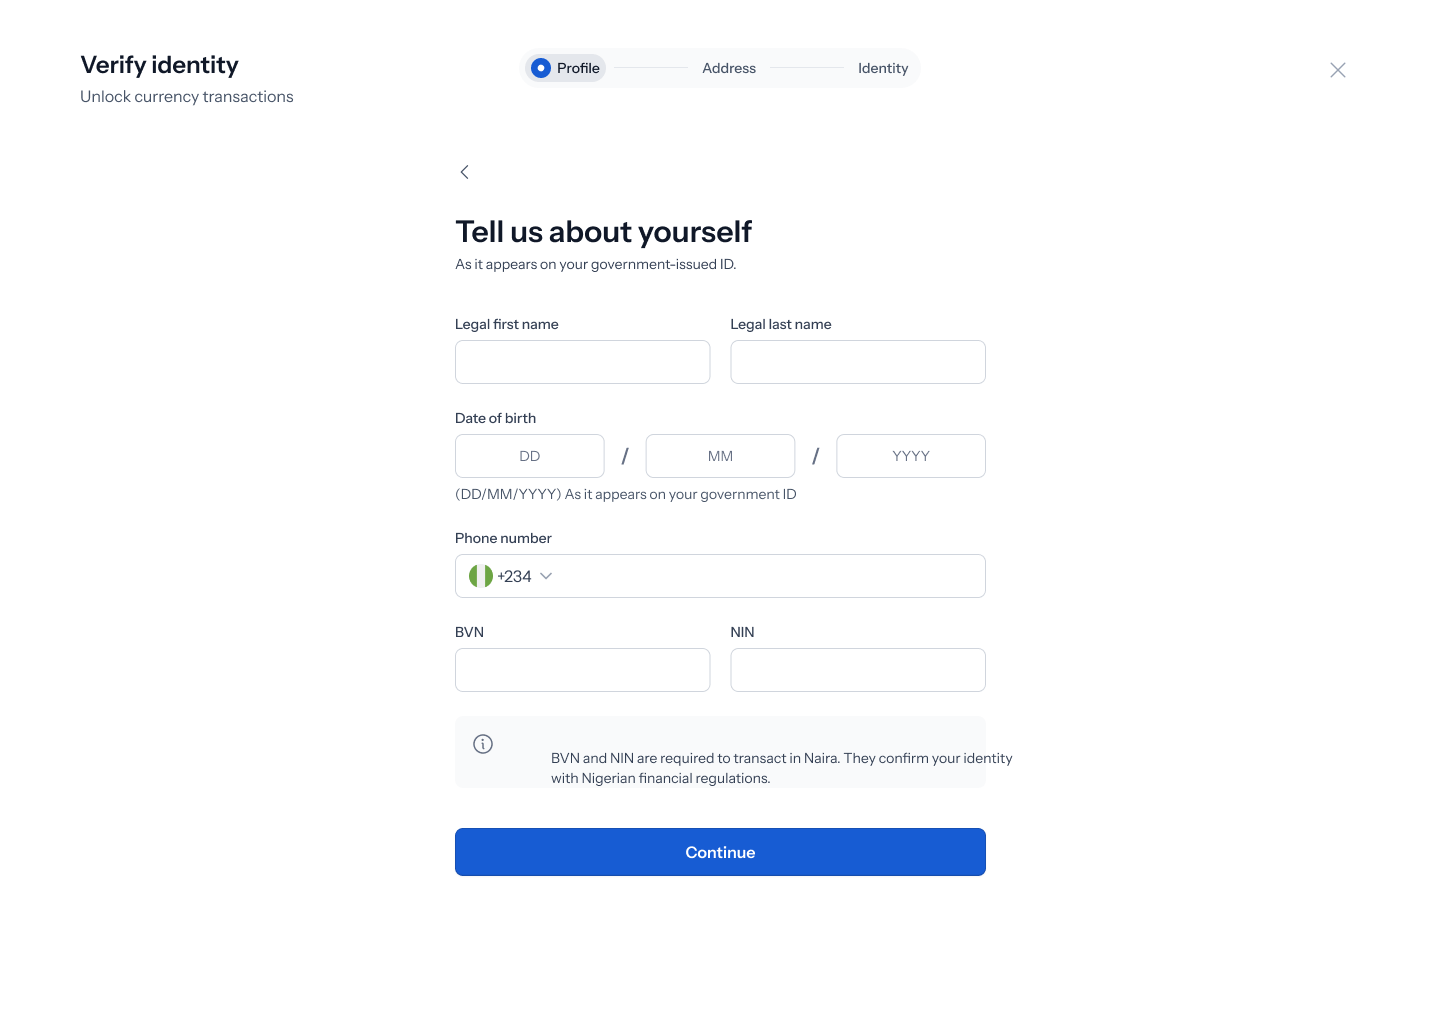
3. Where you live
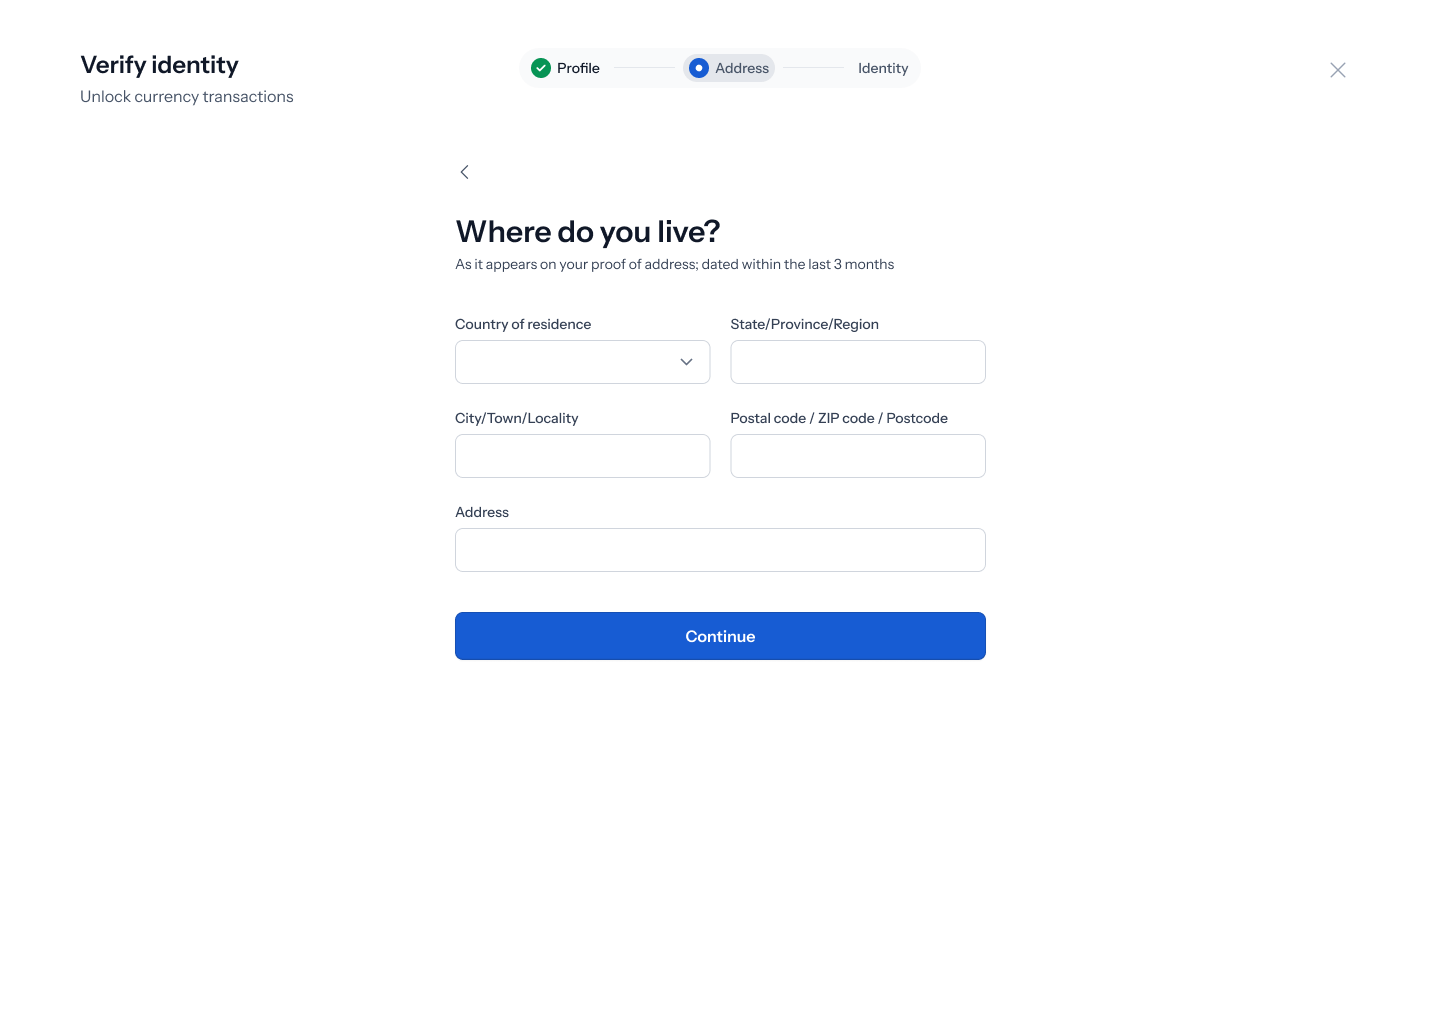
The Address step asks “Where do you live?” — “As it appears on your proof of address; dated within the last 3 months”. Fill in:- Country of residence
- State/Province/Region
- City/Town/Locality
- Postal code / ZIP code / Postcode
- Address
4. Verify your identity
The Identity step is headed “Let’s verify your identity” and tells you what’s being checked: your Selfie and a Government issued ID.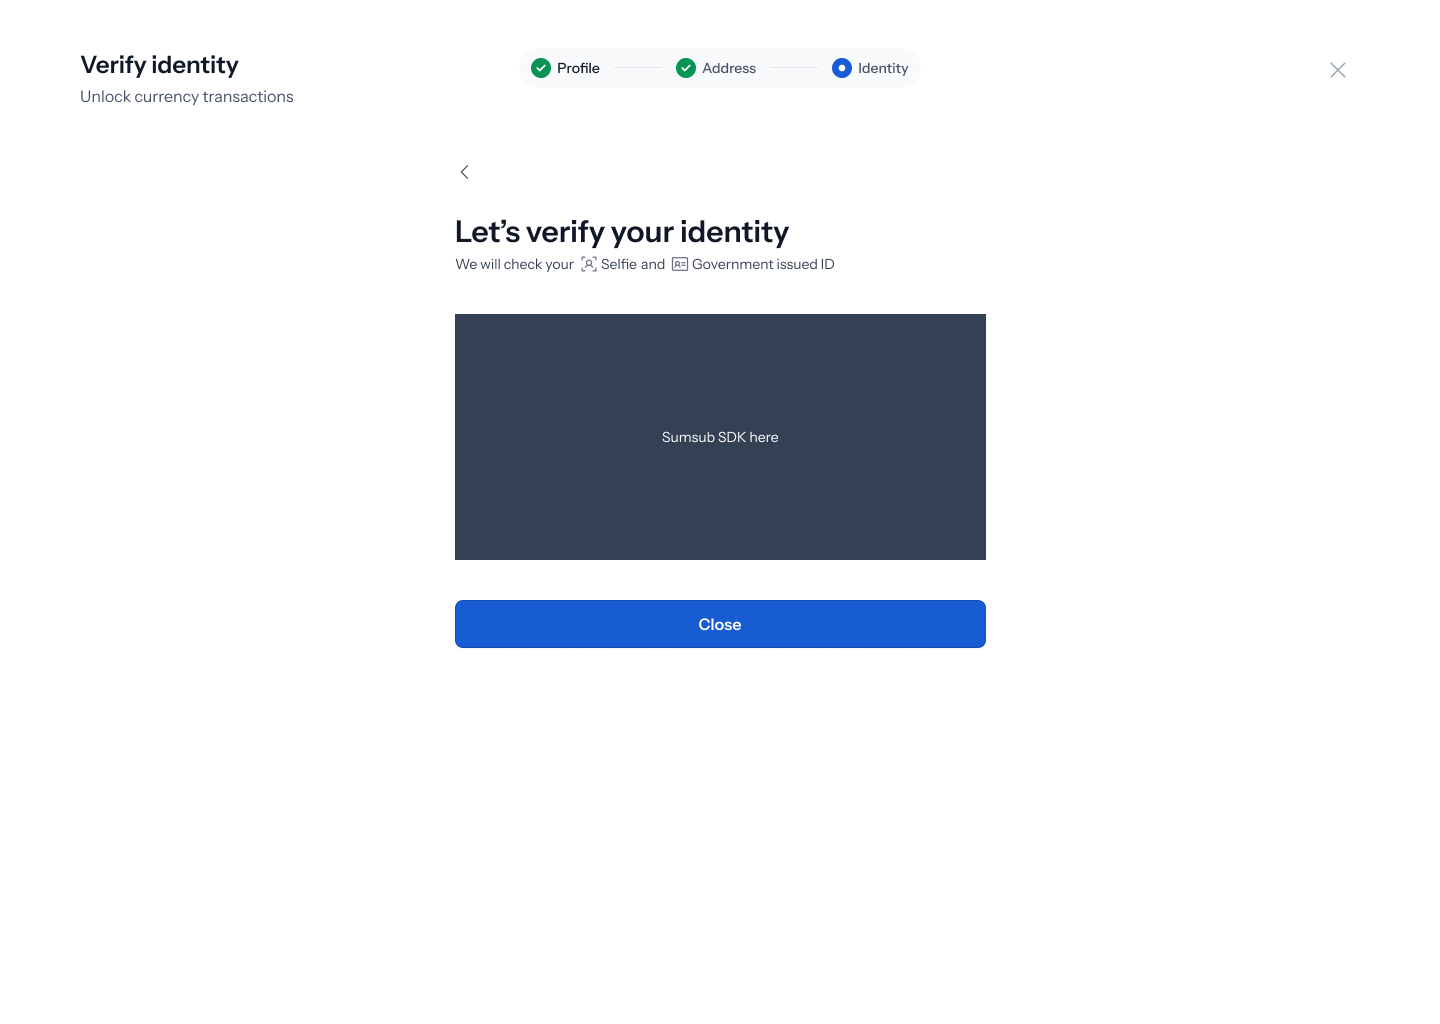
5. If your selfie doesn’t match
If the check can’t match your face to your ID, the screen returns an error: “Your selfie didn’t match the photo on your ID. Try again in good lighting, no hat or sunglasses.”.png?fit=max&auto=format&n=Baykm_7aZyi0IY2t&q=85&s=4afee702b0f263d2756be337f4cbca07)