
Direct Wallet Connection
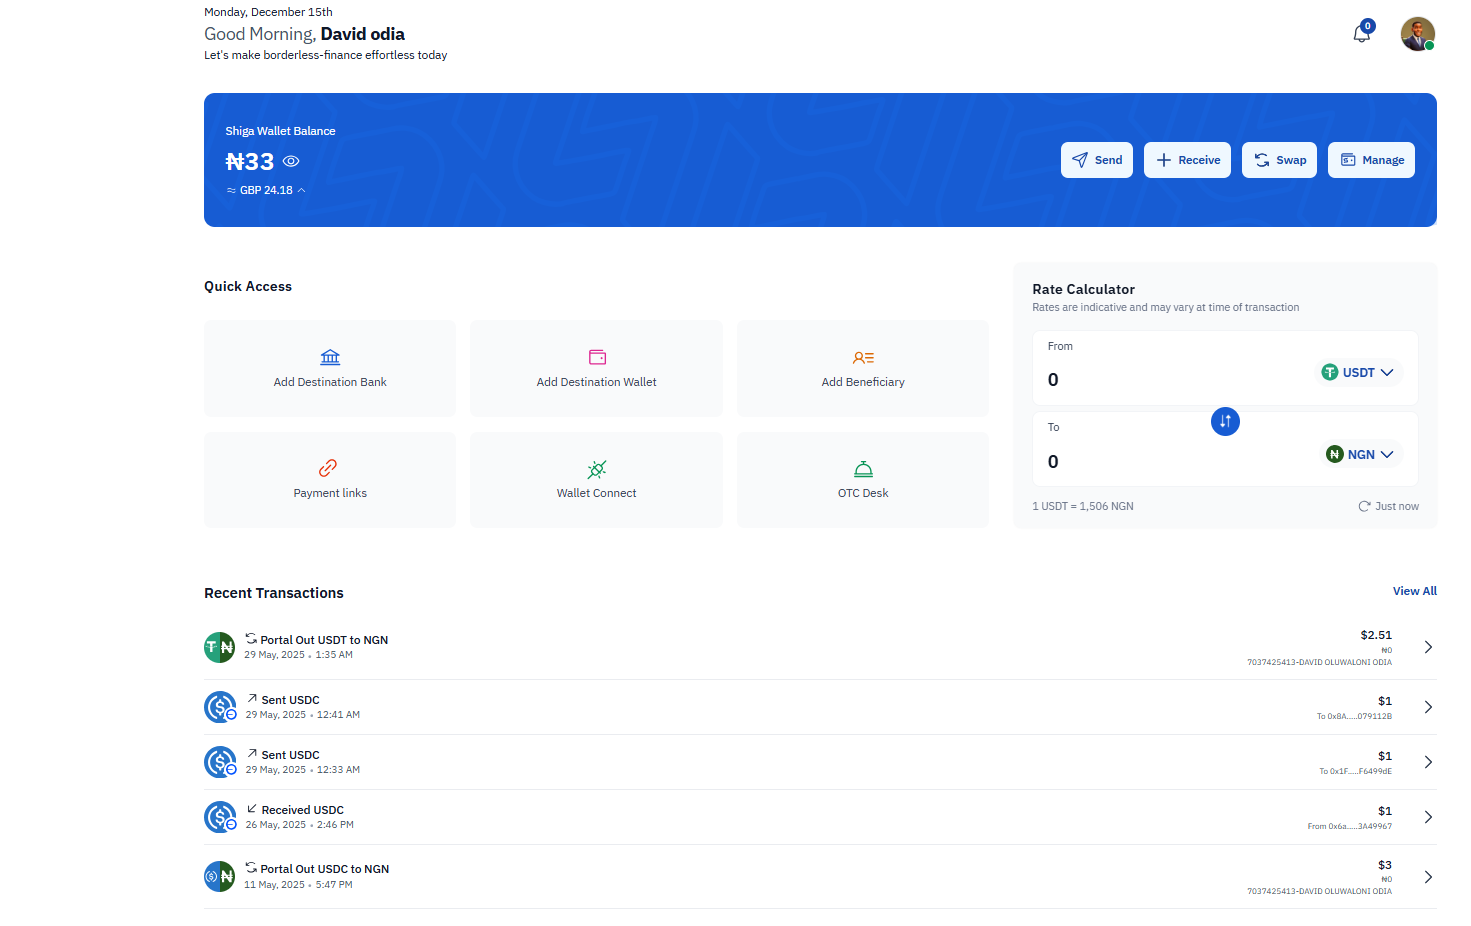
- Access the Wallet Connection Interface
- Log in to your Shiga account.
- Navigate to the wallet connection section (typically found in the upper right corner).
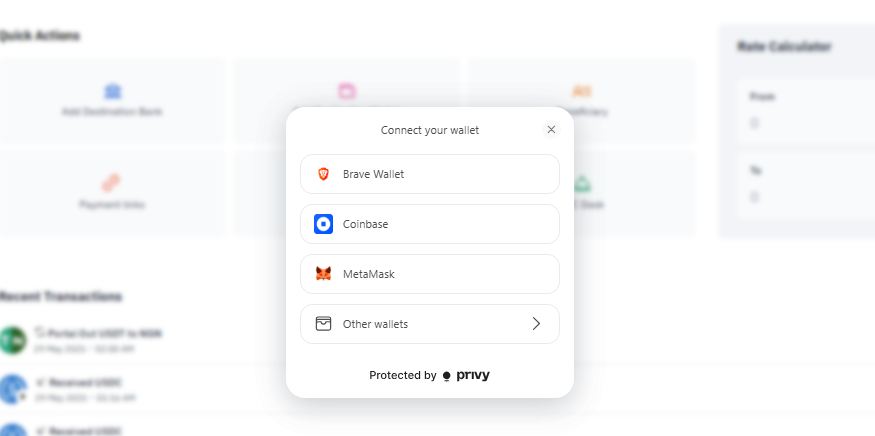
- Select Your Wallet Provider
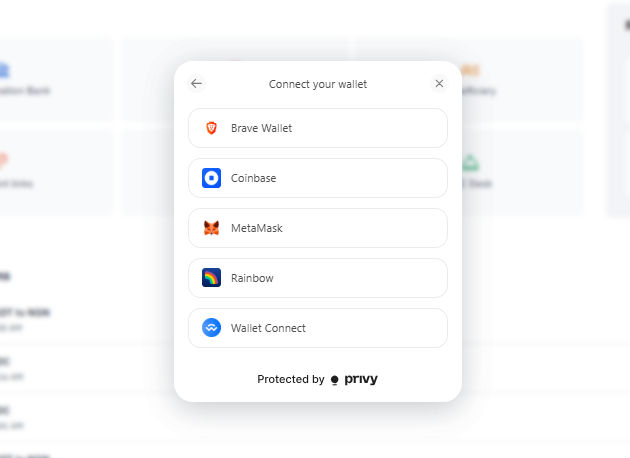
- From the list of supported wallets, choose your preferred option:
- Brave Wallet.
- Coinbase Wallet
- MetaMask.
- Rainbow.
- Other supported wallets.
- From the list of supported wallets, choose your preferred option:
- Authorize the Connection
- Your wallet application will open automatically (for browser-based wallets).
- Review the connection request details.
-
Approve the connection in your wallet interface.
Using WalletConnect
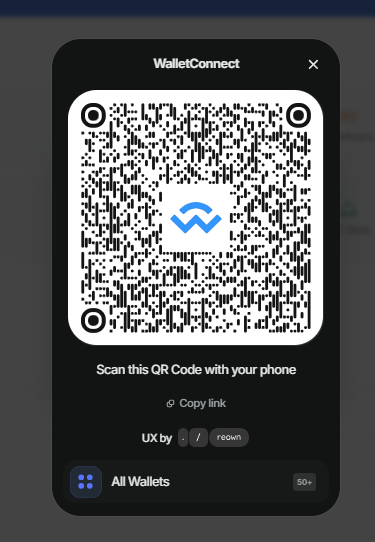
- Initiate WalletConnect
- On the Shiga wallet connection screen, select “WalletConnect” option.
- Scan the QR Code
- Open your mobile wallet application.
- Locate and select the “Scan” or “WalletConnect” feature.
-
Point your camera at the QR code displayed on Shiga’s interface.
- Confirm the Connection
- You will get redirected to your wallet app display connection details.
- Verify the connection request is for Shiga.
- Approve the connection in your wallet.
- Completion
- Once approved, your wallet will be connected to Shiga
- You’ll see your wallet address displayed on the Shiga interface.
- Wallet successfully connected.
- Navigate to Wallet Connect wallet on Shiga and select the option to Connect Wallet to disconnect.