Shiga Wallet to External Address (Withdrawal)
This Move Money path covers withdrawing crypto out of your Shiga wallet to an external wallet address — either one you type or paste in, one you’ve used recently, or one you’ve saved as a beneficiary.This is a different guide from Shiga Wallet to Shiga Wallet (Swap), which stays inside your own wallet. Here, funds actually leave Enta.
1. Open your home screen and tap Move Money
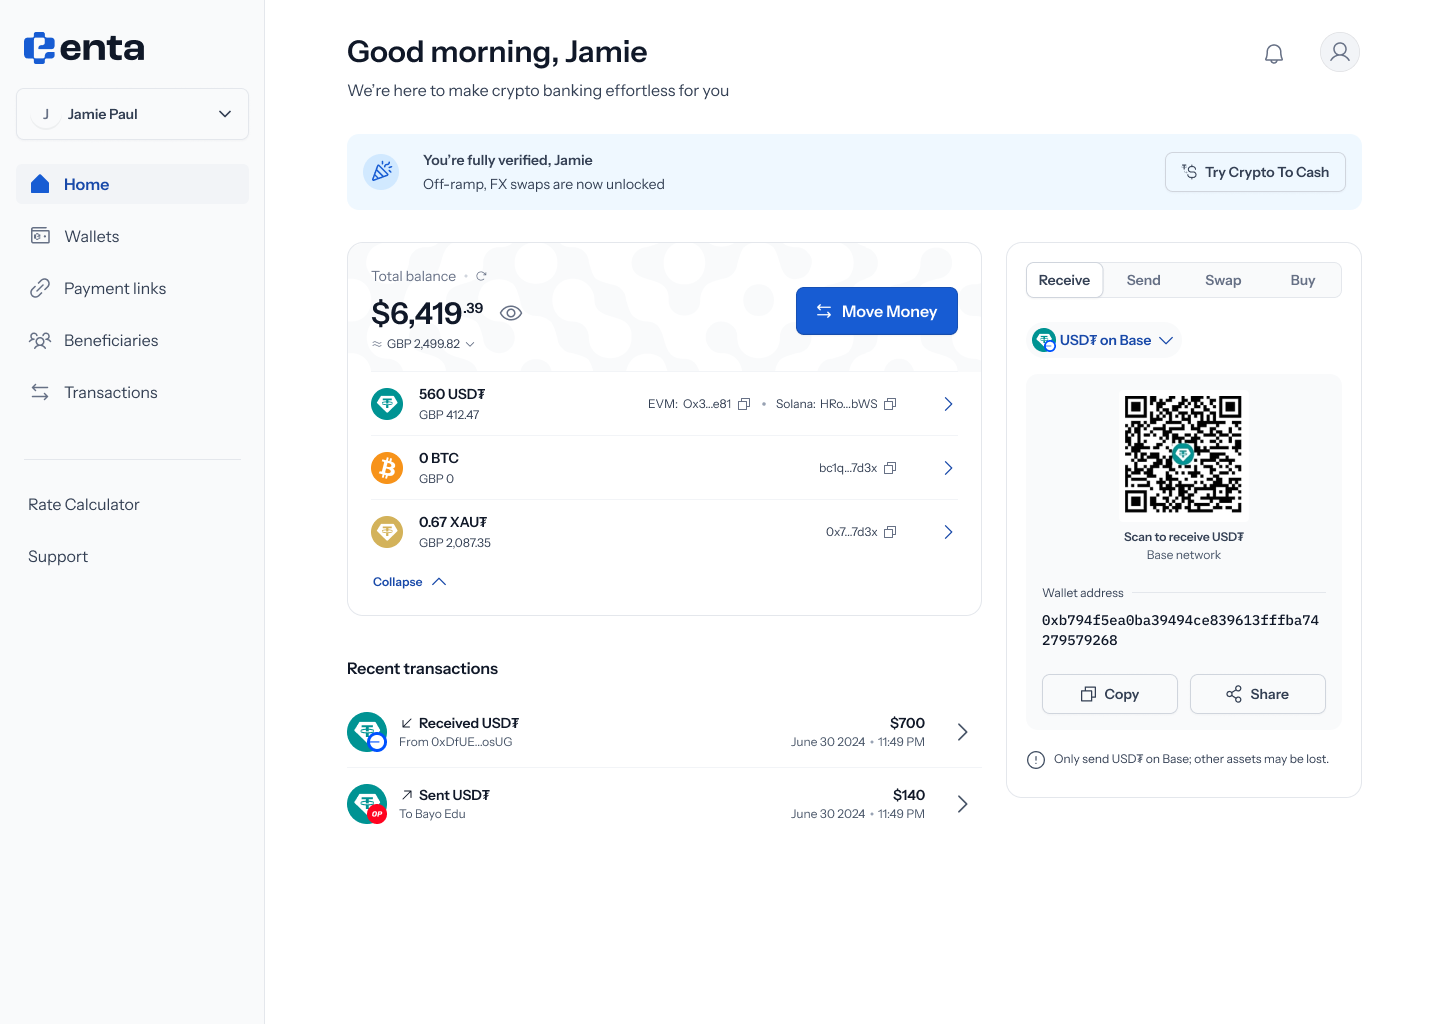 Every Move Money flow starts here, on your Enta home screen — tap Move Money to begin.
2. Choose Shiga wallet as the source
Tapping Move Money opens a panel titled “Move money” — “Send, receive, or swap assets”. The From field asks where the money’s coming from: Shiga wallet (“Choose from BTC, USDT”), External wallet (“Connect MetaMask or other wallets”), or Bank account (“Transfer from NGN, EUR, or GBP”). Pick Shiga wallet.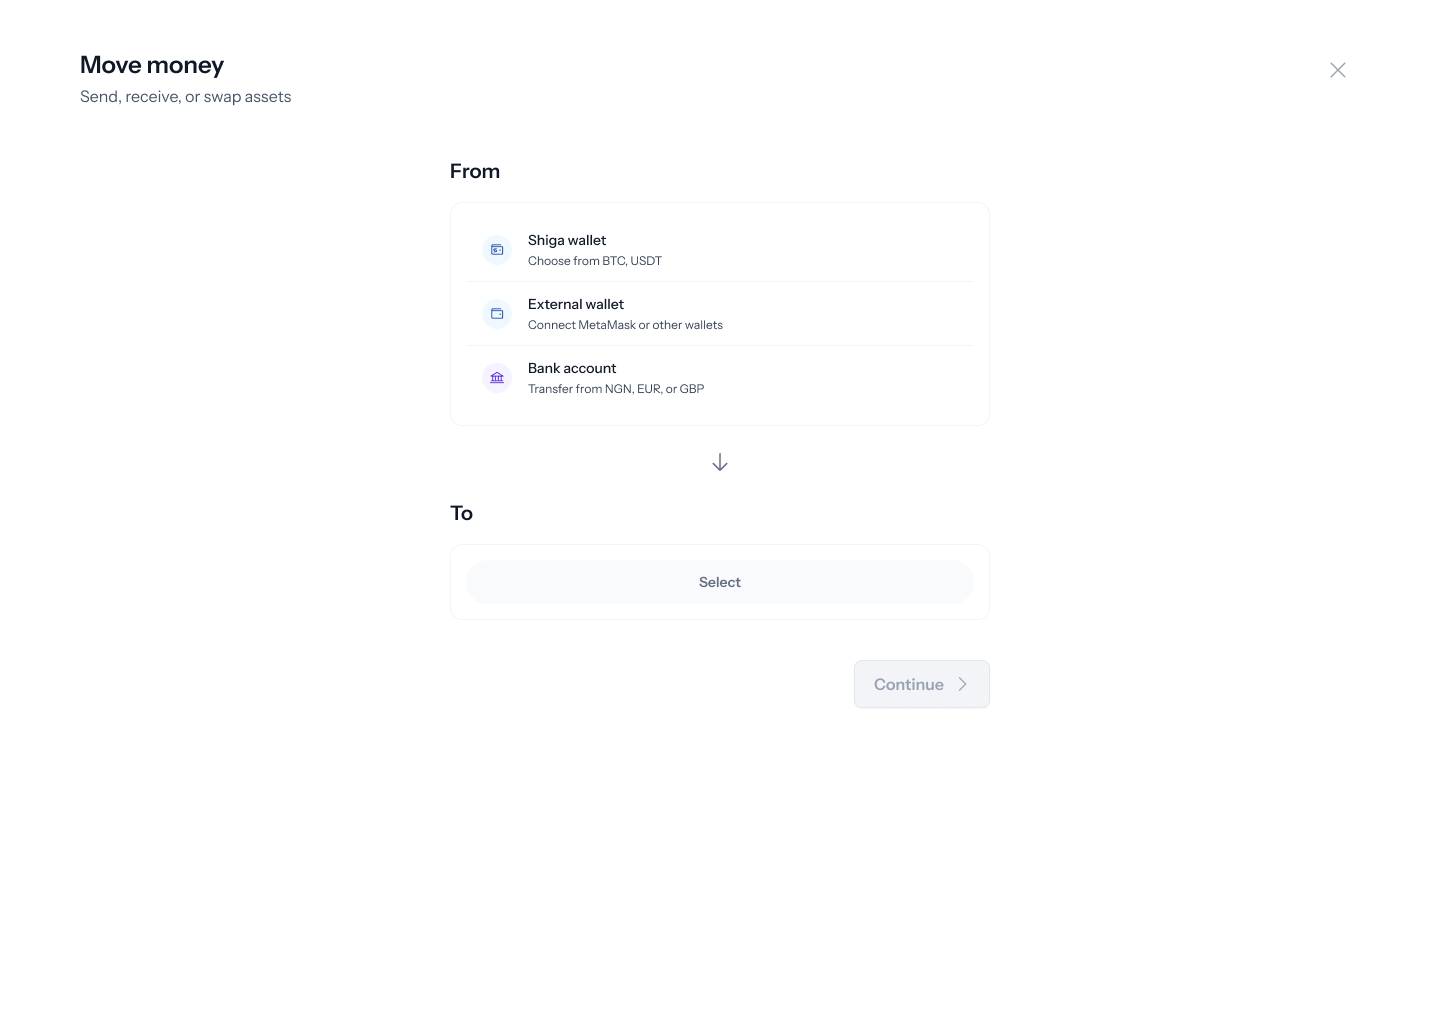
3. Choose External address as the destination
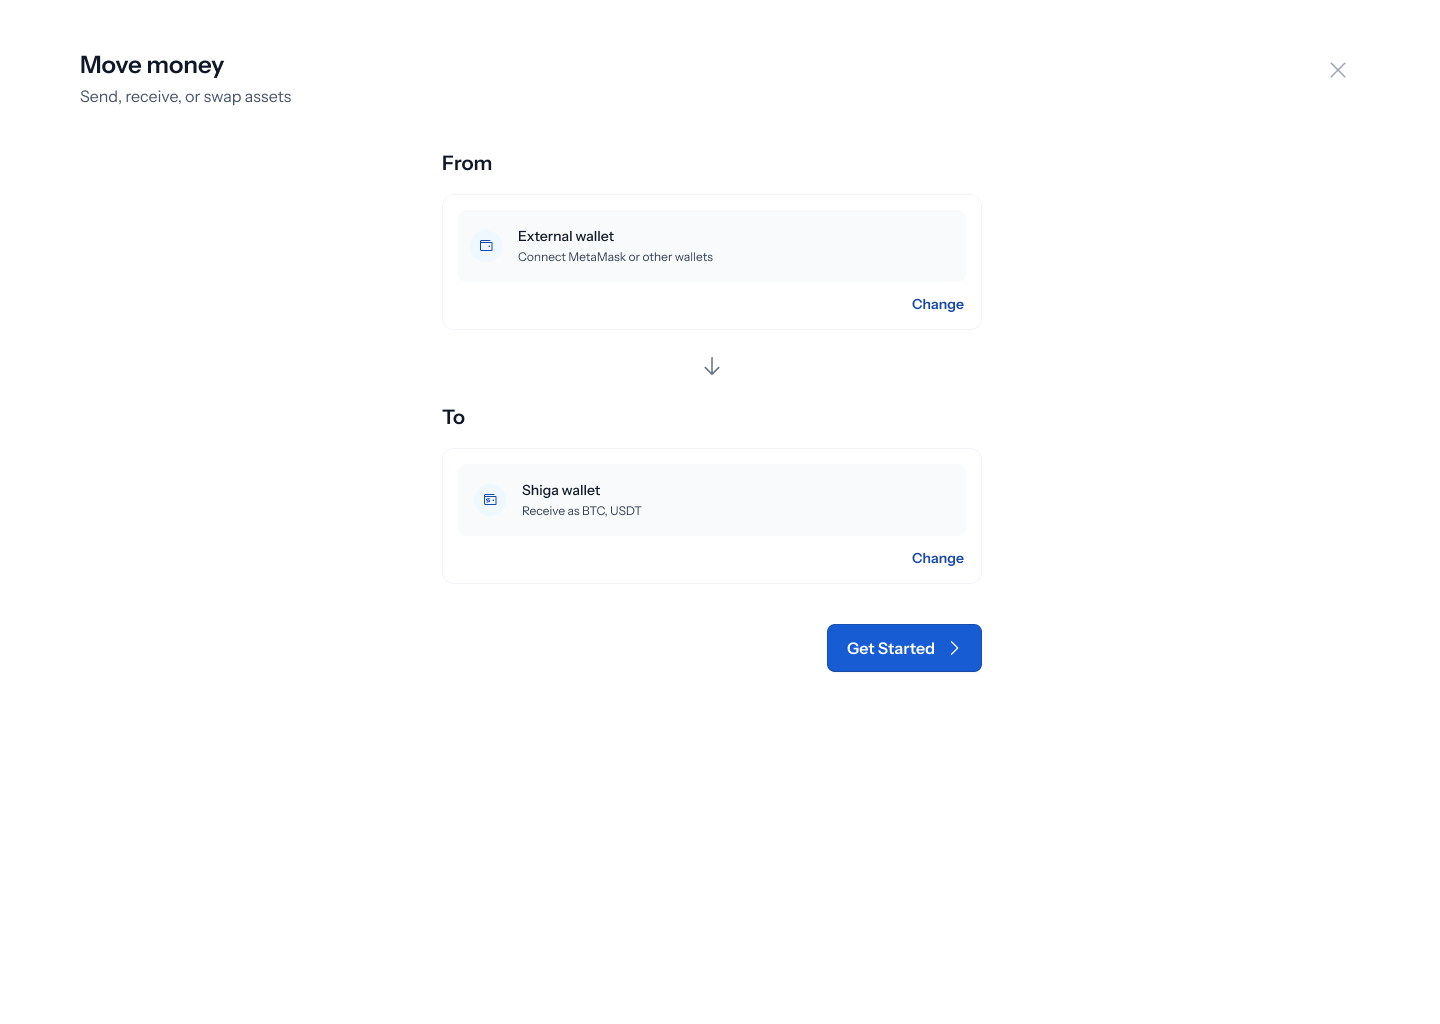
With Shiga wallet set as From, the To field shows three options: Shiga wallet (“Receive as BTC, USDT”), External address (“Send to any wallet address”), or Bank account (“Cash out to NGN, EUR, or GBP”). Picking External address is what puts you on the withdrawal path this guide covers.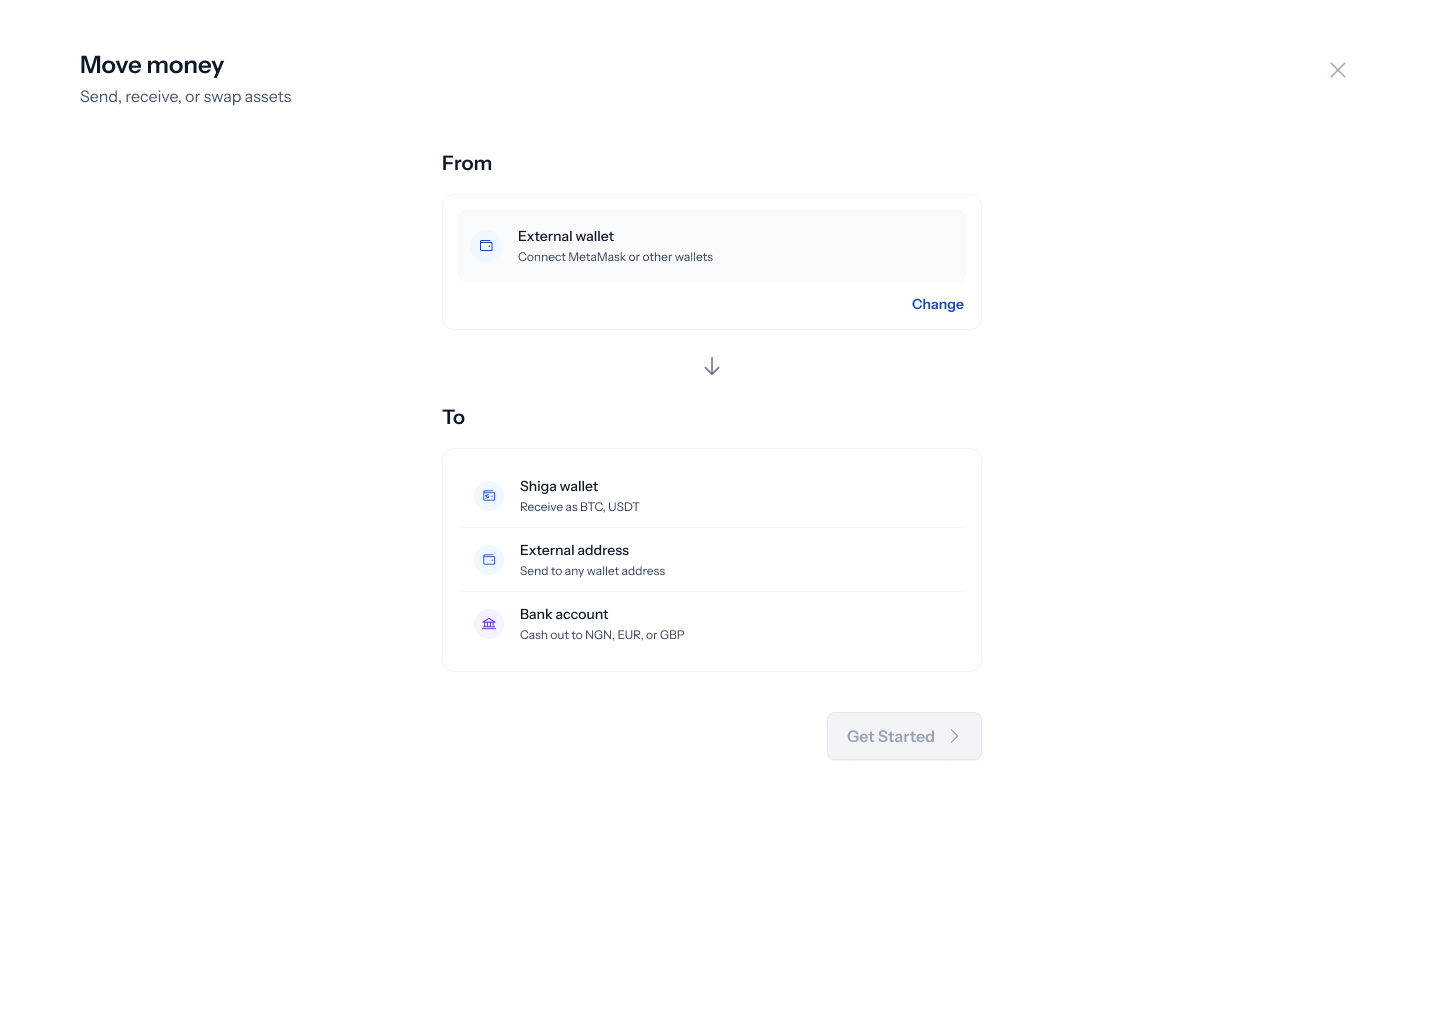 Once both fields are set, the panel updates to show your full selection with a Change link on each side, and the Get started button becomes active.
4. Tell Enta who you’re sending to
This opens a Recipient screen — “Send cryptocurrency to external wallet” — the first of three steps (Recipient → Amount → Review, shown in the left rail). There are three ways to specify a recipient:- Type or paste a wallet address directly into the Wallet address field (there’s a one-tap Paste button). As you type or right after pasting, Enta tries to auto-fill the Asset and Network dropdowns from wallets you’ve sent to before, or from a saved beneficiary matching that address.
- Recent — pick from a list of addresses you’ve recently sent to, each showing a name/address, the asset and network (e.g. “Bayo Audu — USDT on Base — 0x3…8Gh”). If you haven’t sent anywhere yet, this reads “No transactions yet” — “Complete a transaction and we’ll show your most recent ones here.”

- Beneficiary — pick from your saved beneficiaries, with a View all link opening the full searchable list (“Search by name, currency, or address”). If you haven’t saved any yet, this reads “You haven’t saved any wallet or fiat accounts yet” — “Complete a transaction and save to beneficiary to add to this list.”


Sending to a brand-new address (not a beneficiary or recent recipient) shows a caution banner: “This is a new recipient. Double-check the details to ensure it’s the right address.”
5. Enter an amount
The Amount step shows a Send card (the asset and network you’re withdrawing, your balance, and a MAX button) and a Receive card confirming what arrives at the other end. A To row above them reminds you who you picked, with a pencil icon to go back and change it. As soon as an asset’s selected, a live rate appears (e.g. “1 USDT ≈ 1.003 USDC”) — before that, it reads “Rate: Select asset to see rate.” There’s also an optional Narration field to add a note for your own records.
6. Review before you authorize
The Review screen shows your withdrawal as a single summary — the asset and amount, Type: Withdrawal, Estimated time: ~30s, From (your Shiga Wallet), To (the recipient, labeled External Address), and your Narration if you added one. Tap Back to change anything, or Authorize Transaction to continue.
7. Authorize the transaction
As with the rest of Move Money, authorization is done with your device’s passkey — Face ID, Touch ID, or your device’s biometric/PIN unlock. There’s no code to type in; the native prompt appears on top of the review screen, and confirming it submits the withdrawal.The authorization screen for this specific flow hasn’t been fully designed in Figma yet (it’s currently a placeholder), so there’s nothing screen-specific to show here beyond the passkey behavior shared across Move Money — worth double-checking with design once it’s built out.
8. Processing and confirmation
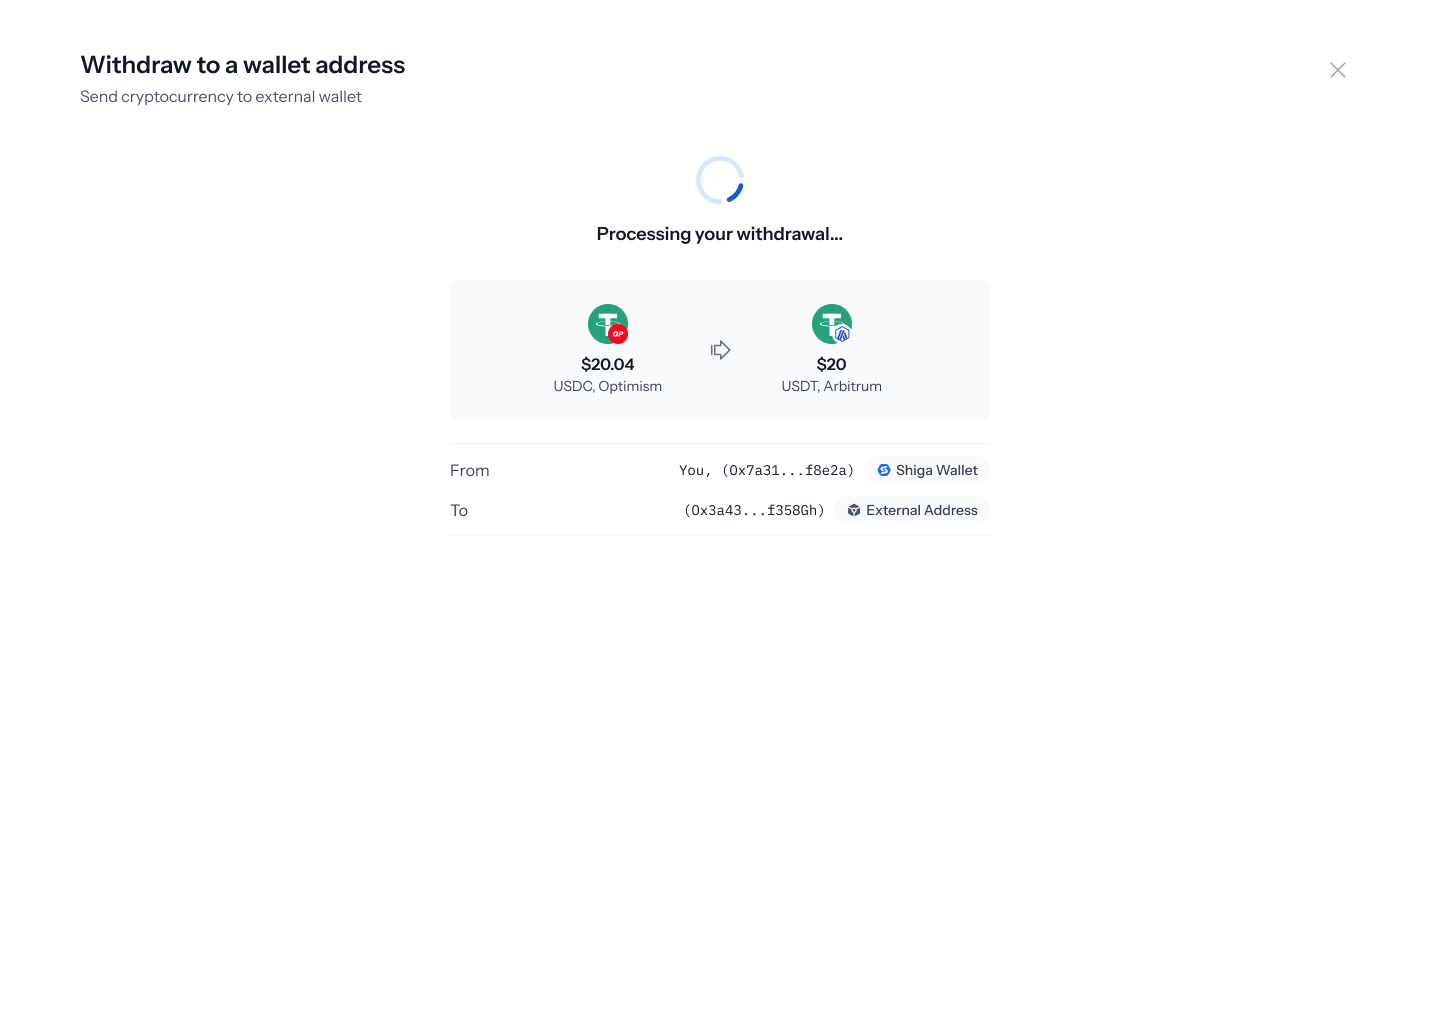
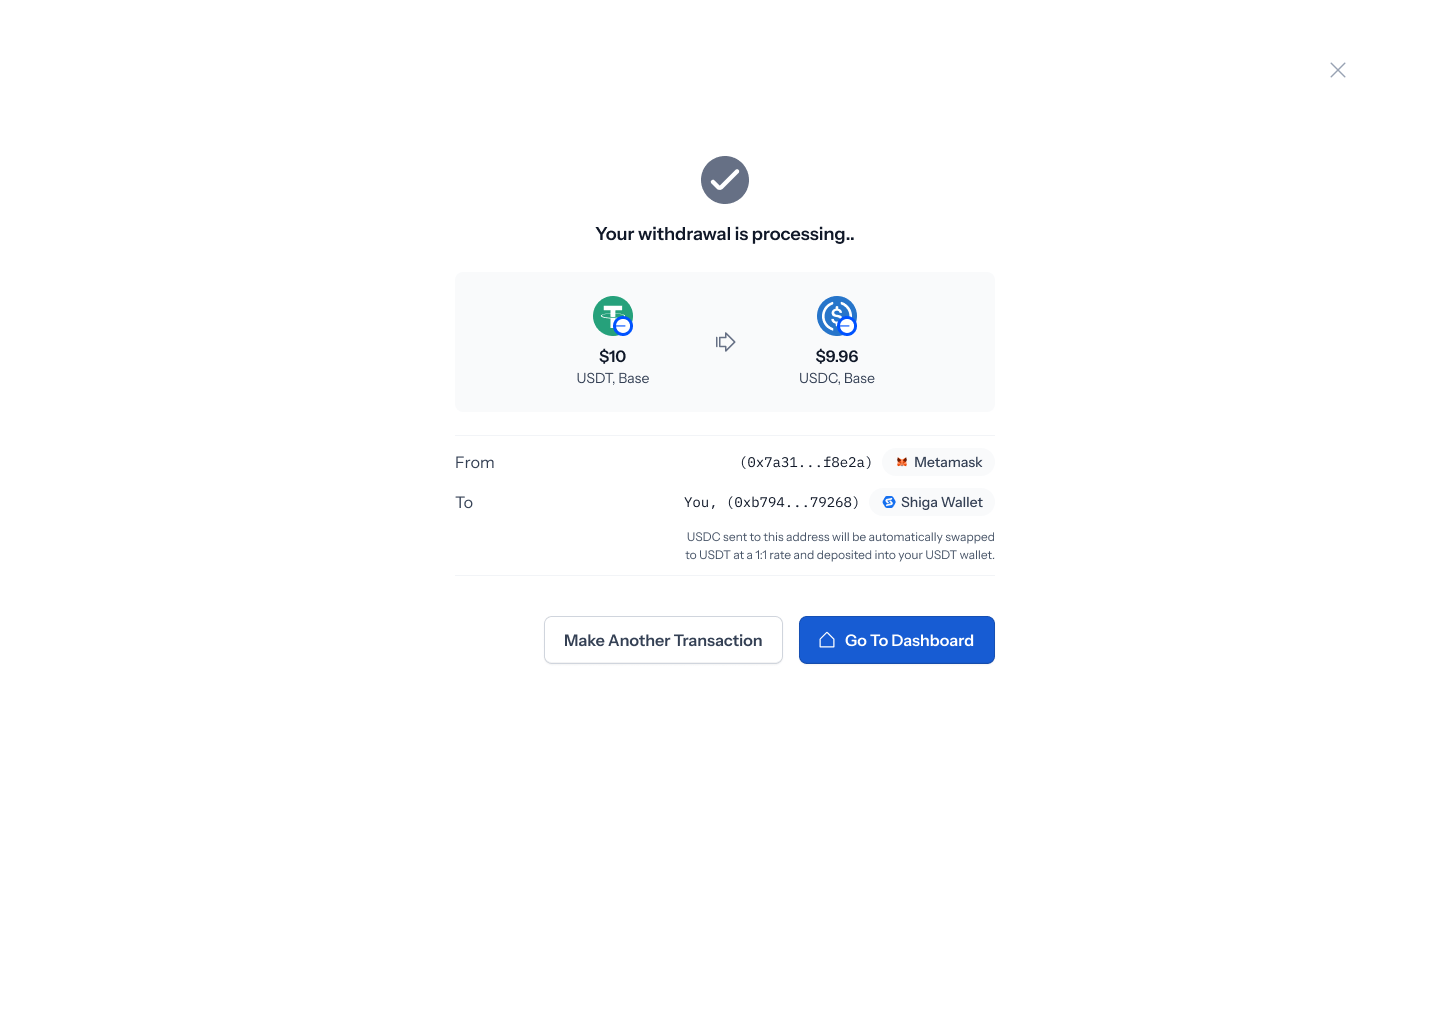
Once you authorize, a loading screen reads “Processing your withdrawal…” with your transaction summary still visible underneath.