Shiga Wallet to Shiga Wallet (Swap)
Move Money is Enta’s engine for moving funds anywhere — between your own wallet assets, to another wallet, or to a bank account. This guide covers one of those paths: converting one asset you hold into another, without the funds ever leaving your own Shiga wallet.Move Money supports several other paths (sending to an external wallet, cashing out to a bank account, and more) — each gets its own guide. This page covers Shiga wallet → Shiga wallet only.
1. Open your home screen and tap Move Money
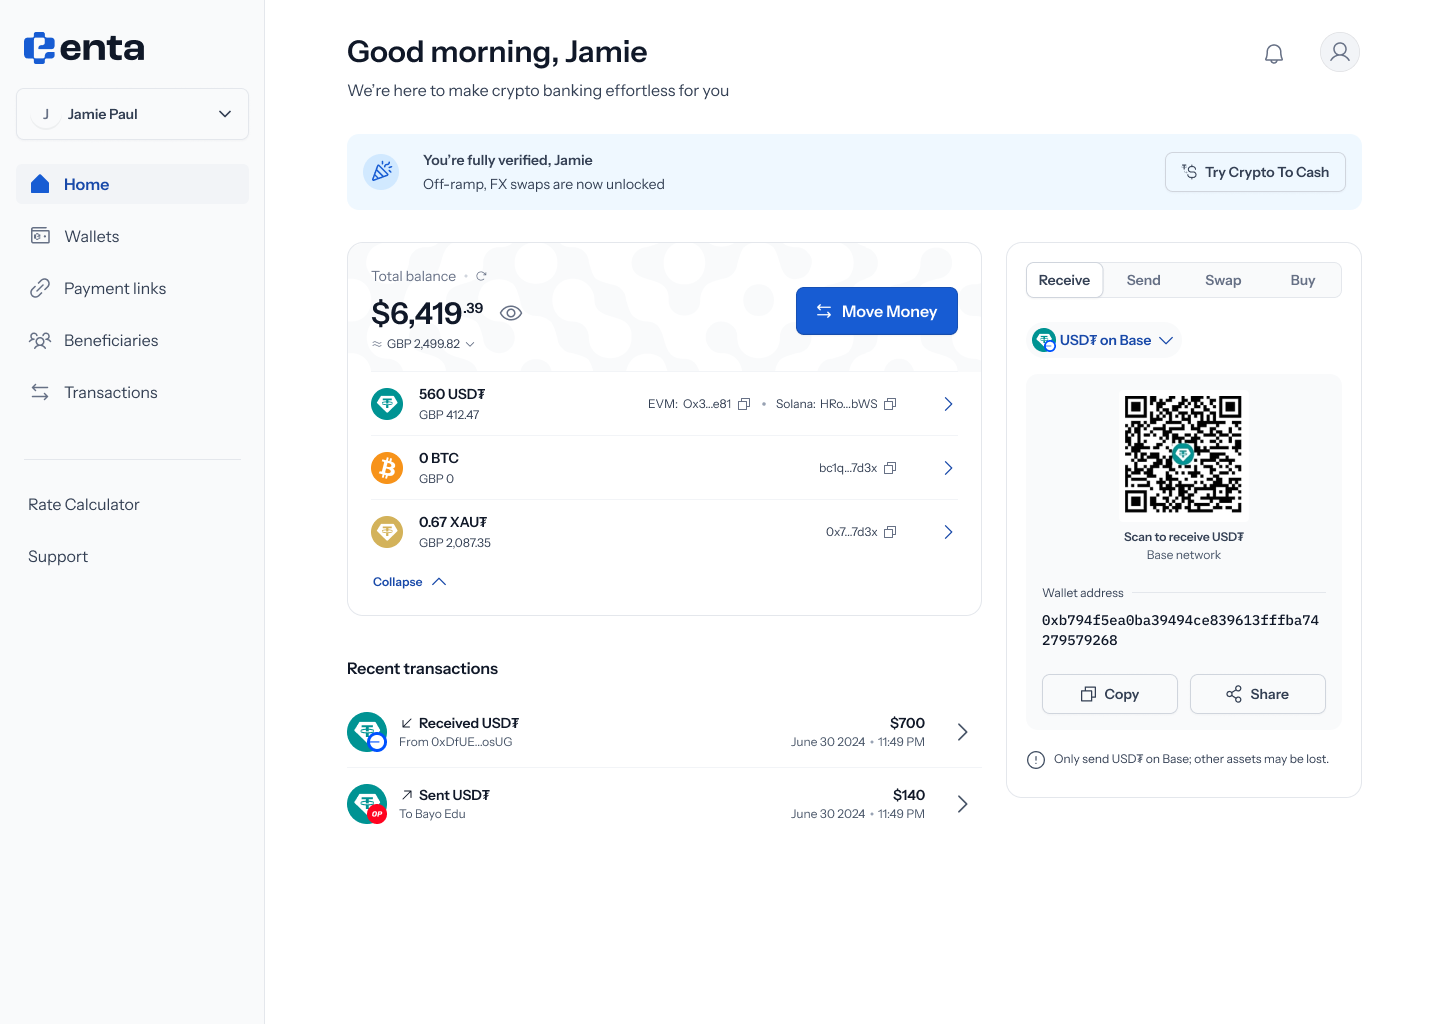 Every Move Money flow starts here, on your Enta home screen — tap Move Money to begin.
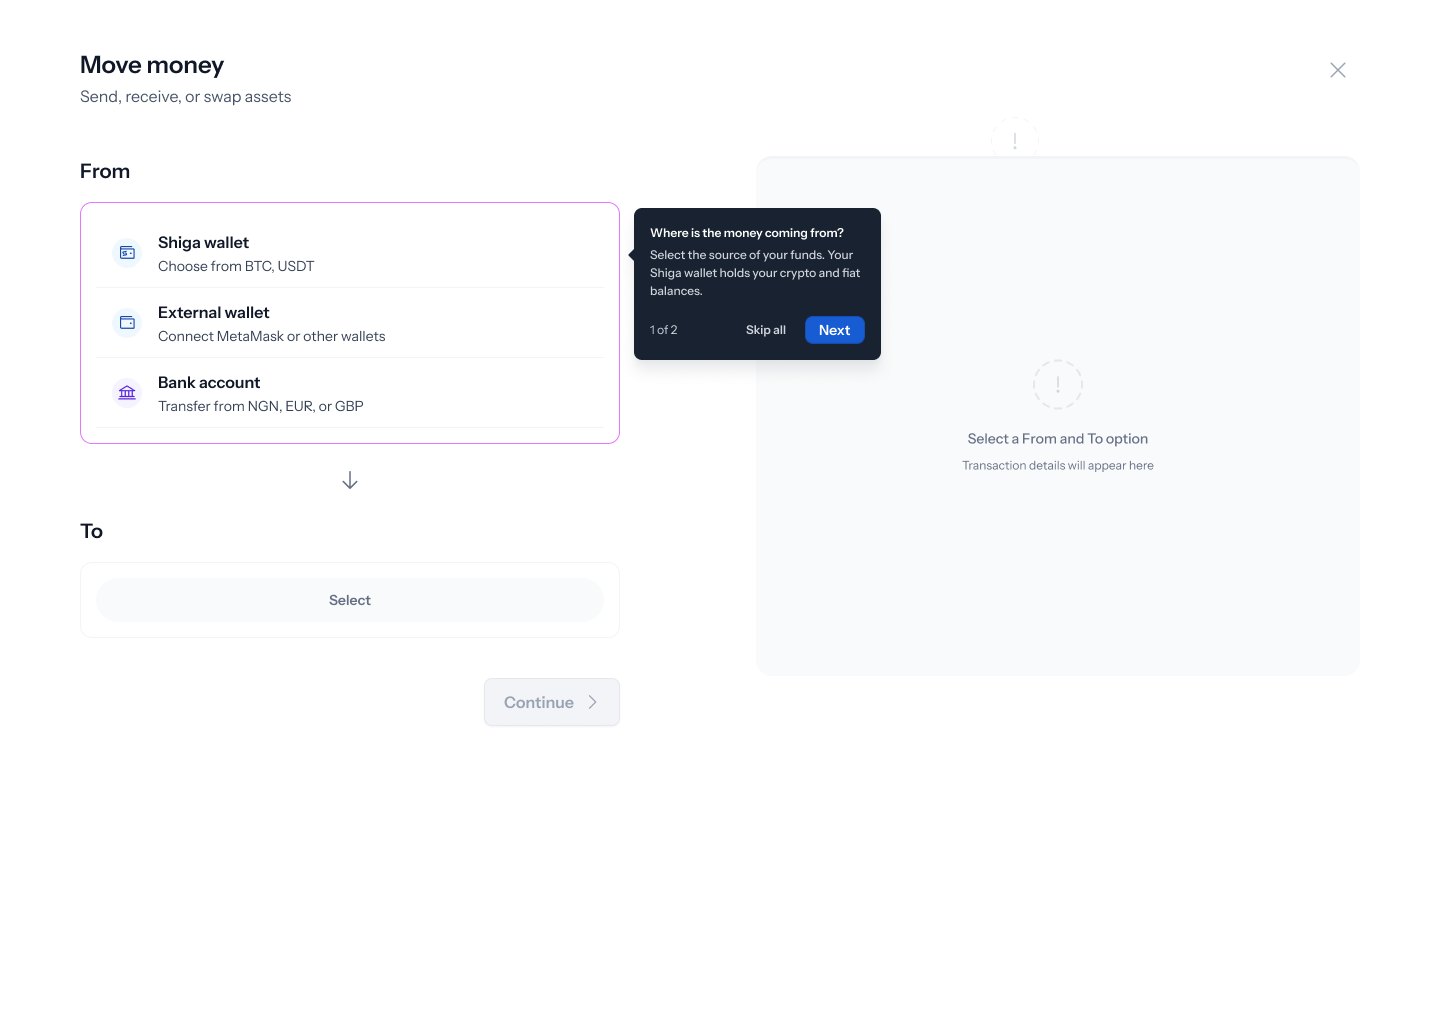
2. Choose where the funds are coming from
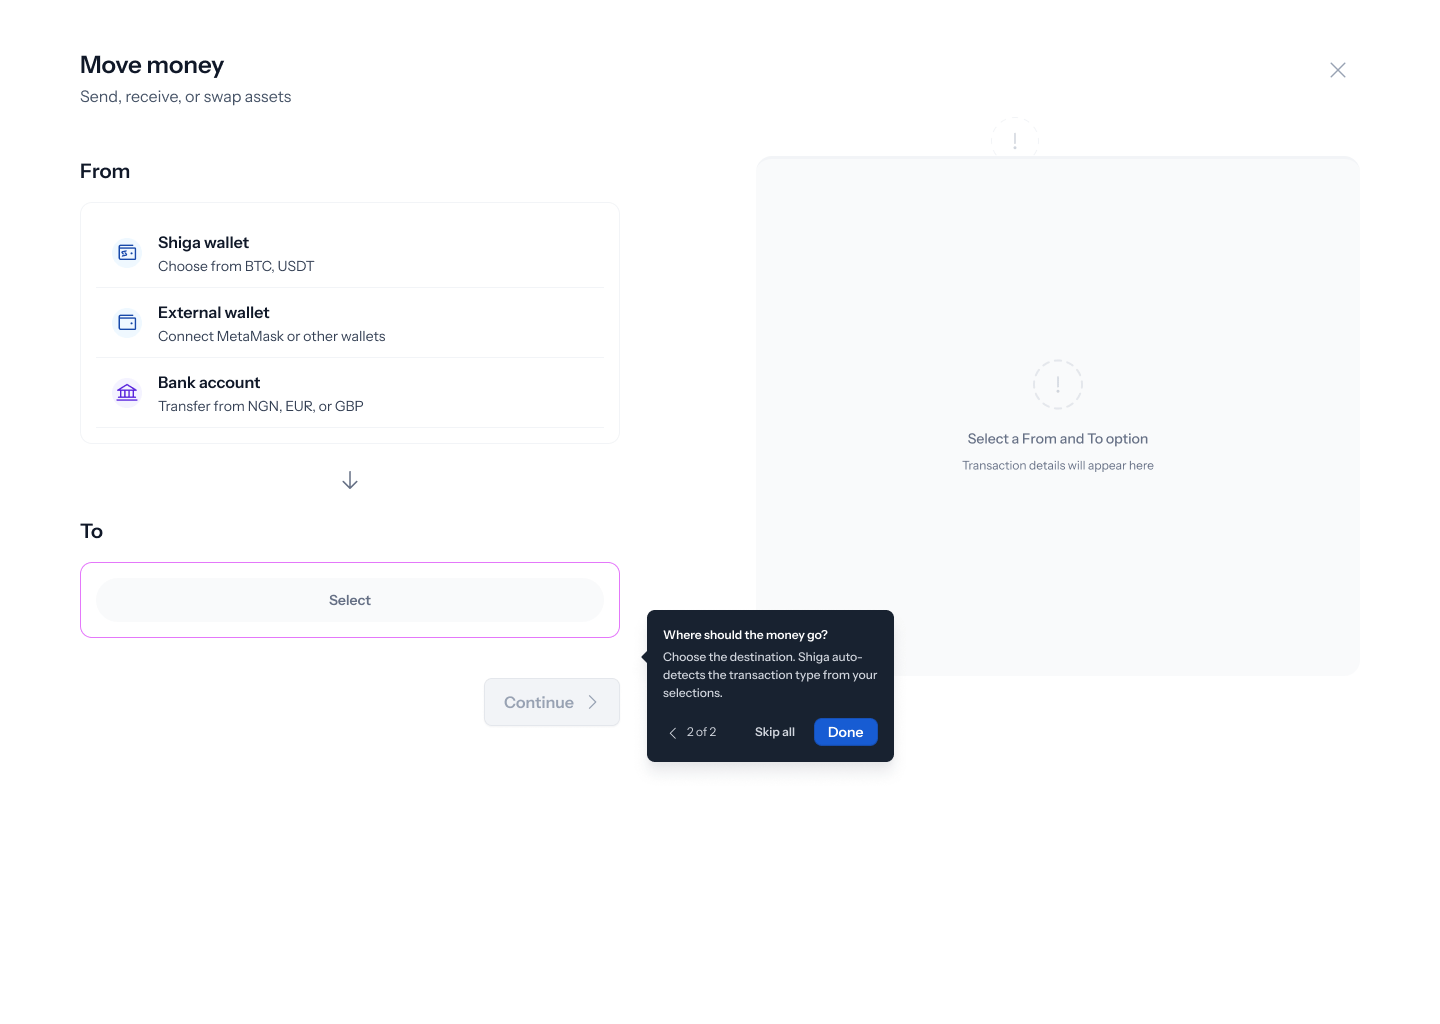
3. Choose where it’s going
4. Pick your assets
With Shiga wallet → Shiga wallet selected, you land on a Swap screen — “Convert one asset to another without leaving your Shiga wallet”. Tap each asset field to open a searchable list — Enta supports USDT, BTC, and USDC, each across several networks (USDT and USDC on Solana, Base, Optimism, Arbitrum, or Polygon; BTC on Bitcoin or Lightning). Pick what you’re converting from, then what you want to receive.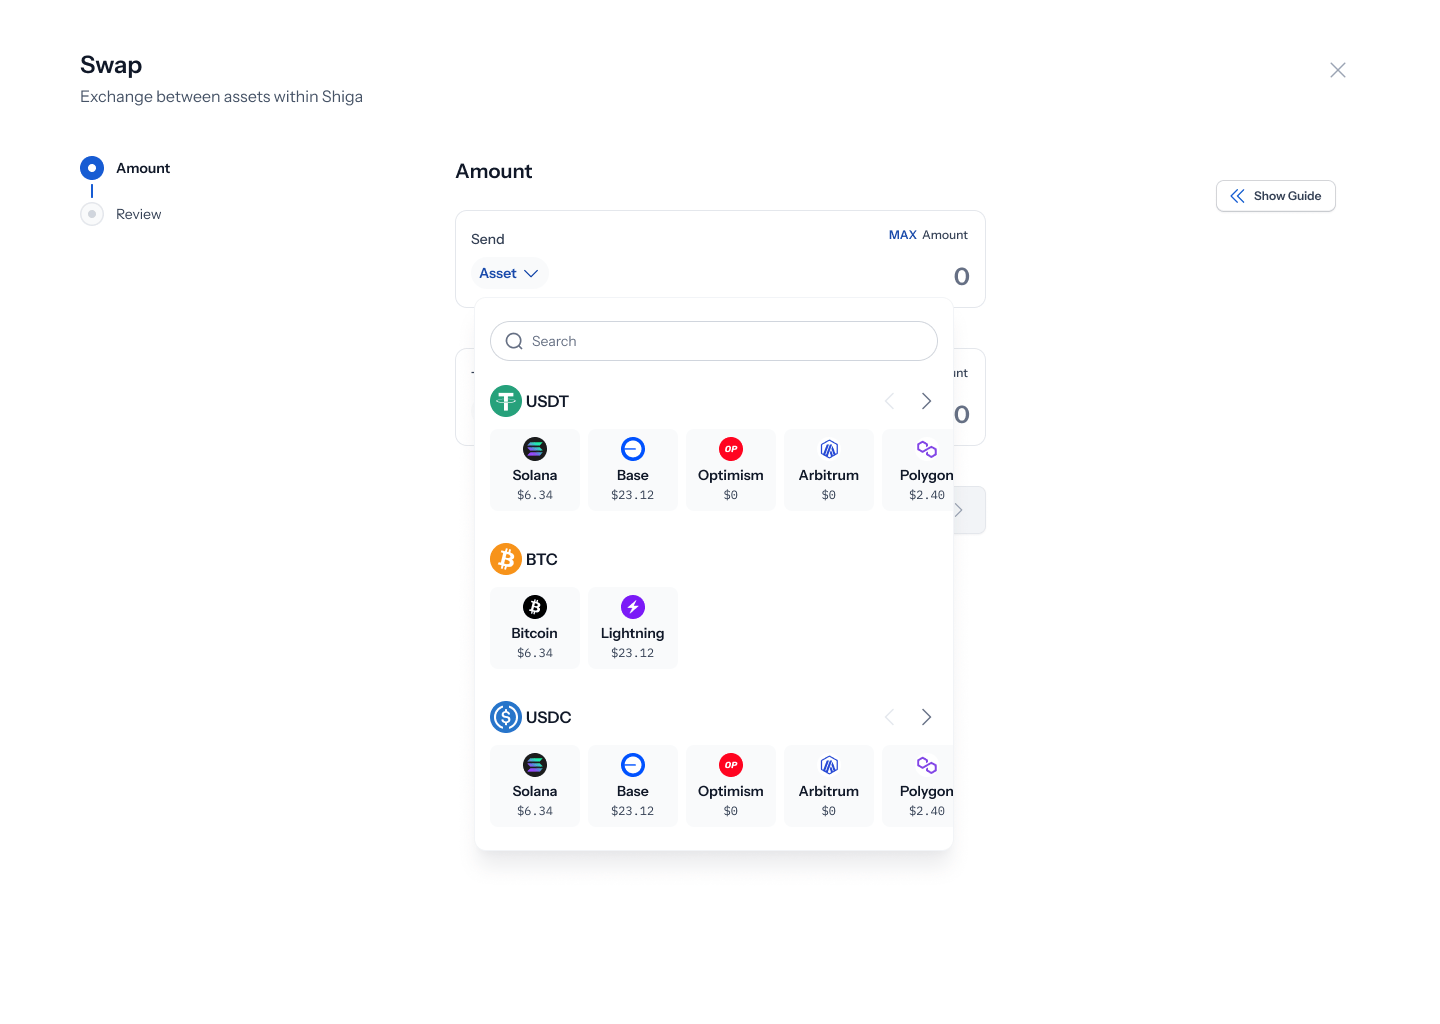
5. Enter an amount
Both sides of the swap show as cards — Send (what you’re giving up) and Receive (what you’ll get) — each with the asset, your available Balance, and a MAX button to fill your entire balance in one tap. As soon as both assets are picked, a live rate appears (e.g. “Rate: 1 USDT ≈ 1.003 USDC”) — before that, it reads “Rate: Select asset to see rate.” Type an amount into Send, and Receive calculates automatically at the live rate. Tap Continue once you’re happy with it.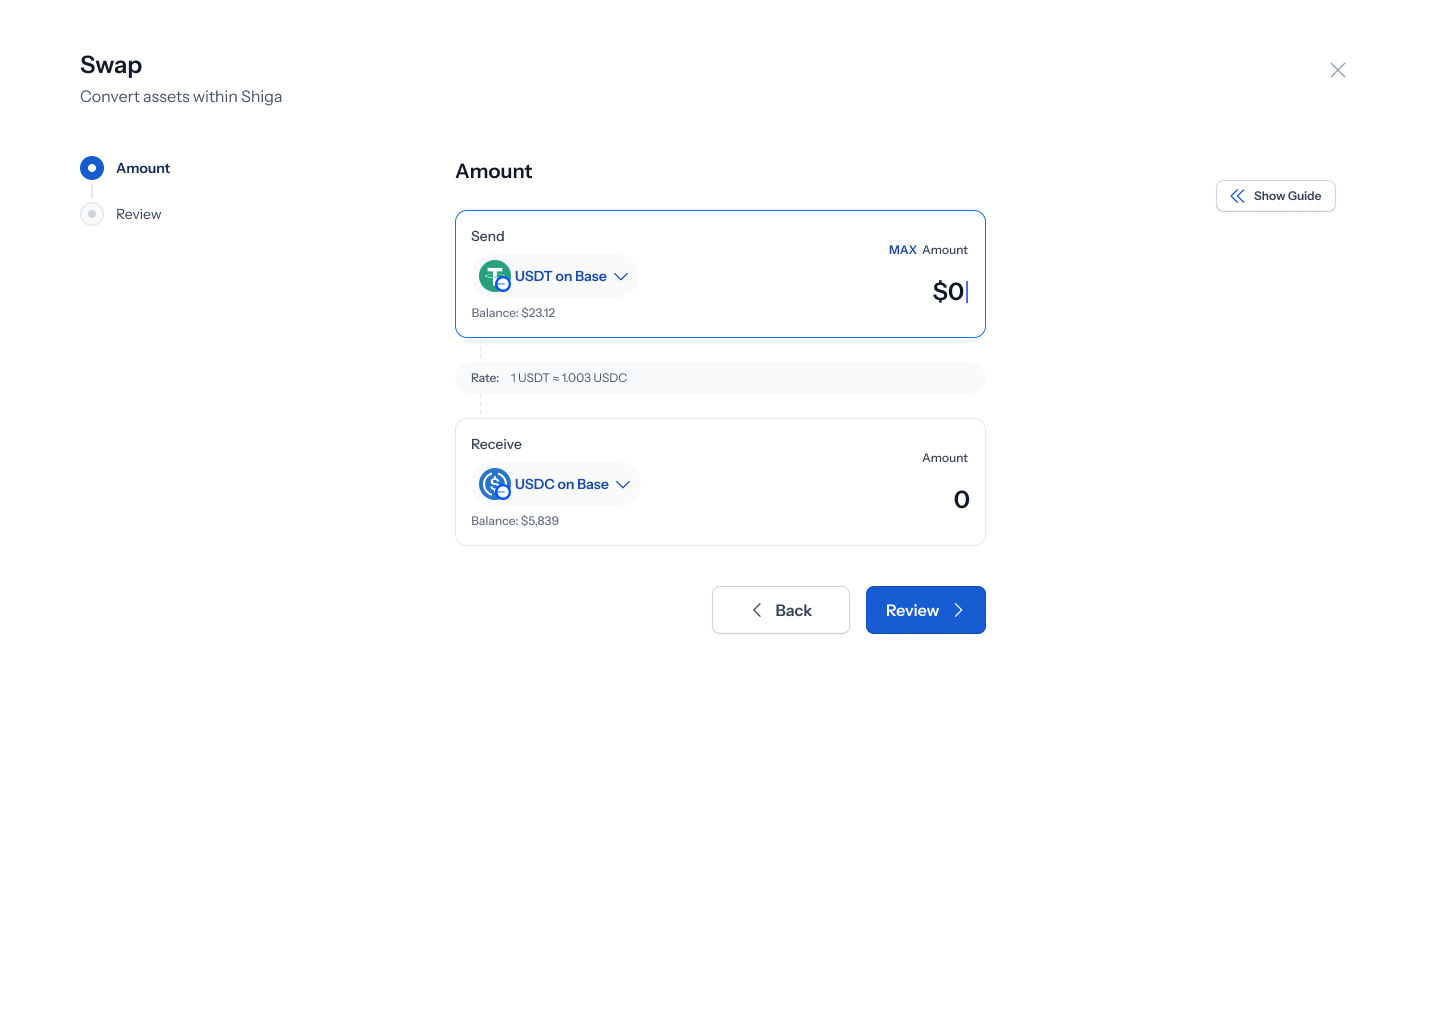
6. Review before you authorize
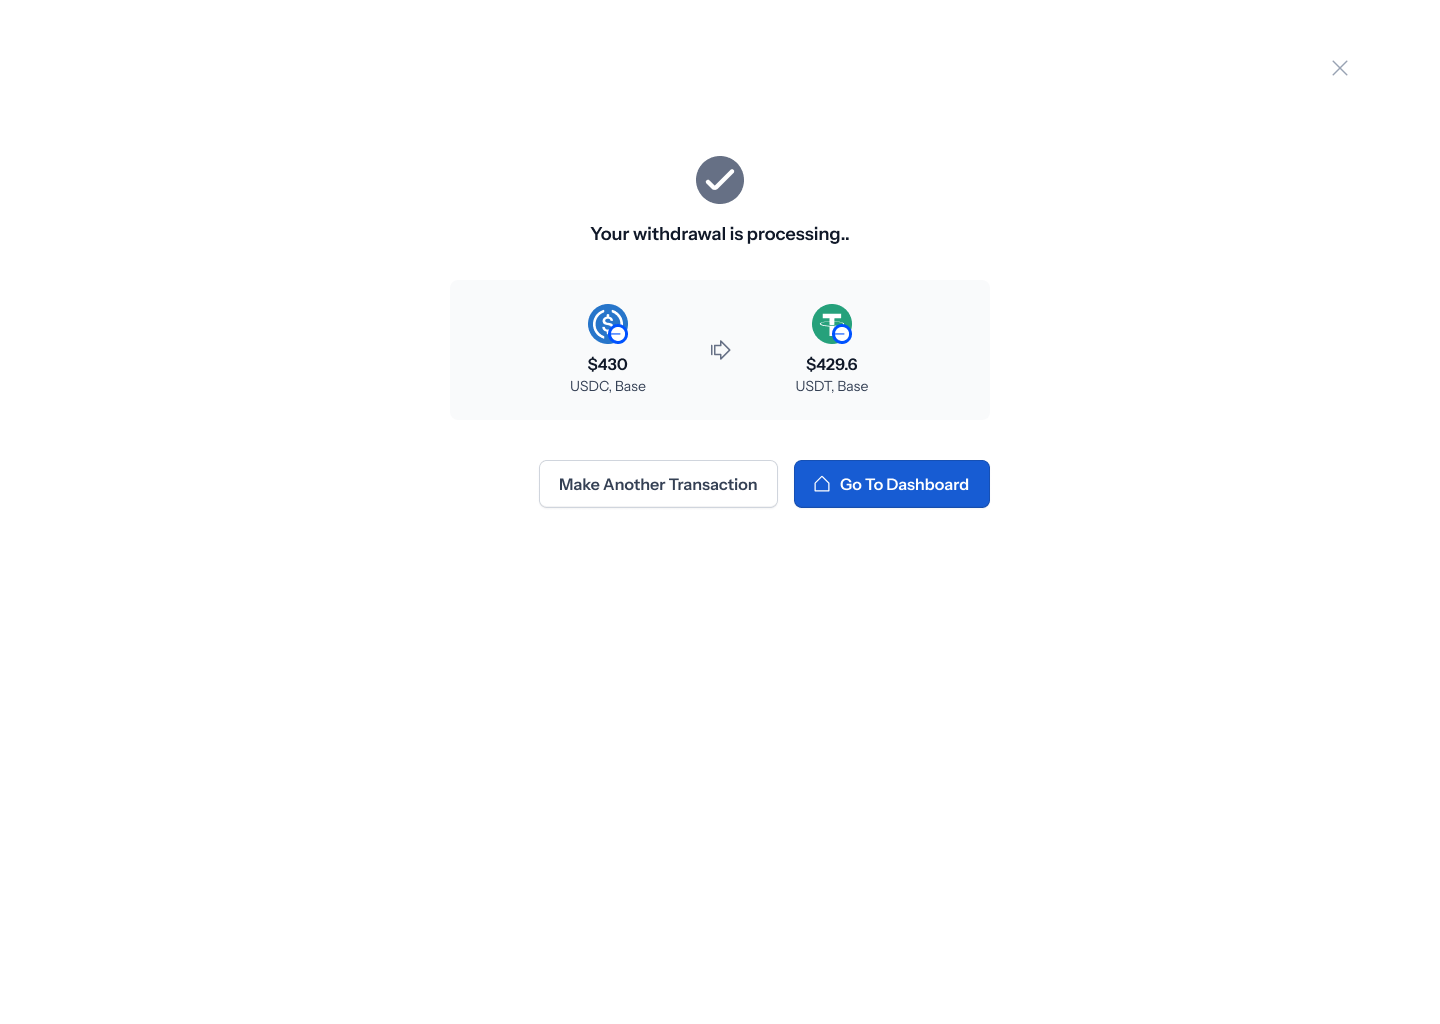
The Review screen shows your swap as a single summary — for example, $430 USDC (Base) → $429.6 USDT (Base) — along with Type: Swap, Estimated time: ~30s, a Network fee, and both From and To confirmed as your own Shiga Wallet (with your wallet address shown, truncated). Nothing is submitted yet — tap Back to change anything, or Authorize Transaction to continue.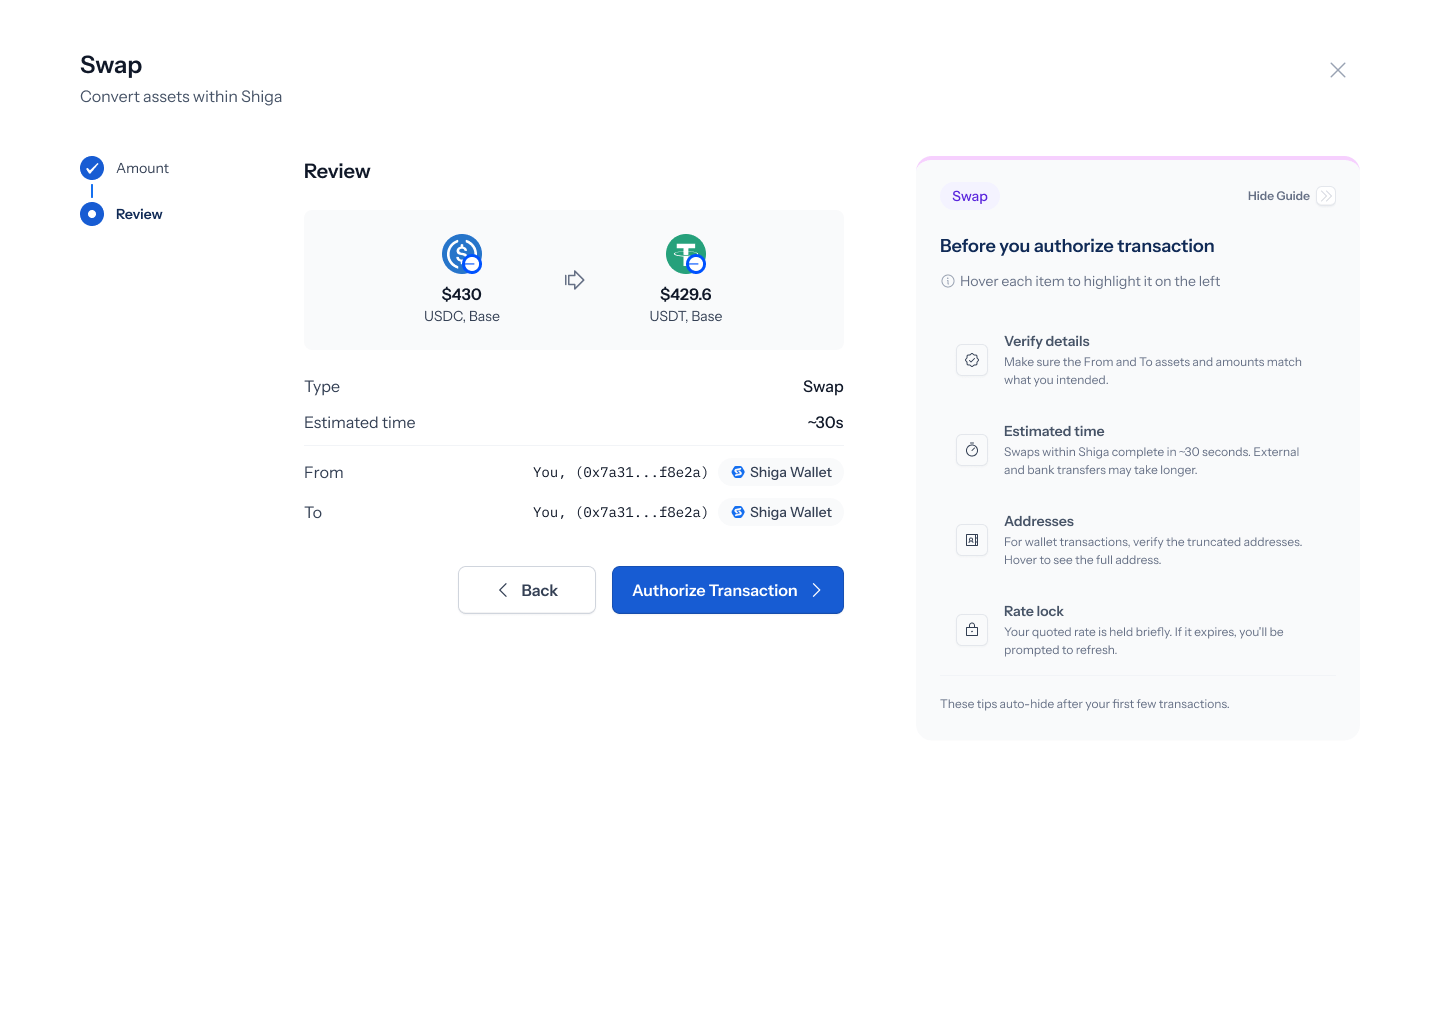
7. Authorize the transaction
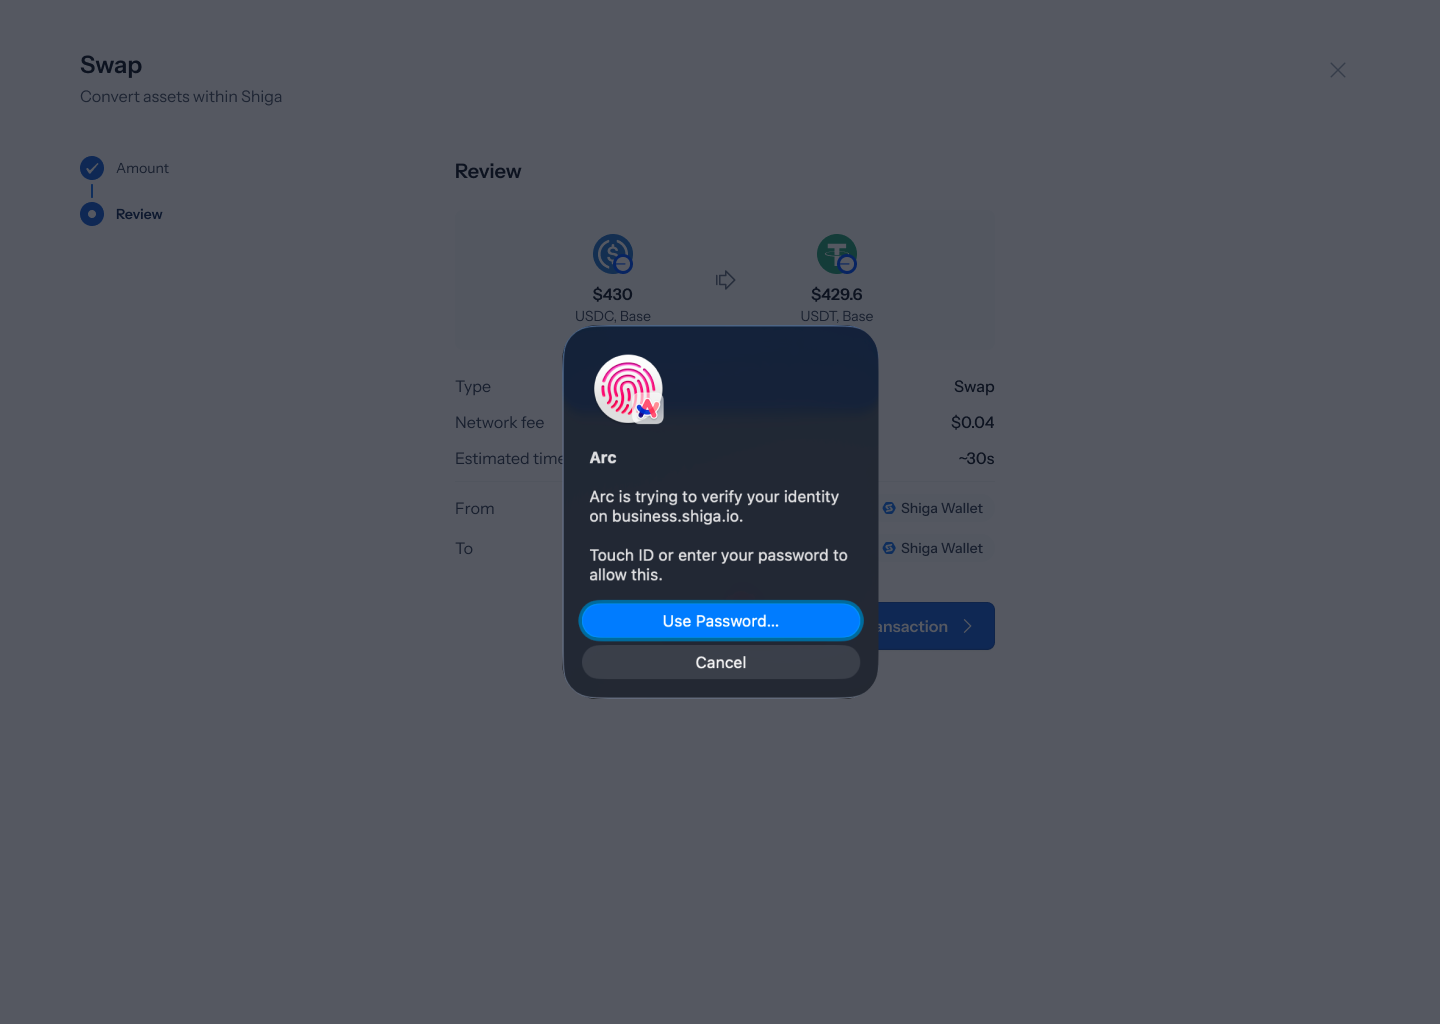 Every Move Money transaction is authorized with your device’s passkey — Face ID, Touch ID, or whatever biometric/PIN unlock your device uses. There’s no code to type in — the native prompt appears right on top of the review screen, and confirming it submits the transaction.
8. Processing and confirmation
Once you authorize, a loading screen reads “Processing your transaction…” with your swap summary still visible underneath. When it’s done, you’ll land on a confirmation screen — “Your withdrawal is processing..” — showing the same summary, with Make another transaction or Go to Dashboard to finish up.