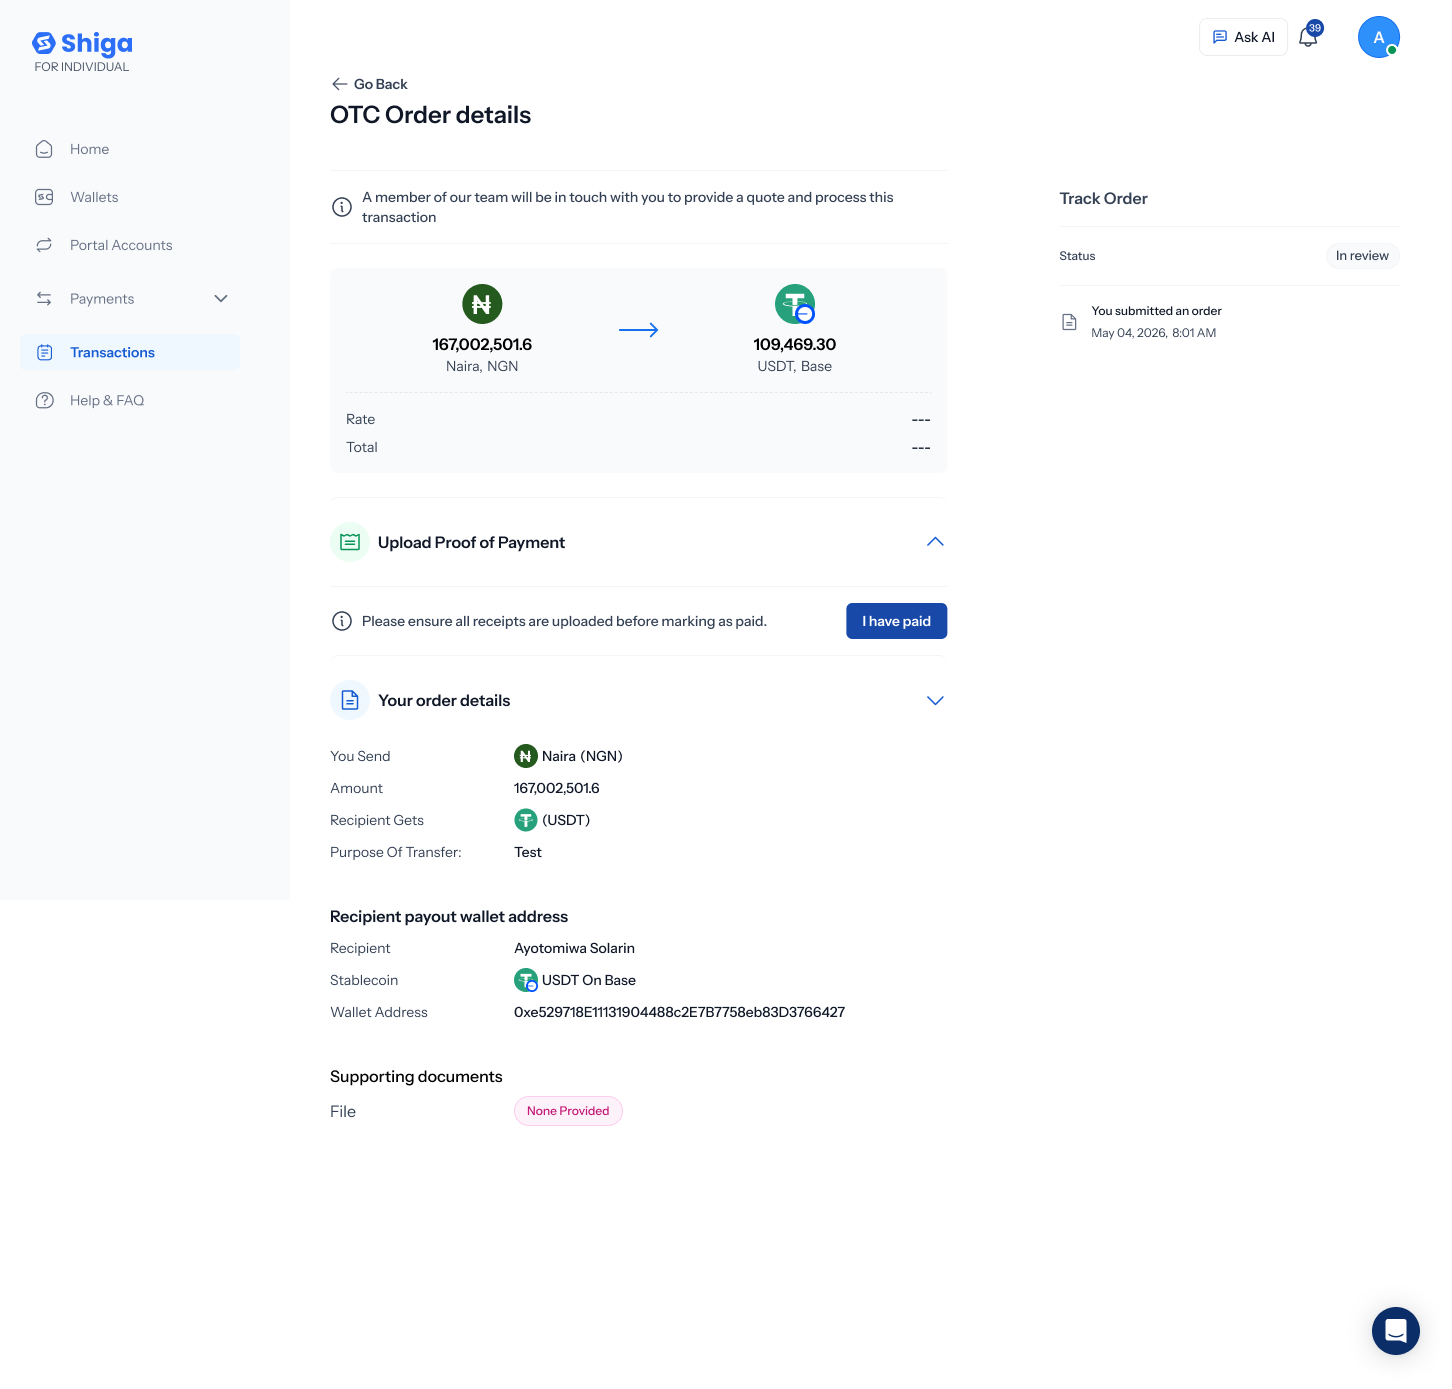
This is one of five OTC flows under Product > Shiga STS. See also: the OTC Guided Tour, Bank Account to Bank Account, Shiga Wallet to Bank Account, and Shiga Wallet to Shiga Wallet.
1. Start the transfer
- From the sidebar, go to Product > Shiga STS.
- On the Move money screen, choose From: Bank account and To: Shiga wallet.
- Click Get started.
2. Enter the deposit amount
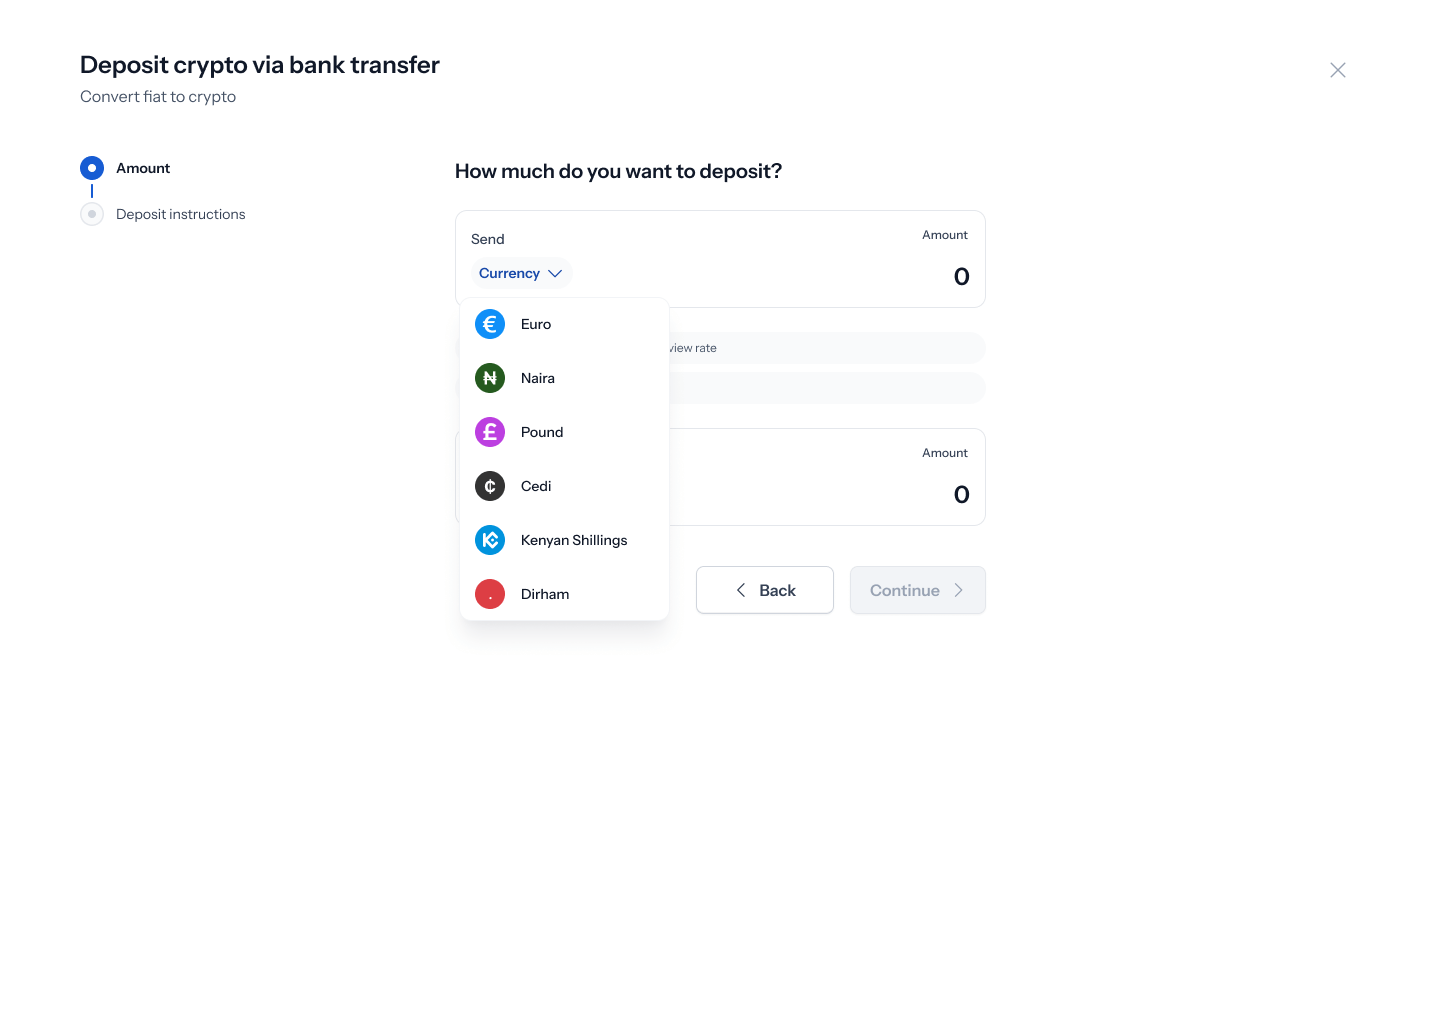
- Under You send, pick the local currency you’re depositing from: Euro, Naira, Pound, Cedi, Kenyan Shillings, or Dirham.
- Under Deposit into, pick the asset you want to receive (USDT or USDC) and the network — Arbitrum, Base, Celo, Optimism, Polygon, or Solana are all supported, each with a different estimated arrival time.
- Review the live Rate shown on screen, then click Continue.
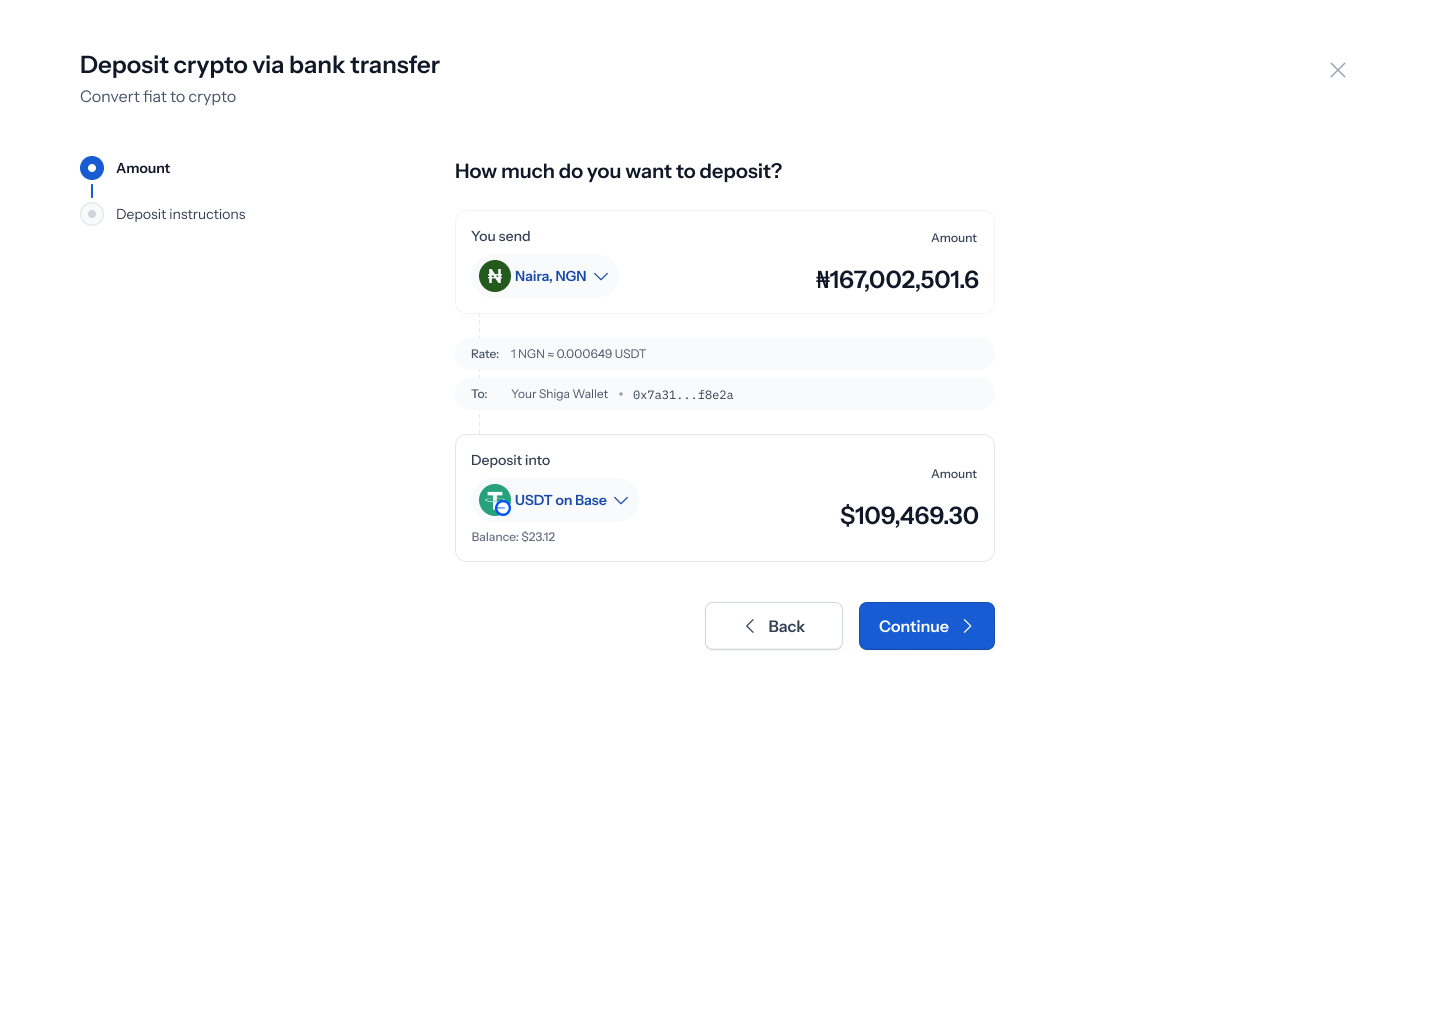
Large deposits trigger a banner: “This trade is over the OTC threshold. Get a hand-quoted custom rate from a trader within 2 minutes.” Trades above $50,000 USD route to a Shiga trader for a custom quote instead of the standard spot rate.
3. Add supporting information (optional)
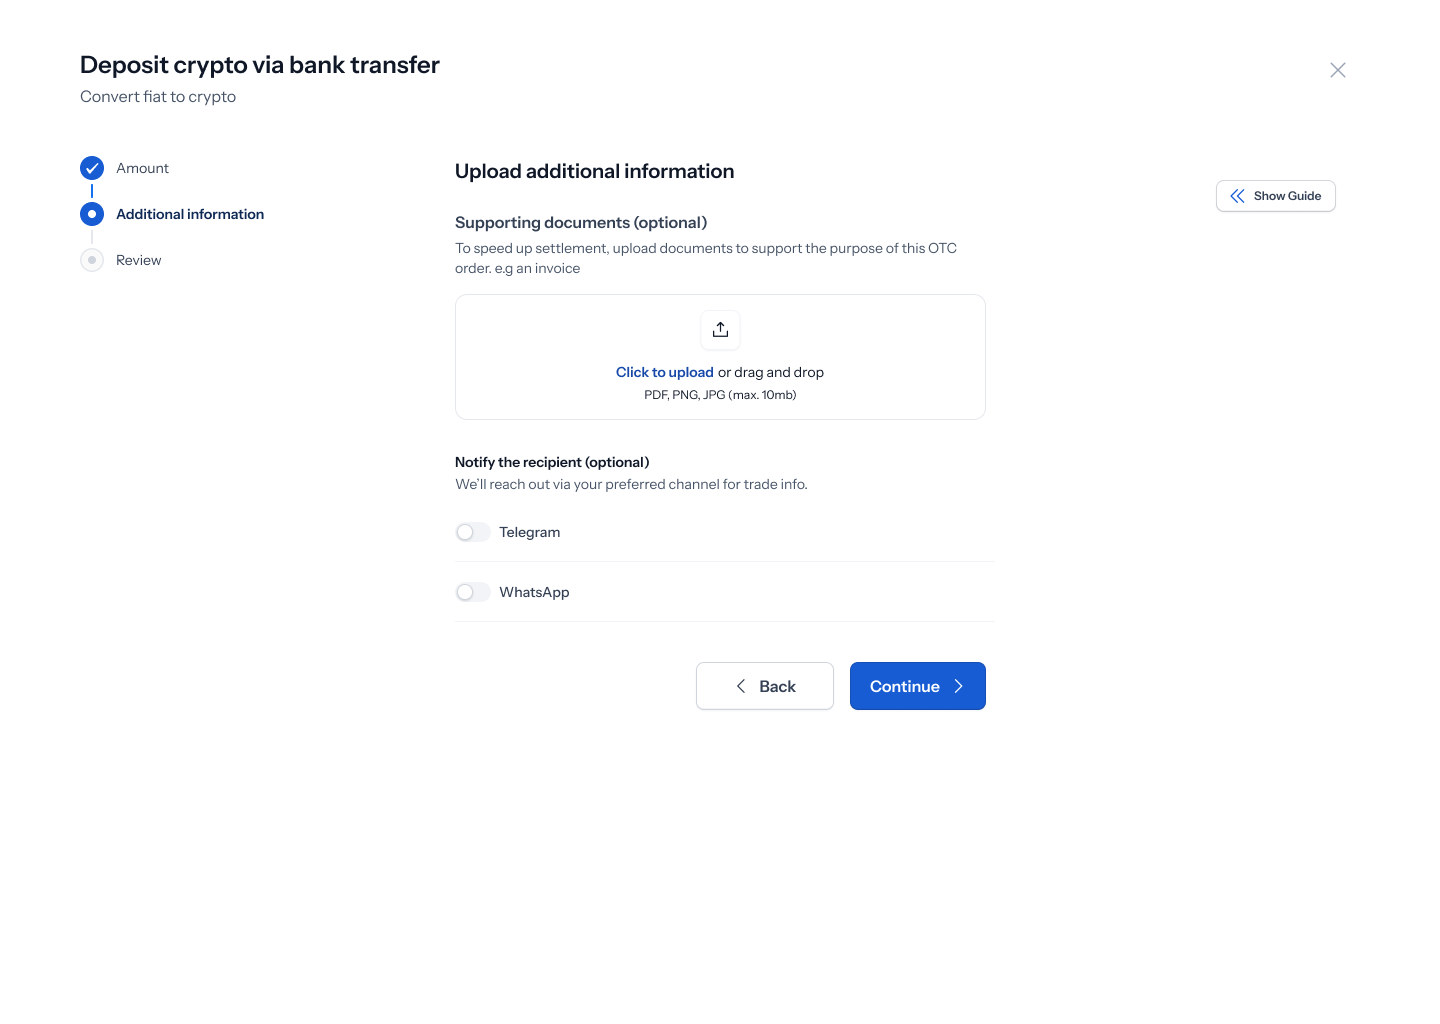
- Under Supporting documents, you can optionally upload a file (PDF, PNG, or JPG, up to 10MB) to support the purpose of the order — for example, an invoice. This can speed up settlement.
- Under Notify the recipient, you can optionally turn on Telegram or WhatsApp so Shiga can reach you with trade info.
- Click Continue.
4. Review and submit
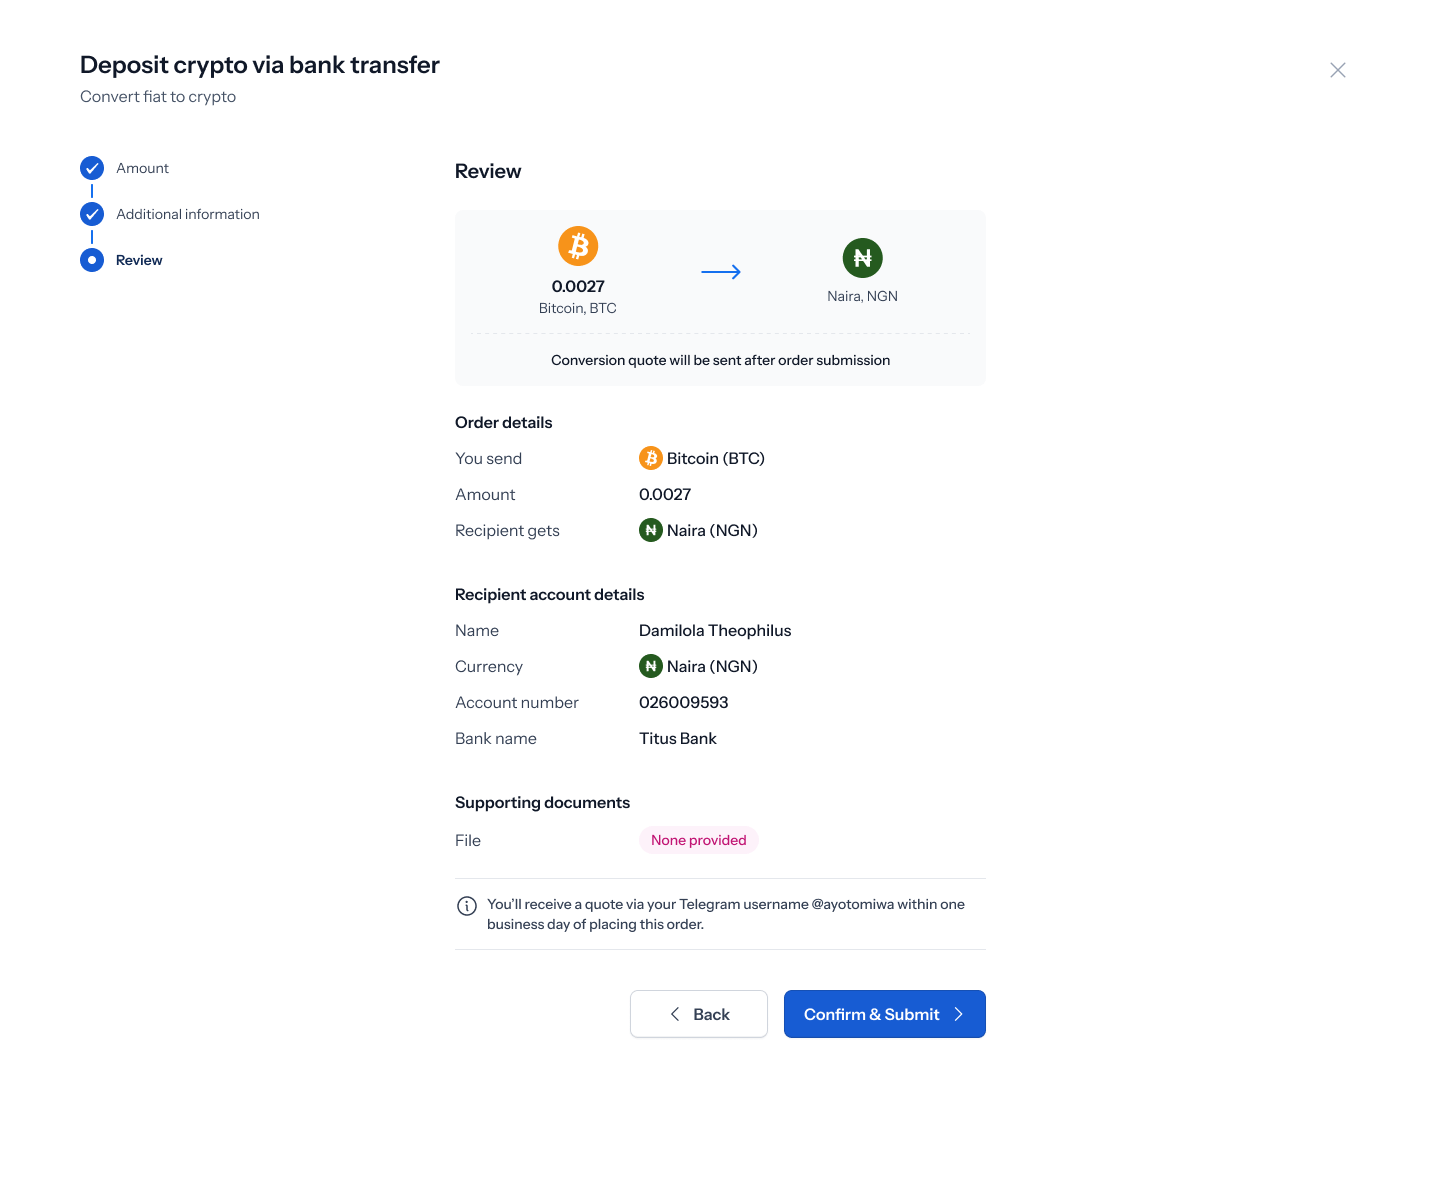
- Review the order summary: amount sent, asset and network received, purpose of transfer, recipient wallet address, and any supporting documents.
- A note confirms your conversion quote will be sent after you submit — OTC orders aren’t quoted instantly like a standard swap.
- Click Confirm & Submit.
On this screen, the summary chip at the top of the page can show a different network than the one listed further down in the order details. Double-check the network before submitting if you’re depositing into a specific chain.
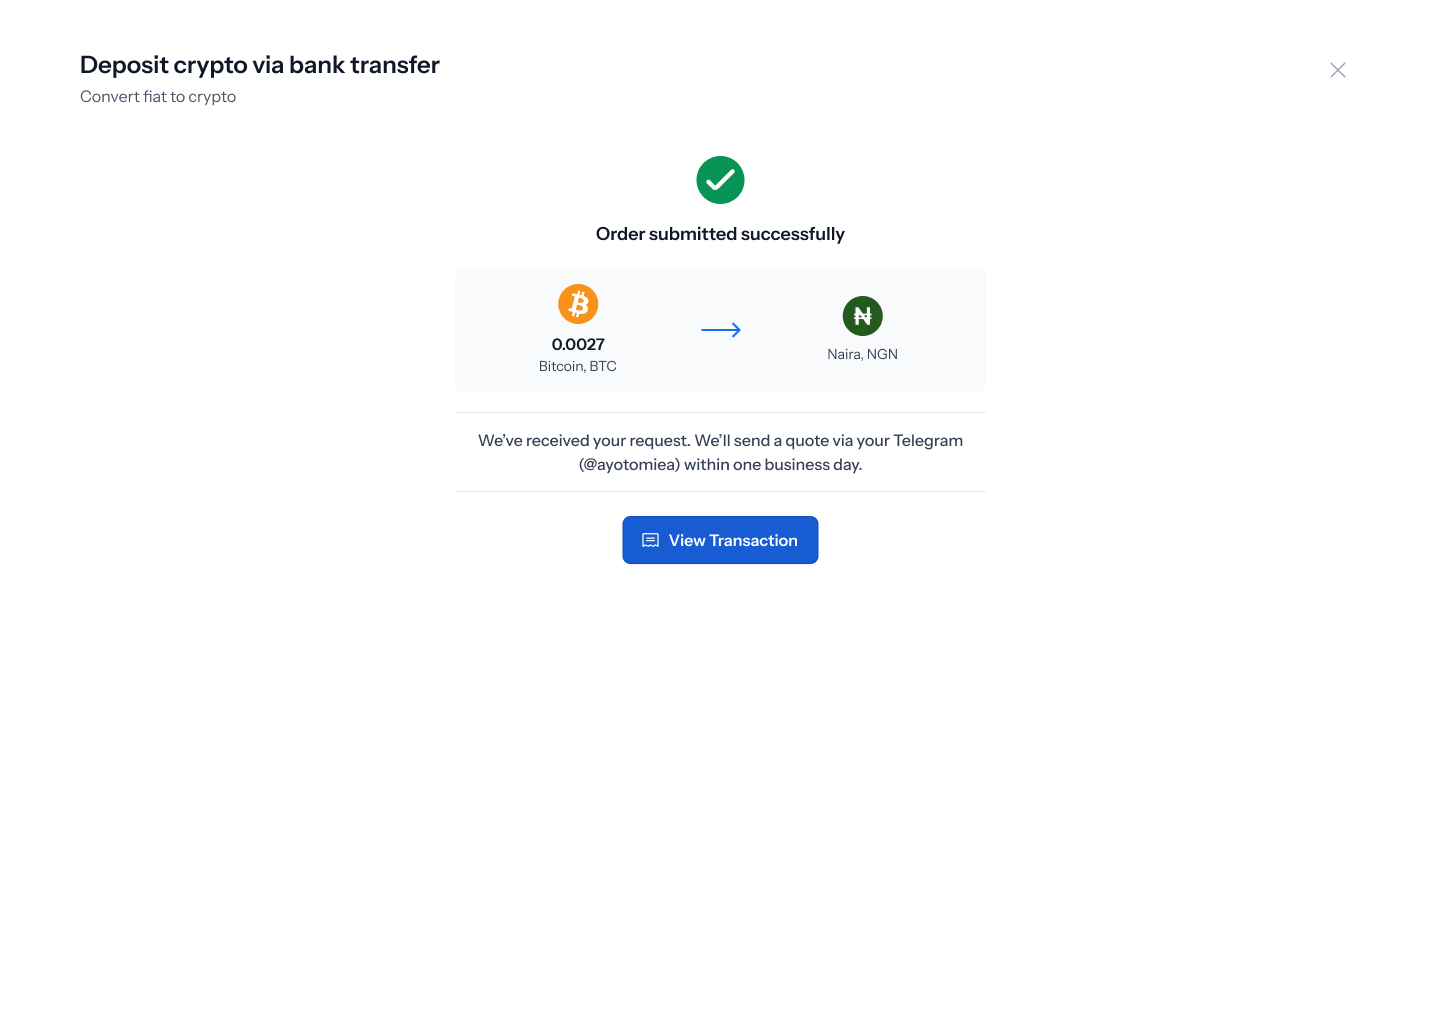
5. Confirmation
6. Track your order
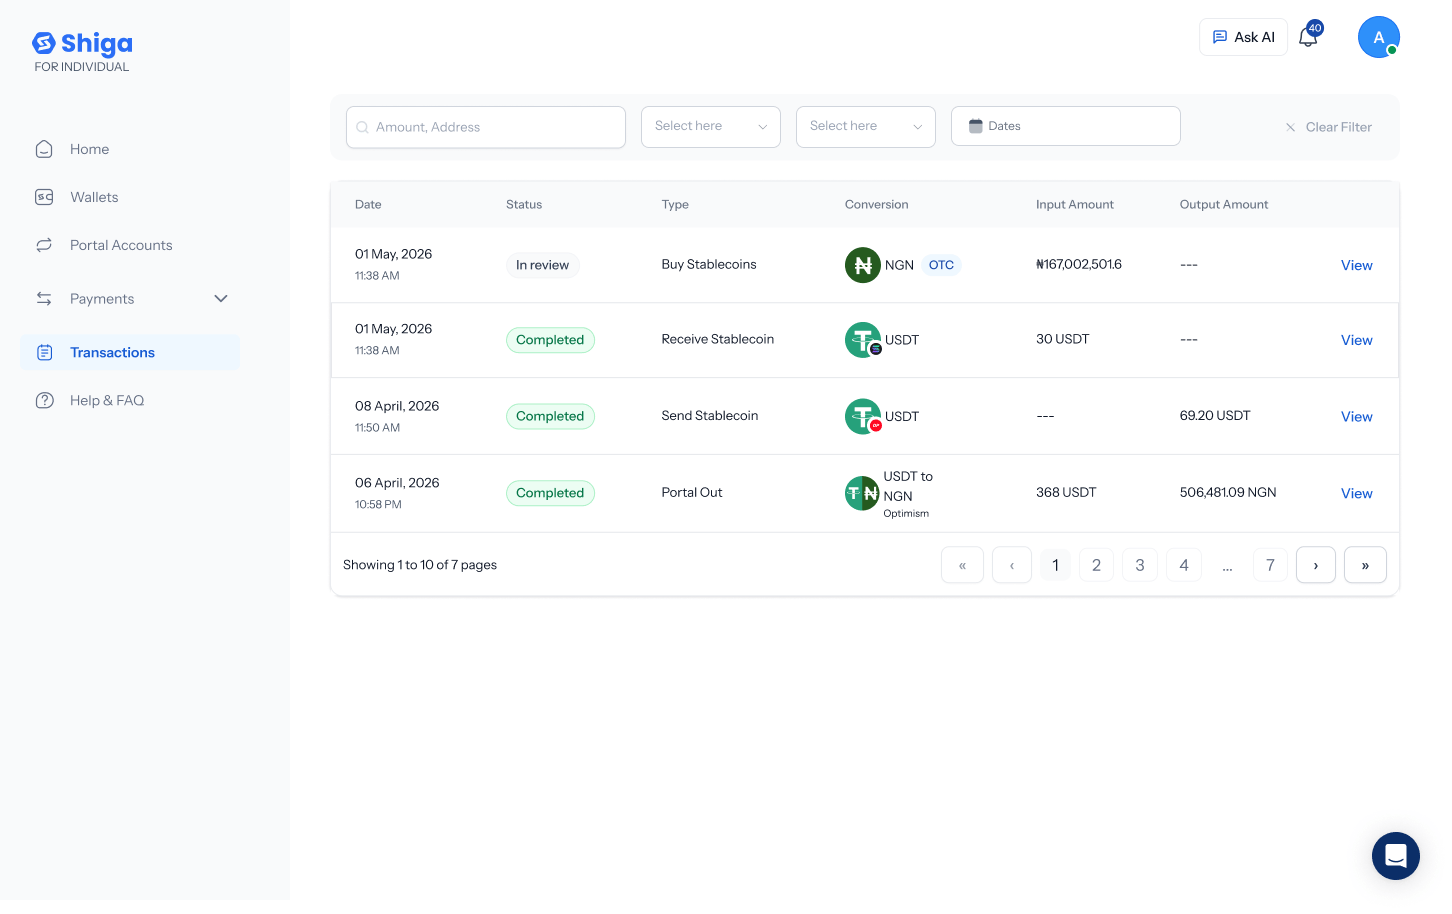
- Go to Transactions to see all your OTC orders, with filters for amount, address, and date.
- Open an order to see its OTC Order details — status, rate, total, and a place to Upload Proof of Payment once you’ve sent your bank transfer.