

This is one of five OTC flows under Product > Shiga STS. See also: the OTC Guided Tour, Bank Account to Shiga Wallet, Bank Account to Bank Account, and Shiga Wallet to Shiga Wallet.
1. Start the transfer
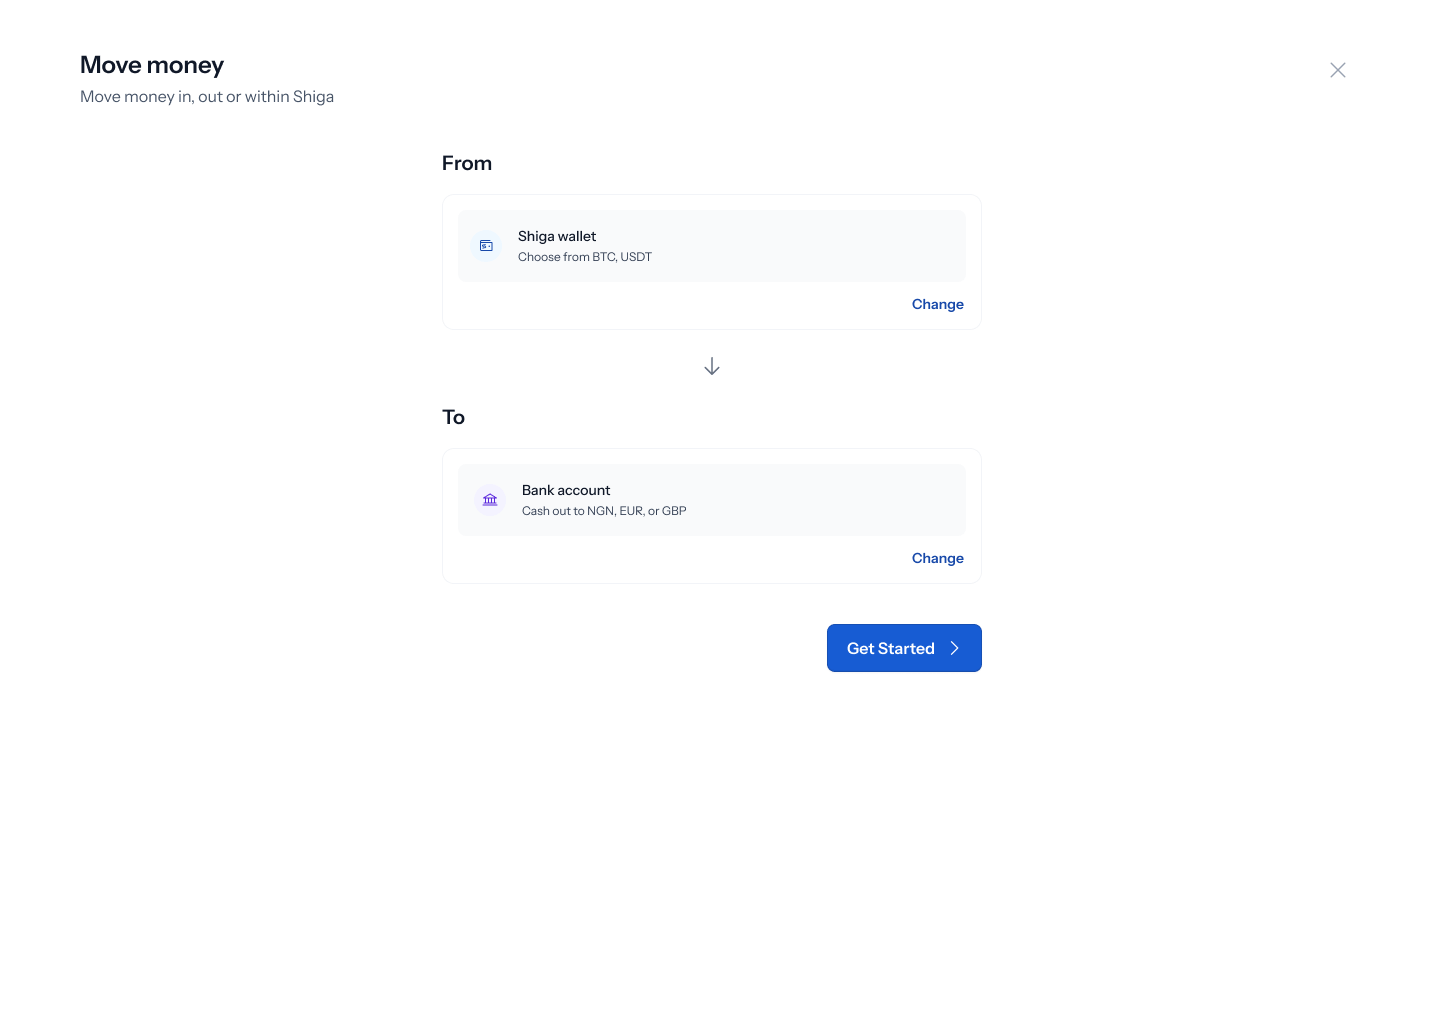
- From the sidebar, go to Product > Shiga STS.
- On the Move money screen, choose From: Shiga wallet and To: Bank account.
- Click Get started.
2. Add a recipient bank account
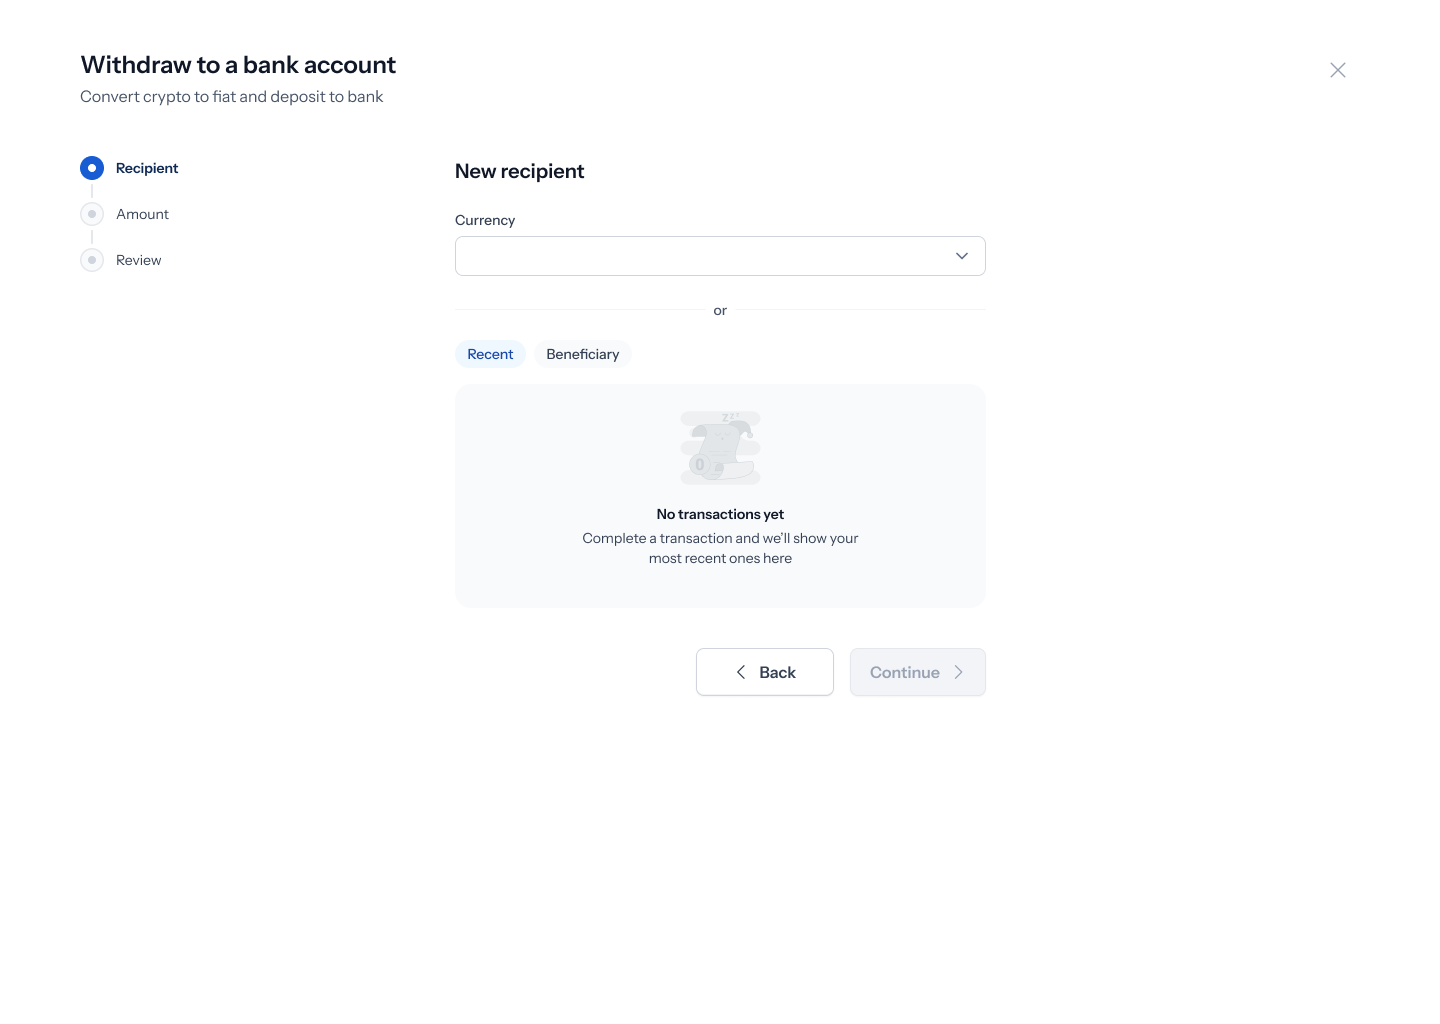
- Pick a currency from Recent/Beneficiary, or add a new recipient.
- The required fields change depending on the currency you choose:
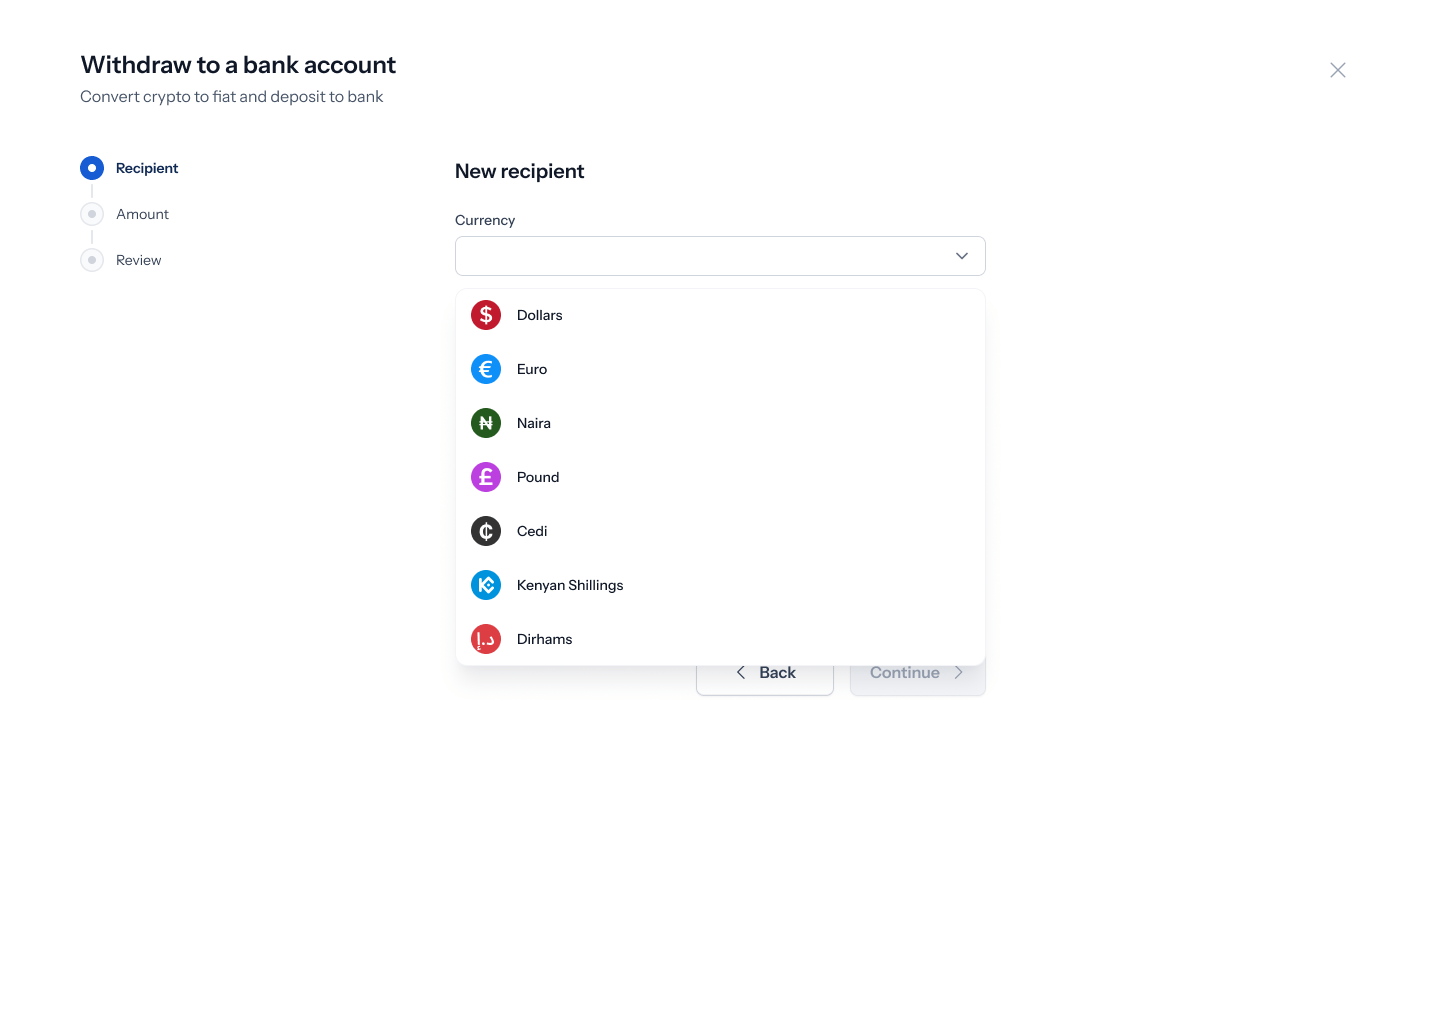
- Naira (NGN) or Cedi (GHS): bank name and account number.
- Euro: account name, country, bank name, and IBAN.
- US Dollar: legal name, account number, account name, bank name, transfer type (Domestic or International/SWIFT), routing number, country, address, and postal code.
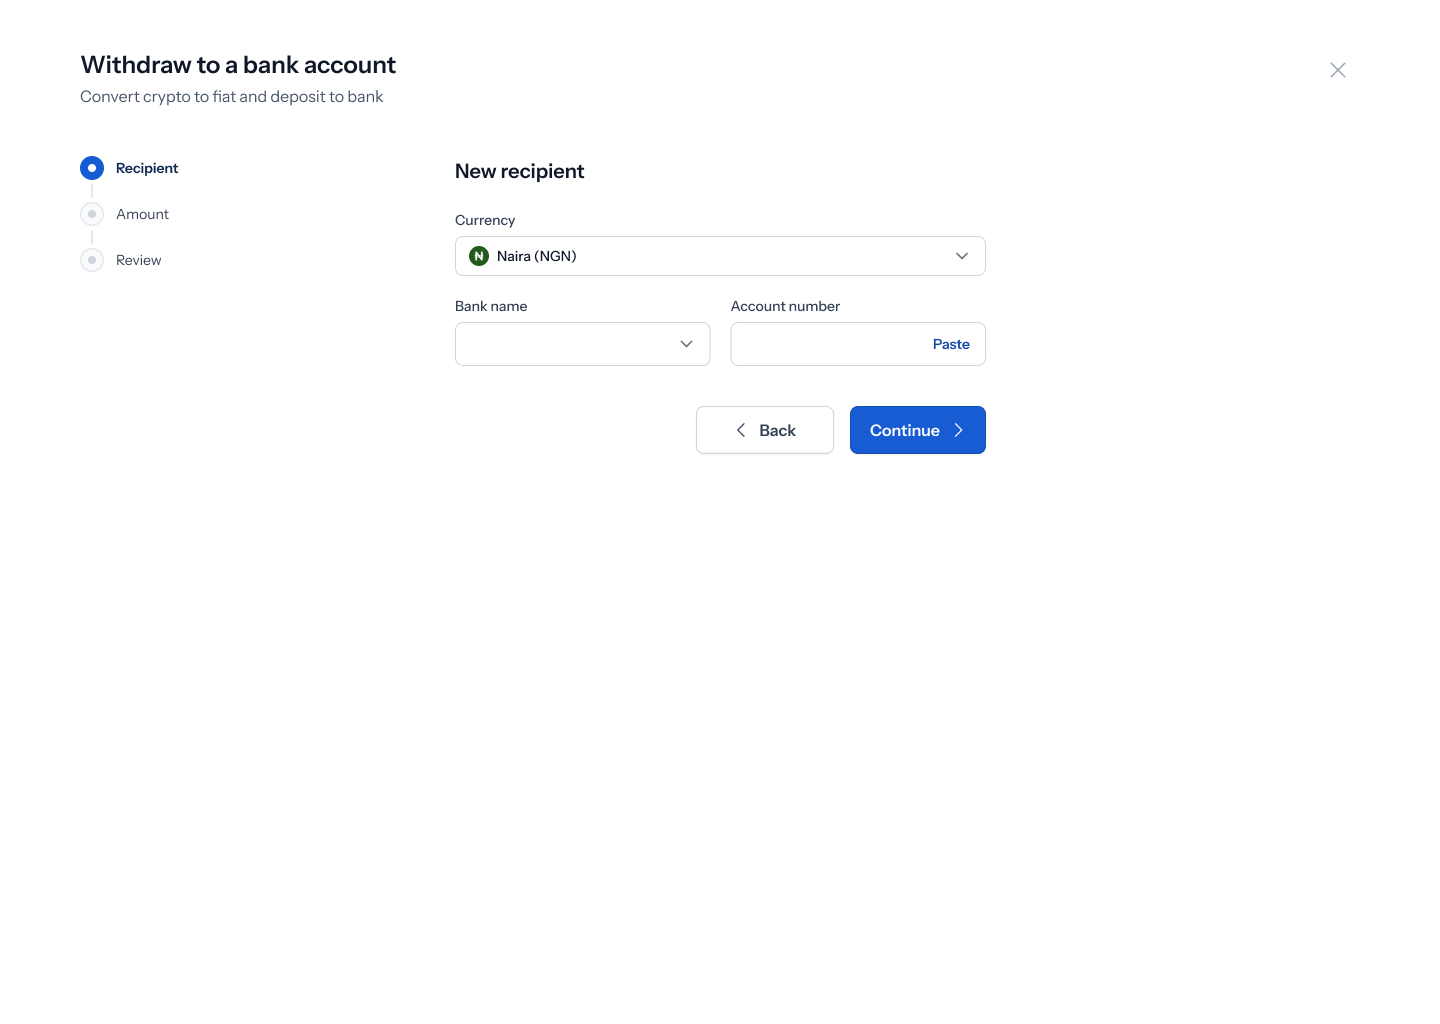
- Click Continue.
3. Enter the amount
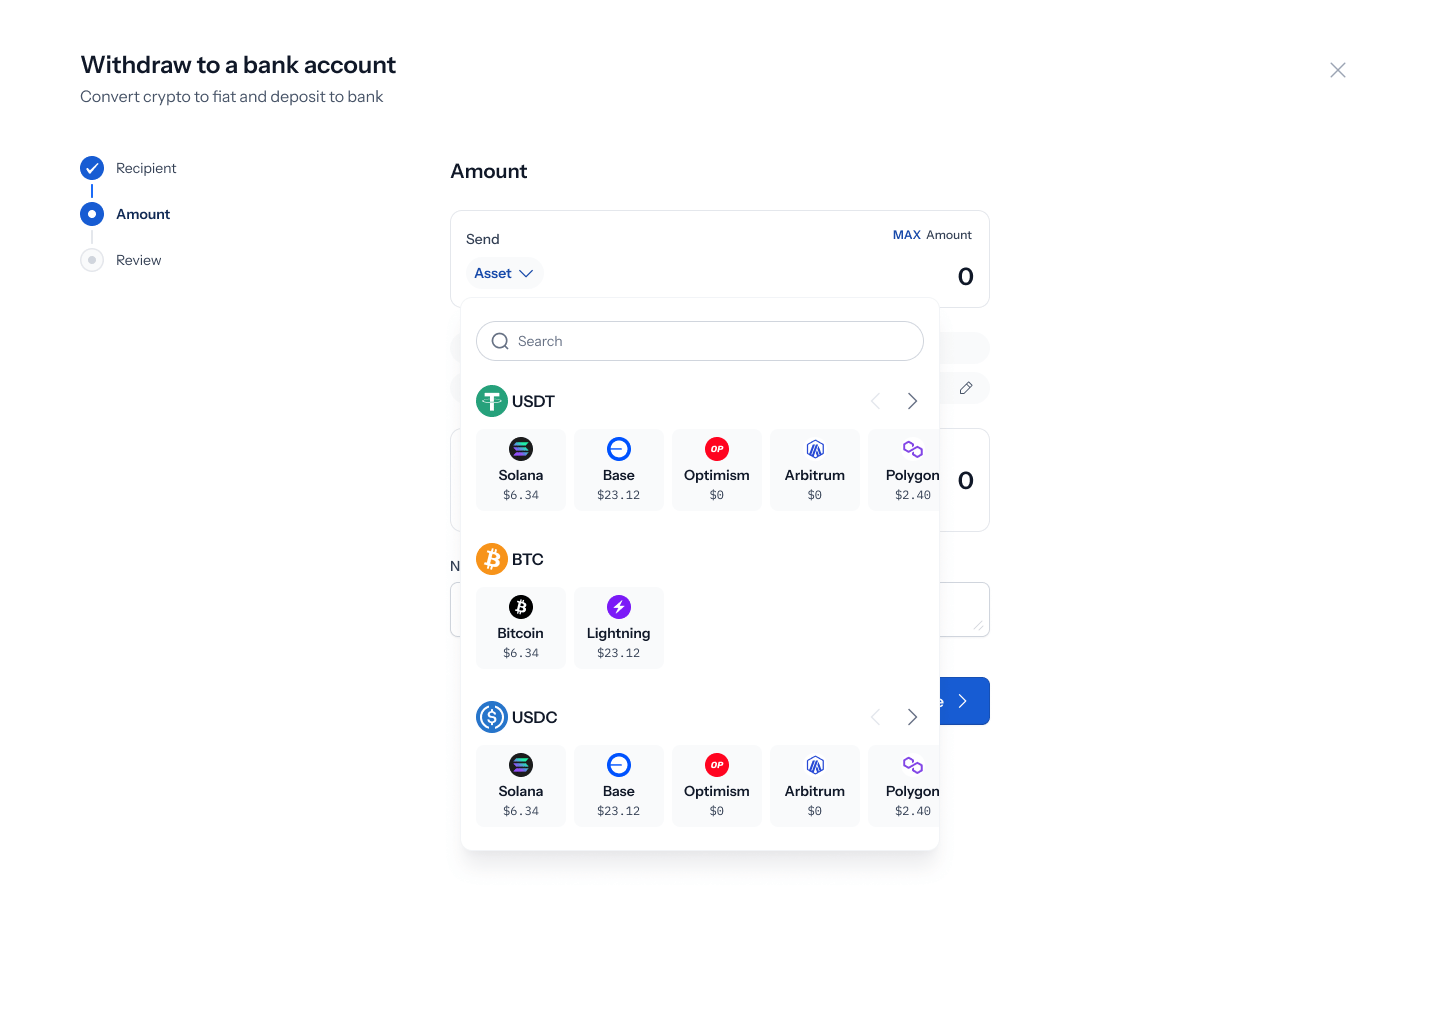
- Choose the asset you’re sending from your Shiga wallet — USDT, USDC, or BTC — and the network (for USDT/USDC: Solana, Base, Optimism, Arbitrum, or Polygon; for BTC: Bitcoin or Lightning).
- Enter an amount, or click MAX to send your full balance. You can add an optional note under Narration.
- Click Continue.
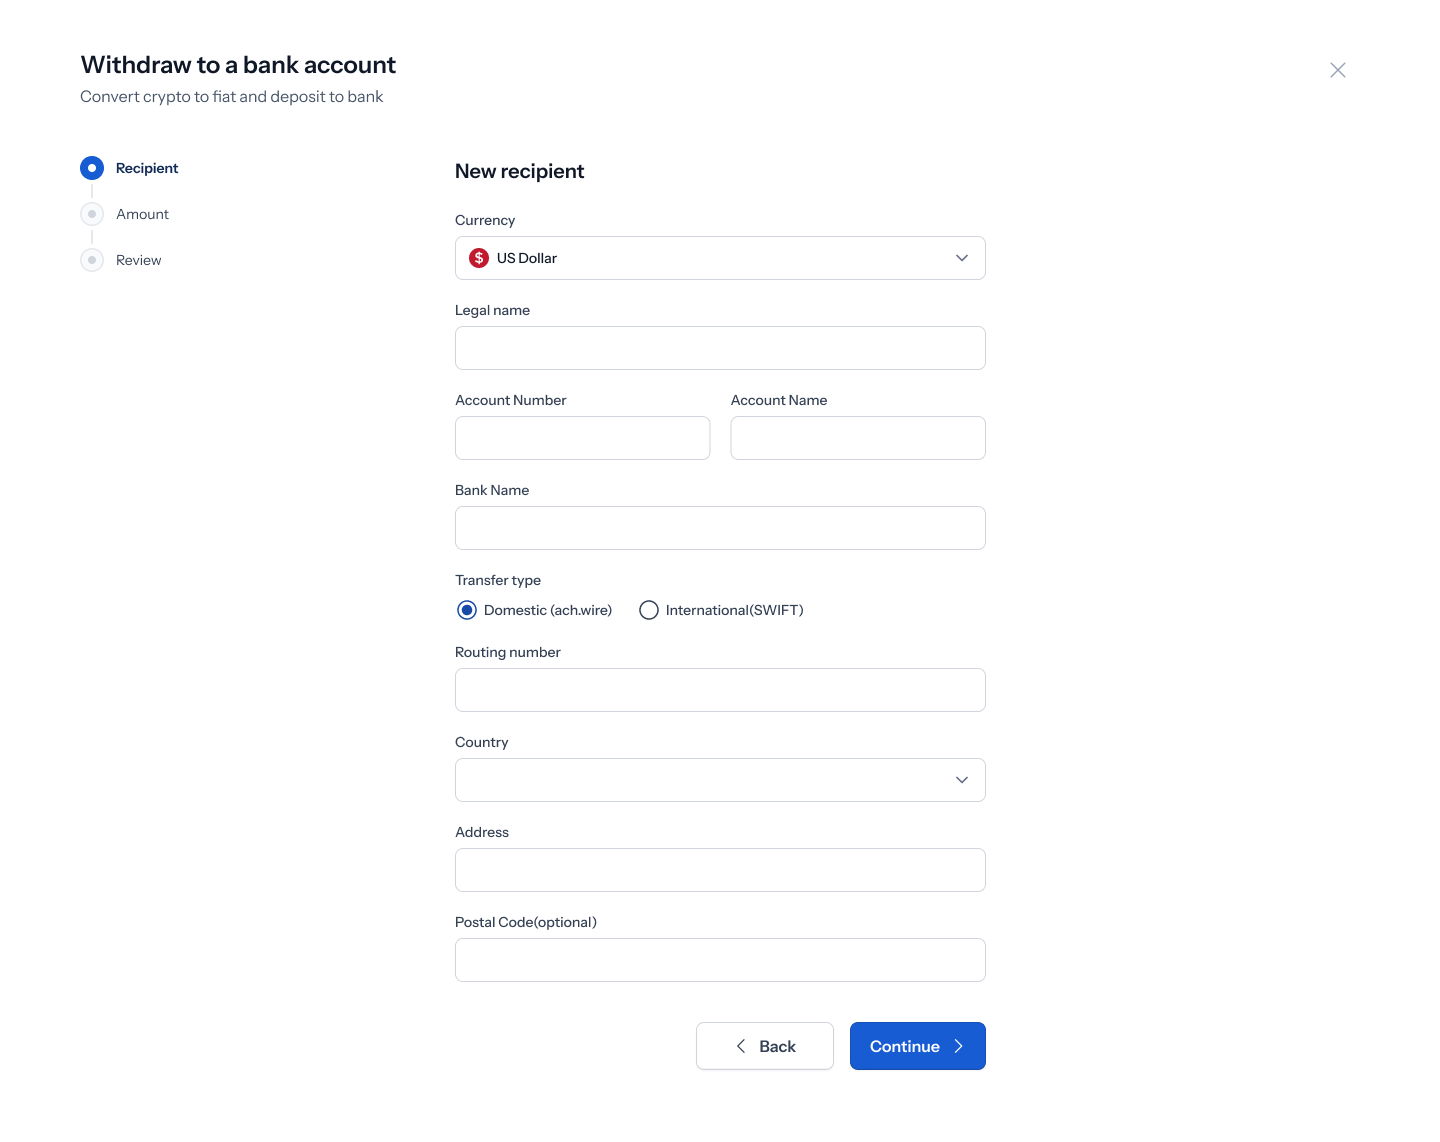
Large withdrawals trigger the same OTC threshold banner seen in other flows: “This trade is over the OTC threshold. Get a hand-quoted custom rate from a trader within 2 minutes.”
4. Review and submit
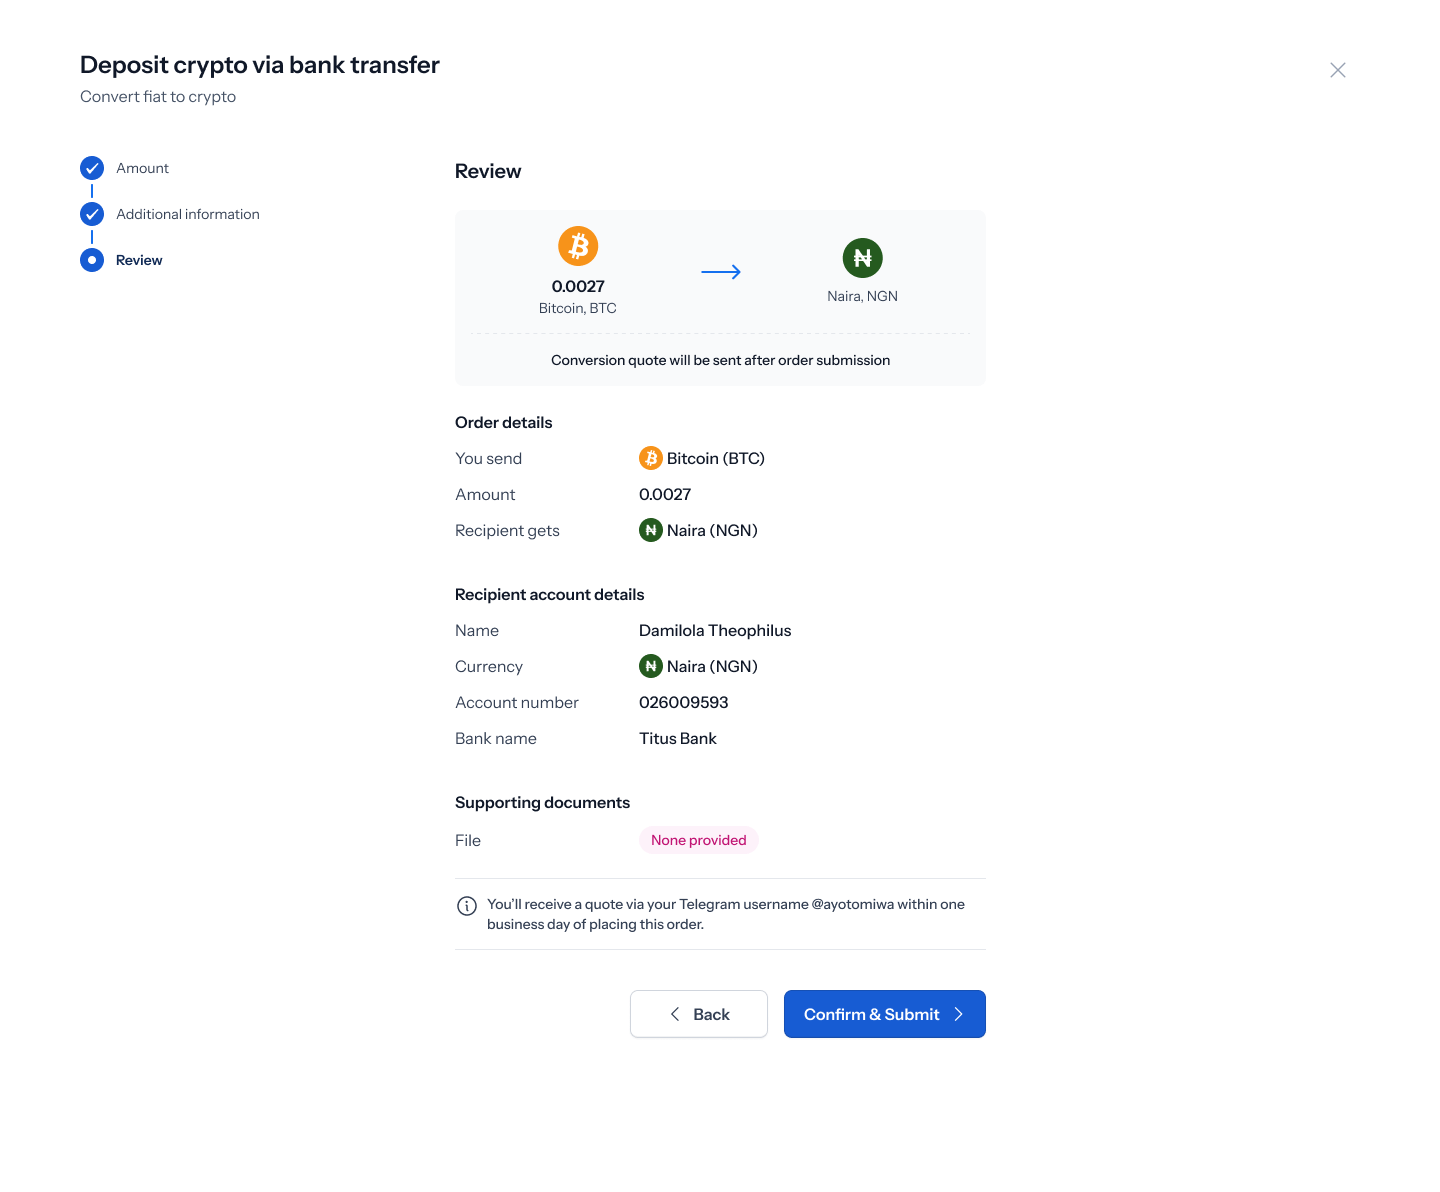
- Review the order: asset and amount sent, currency and amount your recipient gets, and your recipient’s account details.
- Click Confirm & Submit.
5. Confirmation
Once submitted, you’ll see an Order submitted successfully confirmation, and a Shiga team member will follow up with a quote via your preferred contact channel.No confirmation screenshot was available for this specific direction at time of writing — the confirmation screen matches the one shown in the Bank Account to Shiga Wallet guide.