

Bank Account to External Address
This Move Money path covers converting money from your bank account into crypto and sending it straight to an external wallet address — skipping your Shiga wallet entirely.This is a different guide from Shiga Wallet to Shiga Wallet (Swap), Shiga Wallet to External Address (Withdrawal), My Shiga Wallet to Bank Account (Offramp), External Wallet to My Shiga Wallet (Swap), External Wallet to External Address (Send), External Wallet to Bank Account (Offramp), and Bank Account to My Shiga Wallet (Onramp). Here, money moves from your bank account, gets converted to crypto, and lands directly at an external wallet address — your Shiga wallet is never touched.
1. Open your home screen and tap Move Money
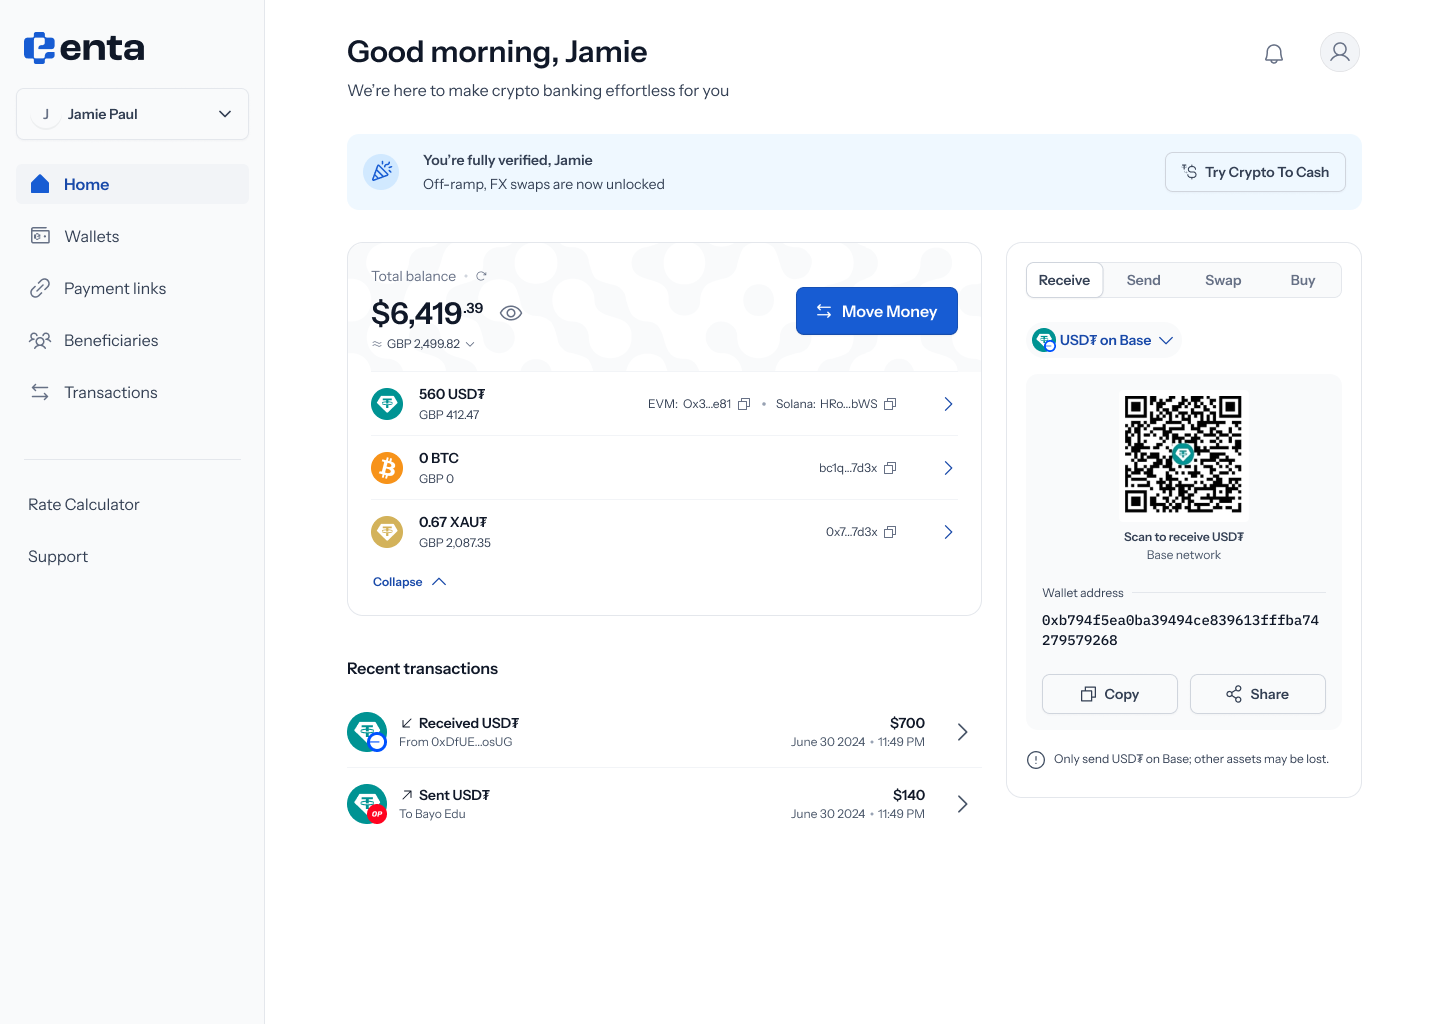 Every Move Money flow starts here, on your Enta home screen — tap Move Money to begin.
2. Choose Bank account as the source
Tapping Move Money opens a panel titled “Move money” — “Send, receive, or swap assets”. Tap Change on the From field to pick where the money’s coming from: Shiga wallet (“Choose from BTC, USDT”), External wallet (“Connect MetaMask or other wallets”), or Bank account (“Transfer from NGN, EUR, or GBP”). Pick Bank account.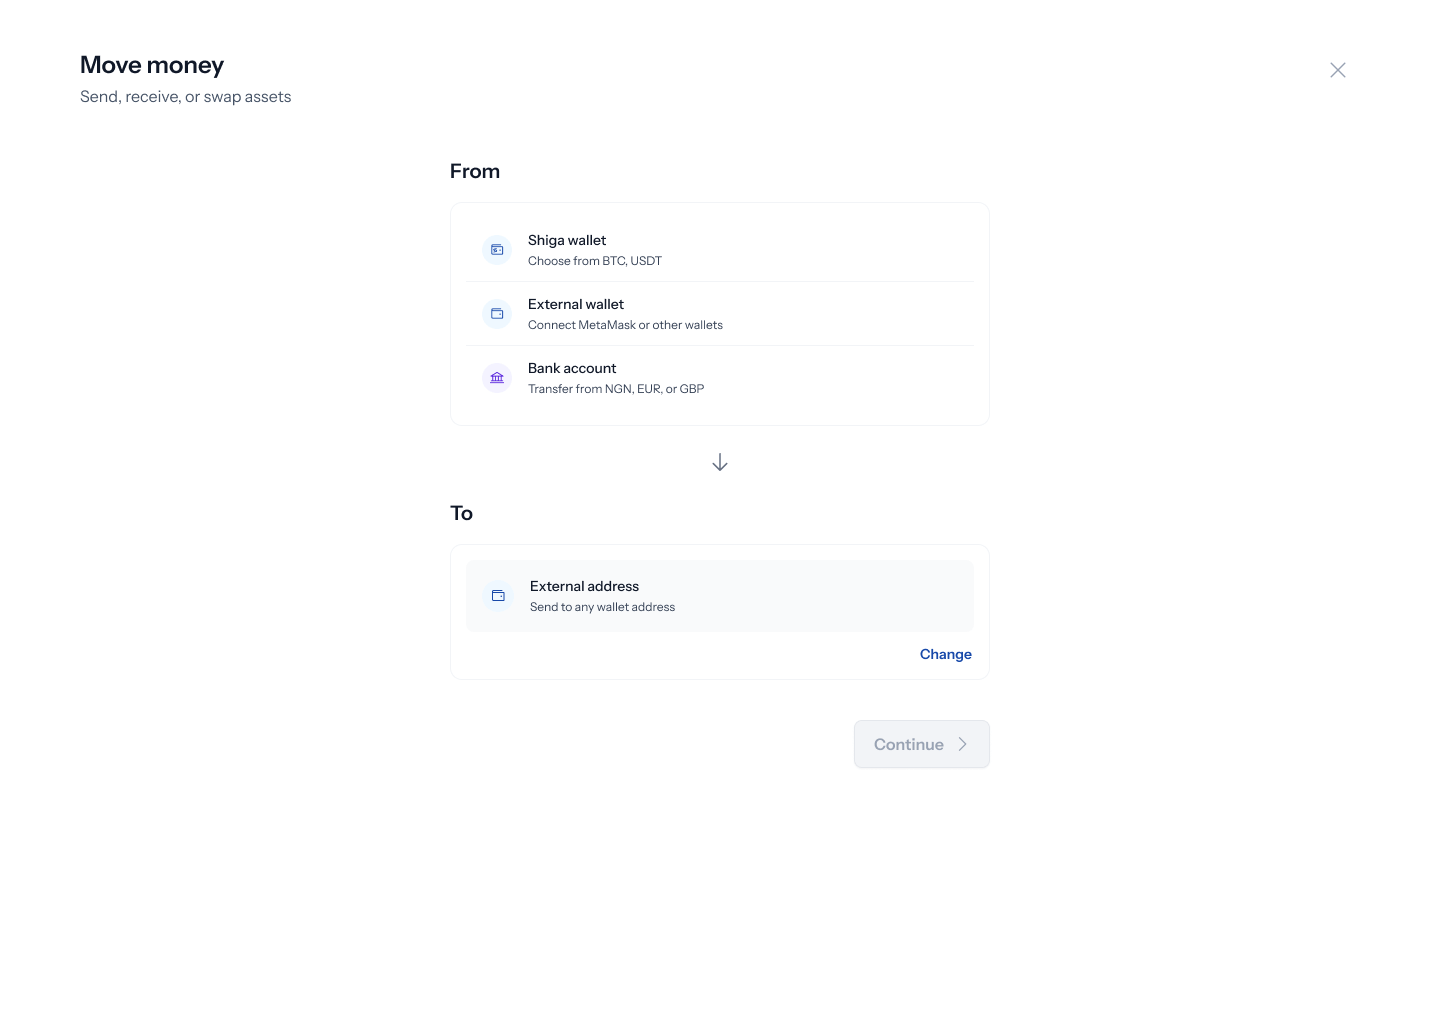
3. Choose External address as the destination
With Bank account set as From, tap Change on the To field to see: Shiga wallet (“Receive as BTC, USDT”), External address (“Send to any wallet address”), or Bank account (“Cash out to NGN, EUR, or GBP”). Pick External address.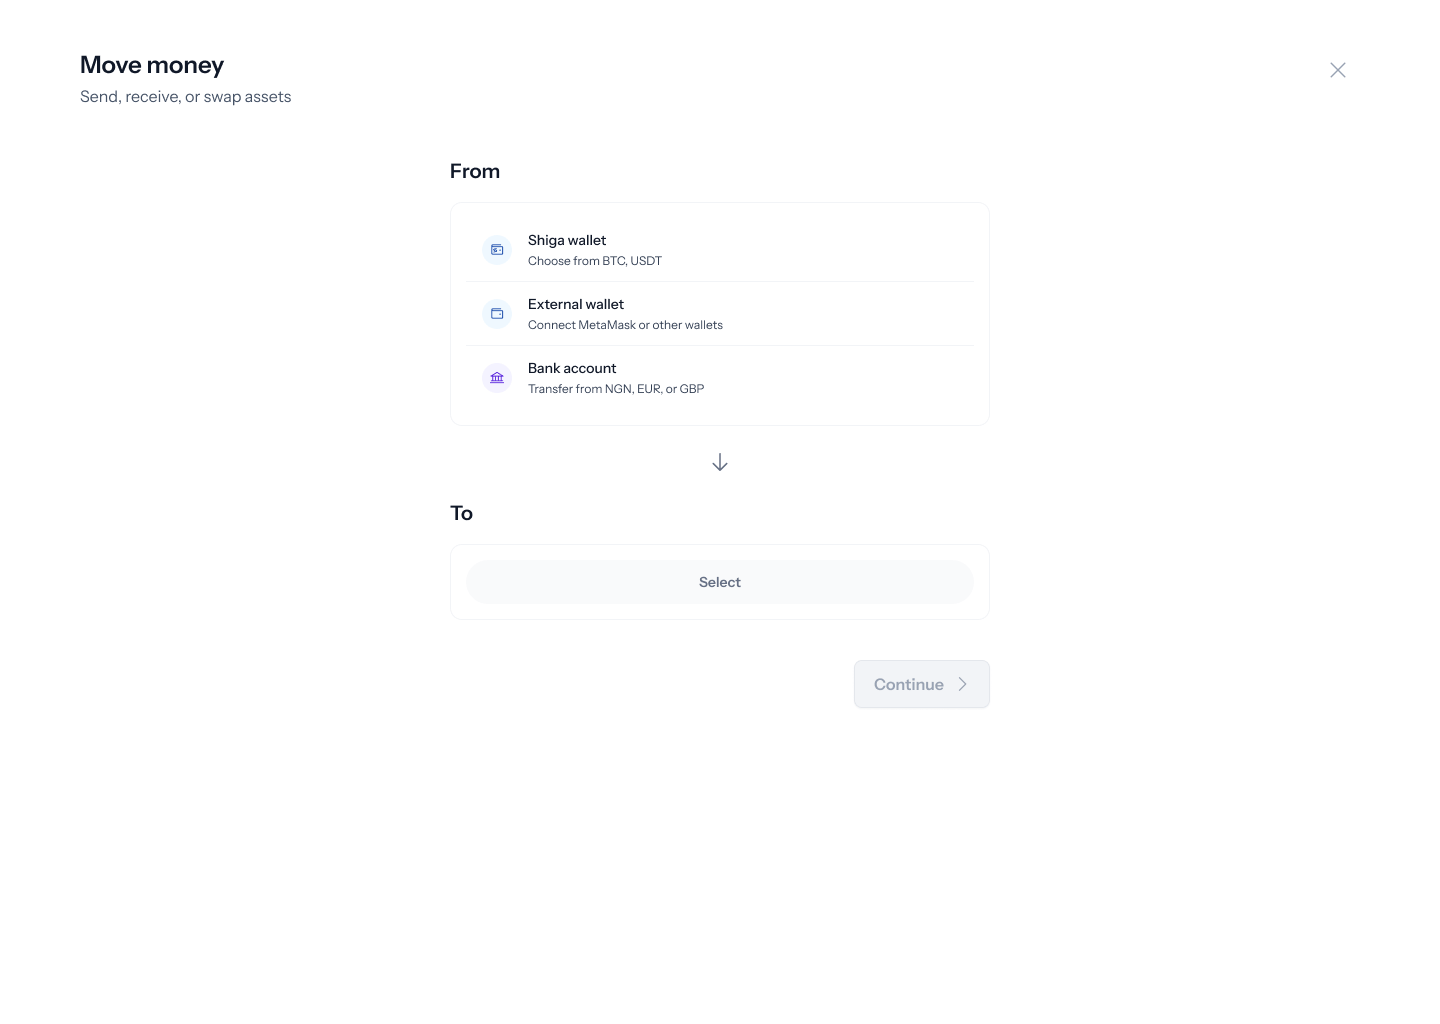
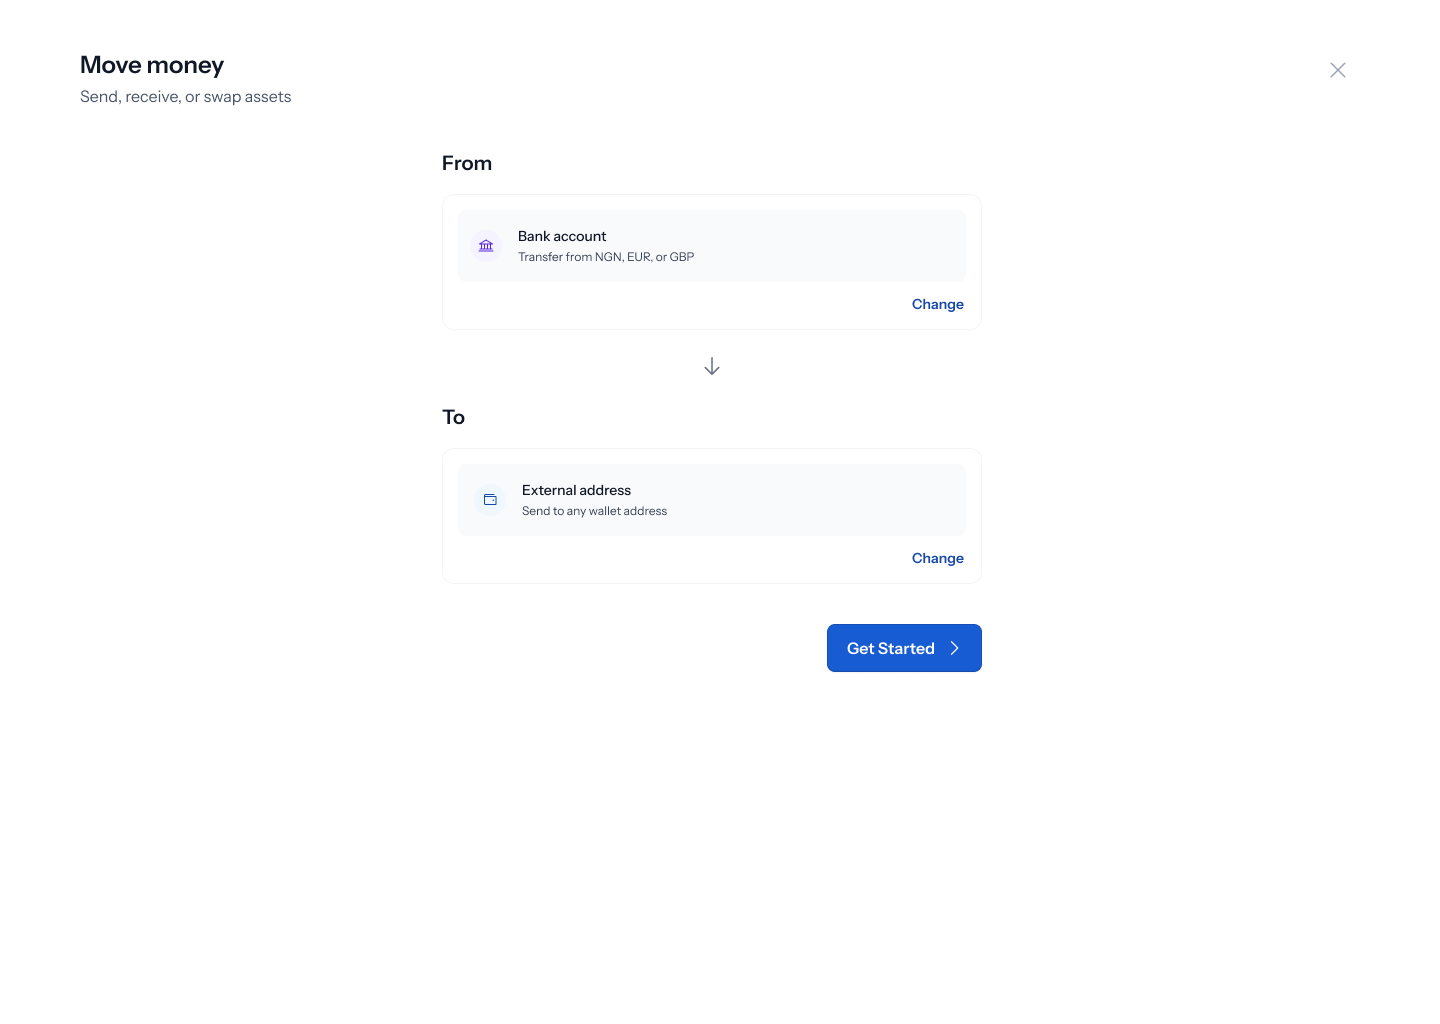
4. Enter the recipient’s wallet address
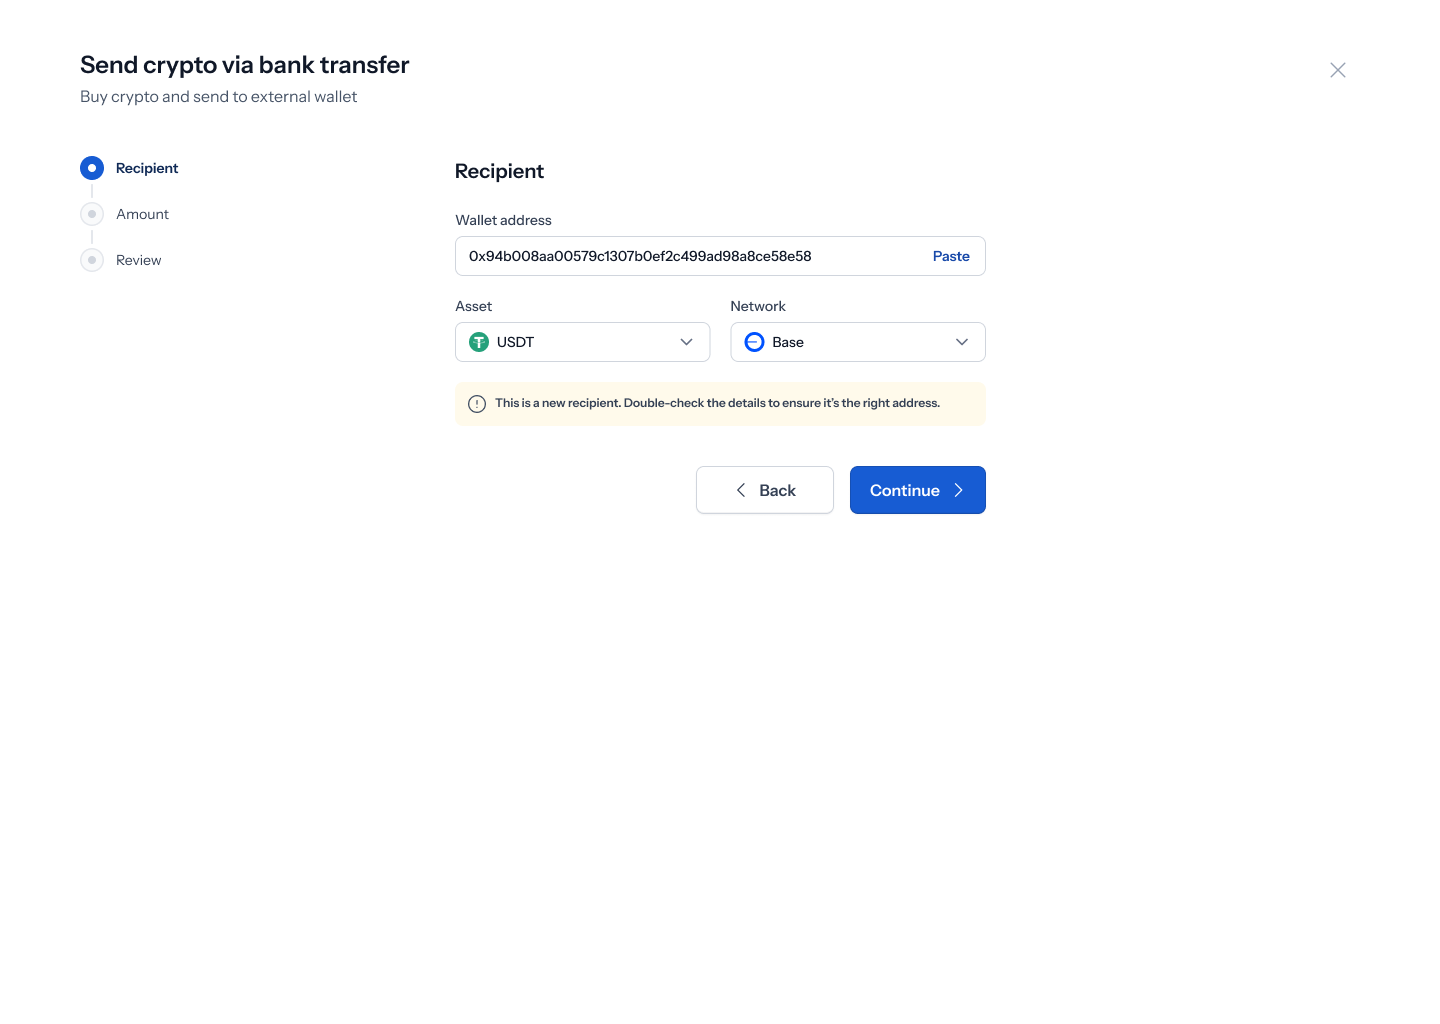
Tapping Get started opens a Send crypto via bank transfer screen — “Buy crypto and send to external wallet” — with a three-step tracker down the left: Recipient, Amount, Review. On the Recipient step, type or Paste a Wallet address, then set the Asset and Network. Below that, an or divider offers Recent or Beneficiary tabs to pick a saved recipient instead — if you’ve never sent this way before, this shows “No transactions yet” (“Complete a transaction and we’ll show your most recent ones here”).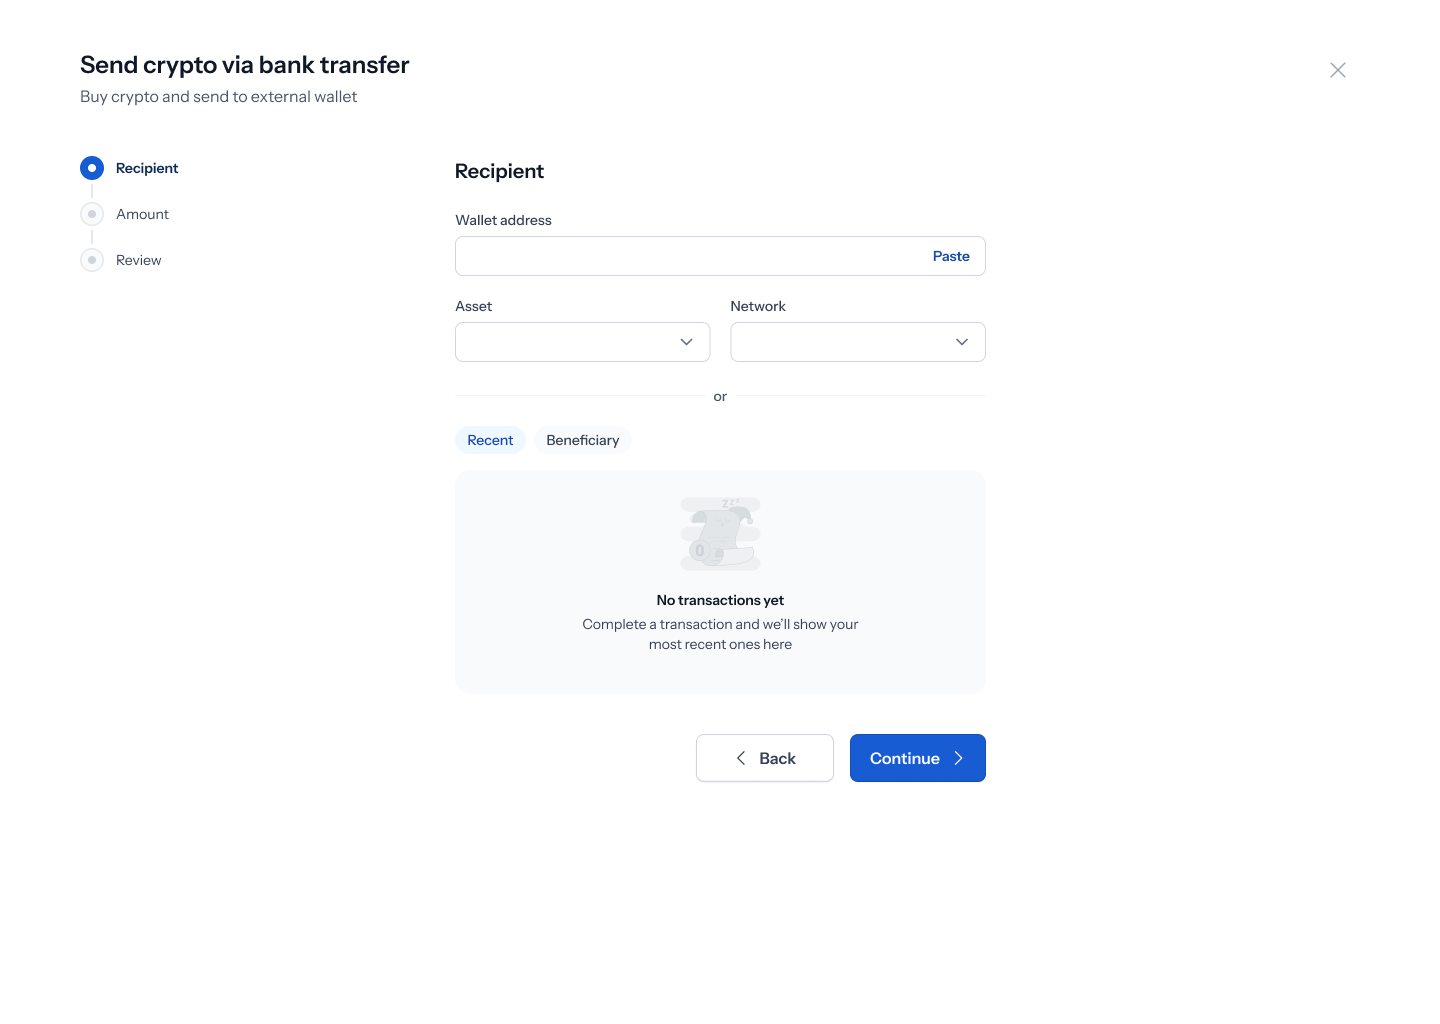
5. Choose your currency and enter an amount
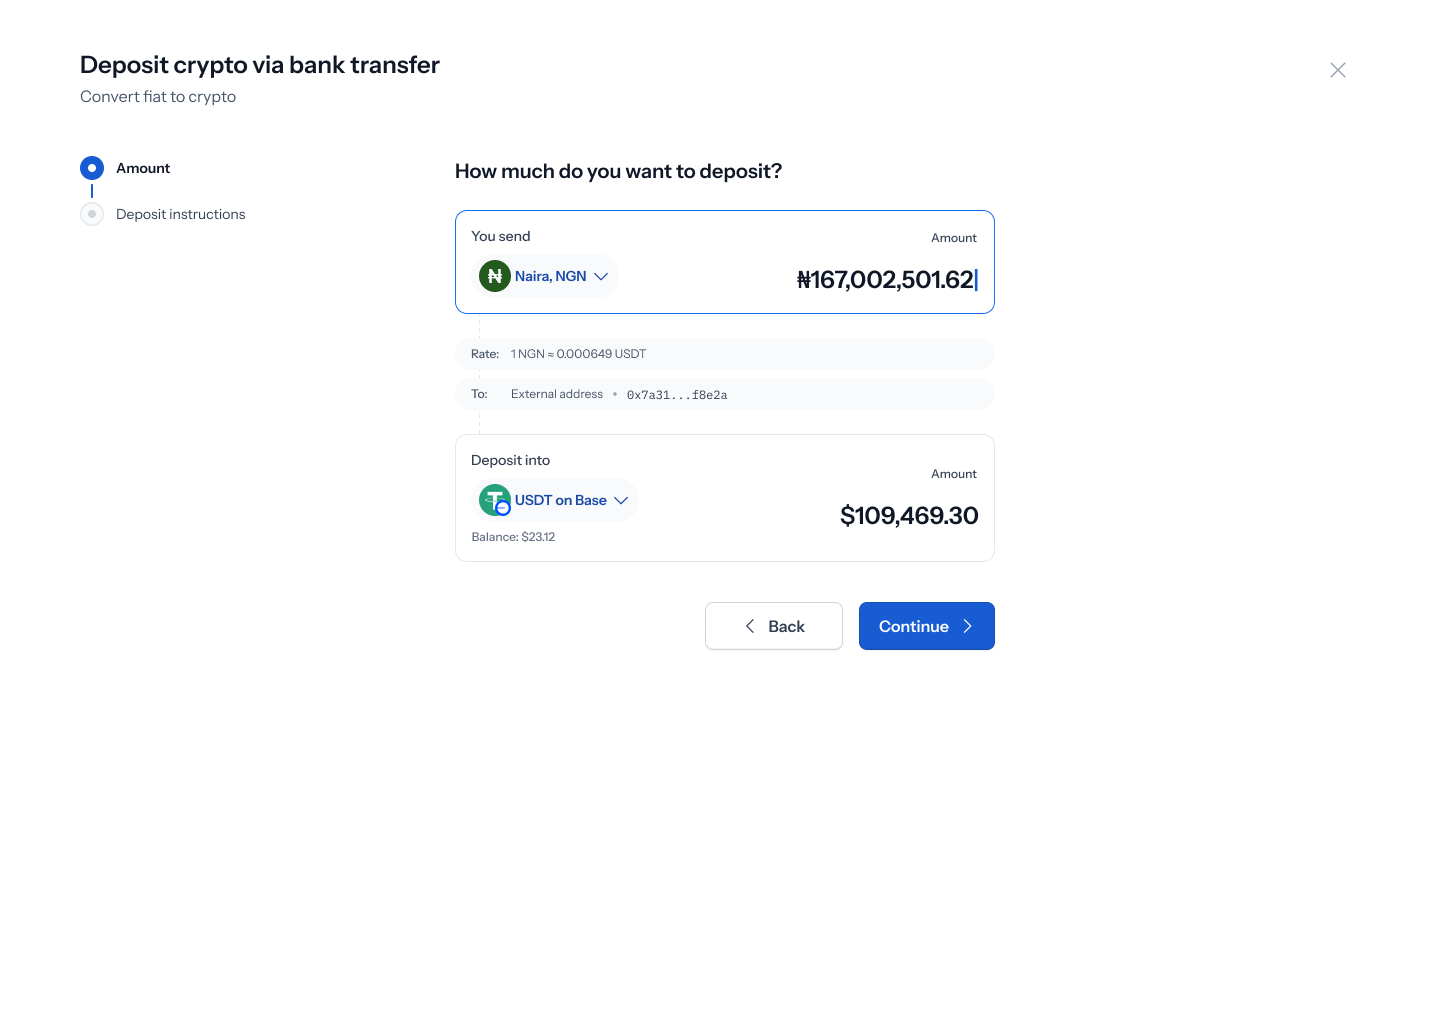
Continuing opens the Amount step — “How much do you want to deposit?” — with a Send card (a Currency dropdown and an amount field, both starting empty/at 0) and a Receive card, which already shows your resolved destination asset (USDT on Base) since the recipient step set it. A To: row shows your entered address, with an edit icon to go back and change it.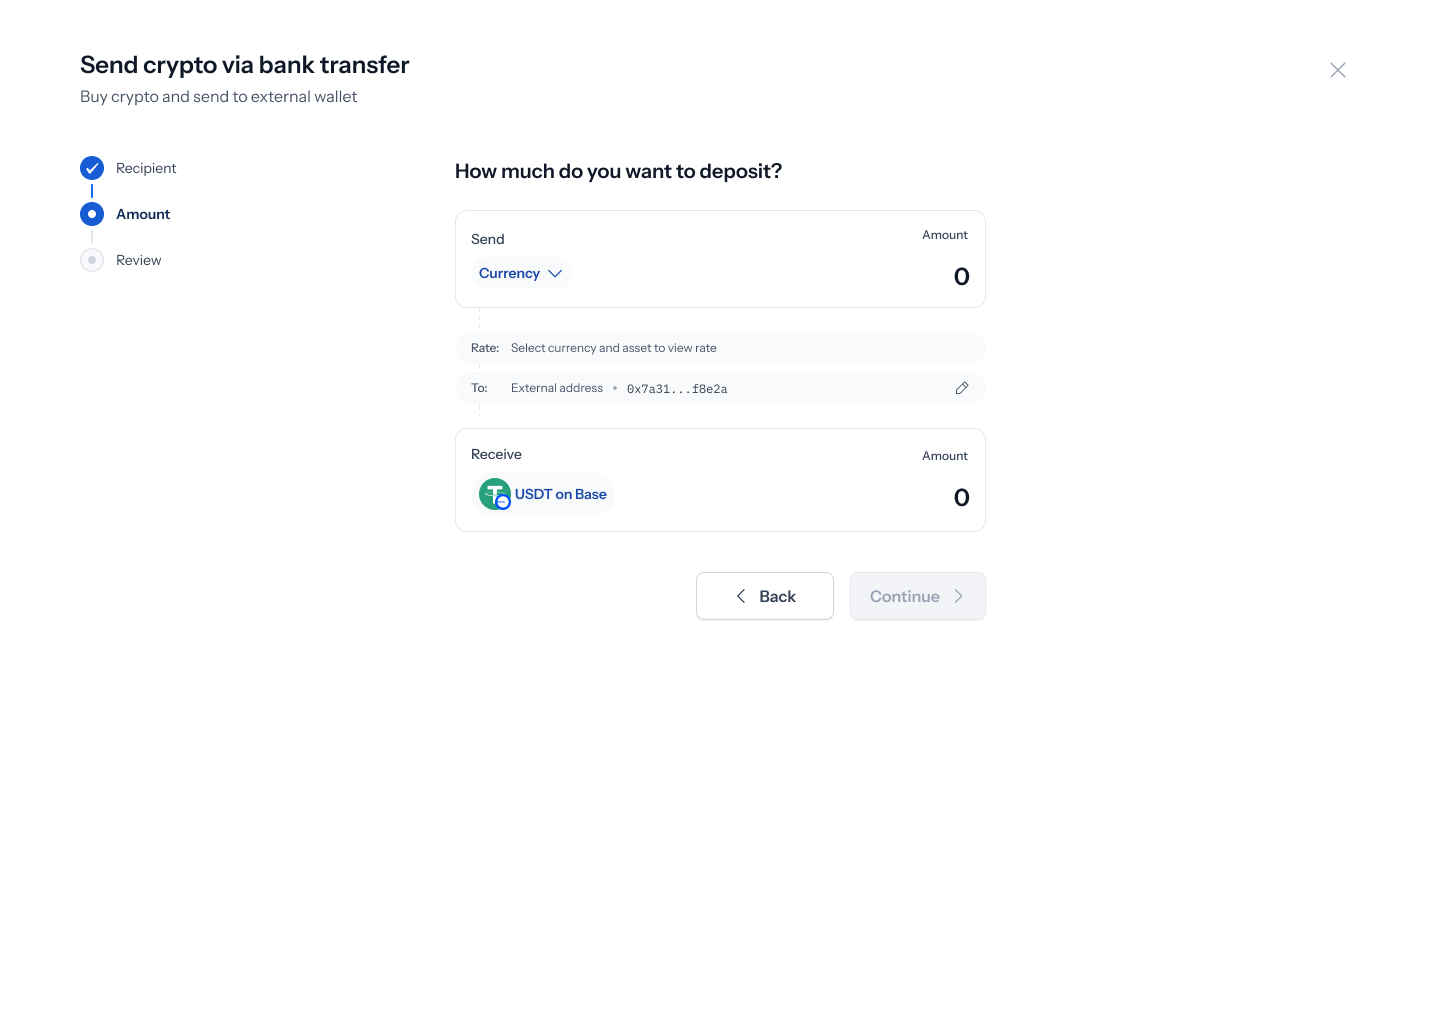 Picking Naira and entering an amount computes the receiving asset automatically — for example, ₦167,002,501.62 converts at 1 NGN ≈ 0.000649 USDT into 109,469.30 USDT on Base, going to your external address. Tap Continue.
6. Get your bank transfer instructions
Continuing opens Deposit instructions, giving you the real bank details to send to: Amount (with a copy button), Bank, Account number (with a copy button), and Account name.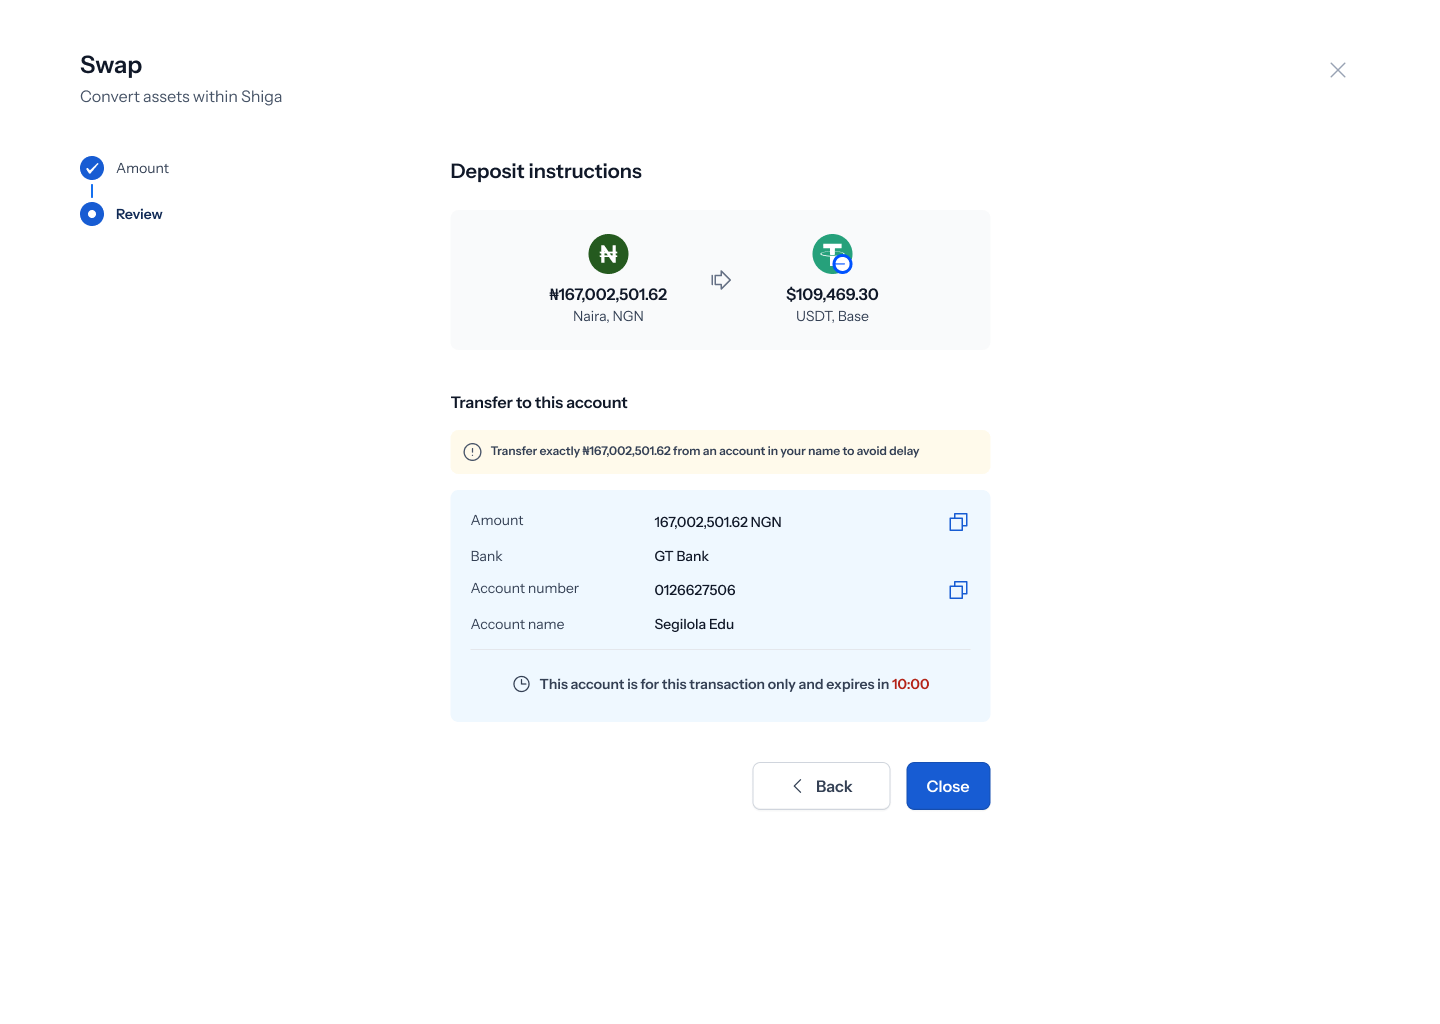
Two things are worth flagging to design from this screen’s current Figma file: the page header and step tracker on this Instructions screen currently show the generic Shiga Swap header (“Swap” / “Convert assets within Shiga”) instead of this flow’s own “Send crypto via bank transfer” header and three-step tracker — it looks like this frame was duplicated from the Bank Account Onramp flow without updating the header. Separately, no distinct “Checking transaction status” or final confirmation screen exists yet for this specific flow in Figma; based on the Bank Account to My Shiga Wallet (Onramp) guide, expect the same pattern — a processing screen followed by a success confirmation — once those screens are designed.