Bank Account to My Shiga Wallet (Onramp)
This Move Money path covers converting money from your bank account into crypto, deposited straight into your Shiga wallet — no external wallet or address involved.This is a different guide from Shiga Wallet to Shiga Wallet (Swap), Shiga Wallet to External Address (Withdrawal), My Shiga Wallet to Bank Account (Offramp), External Wallet to My Shiga Wallet (Swap), External Wallet to External Address (Send), and External Wallet to Bank Account (Offramp). Here, money moves from your bank account straight into your Shiga wallet as crypto — the reverse direction of the Bank Account Offramp guides.
1. Open your home screen and tap Move Money
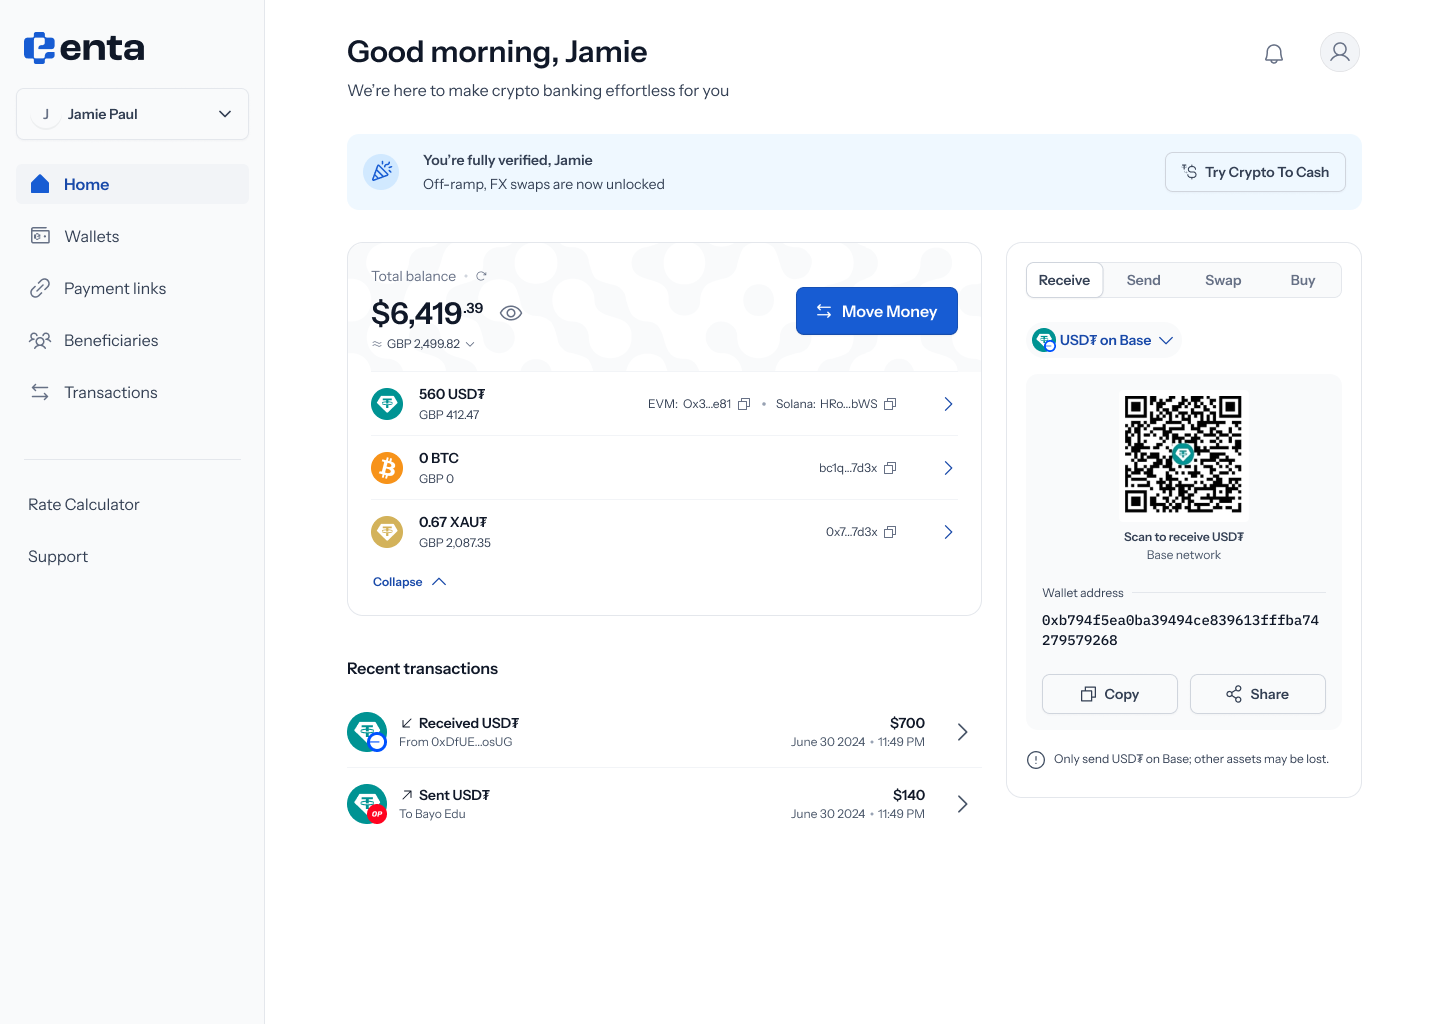 Every Move Money flow starts here, on your Enta home screen — tap Move Money to begin.
2. Choose Bank account as the source
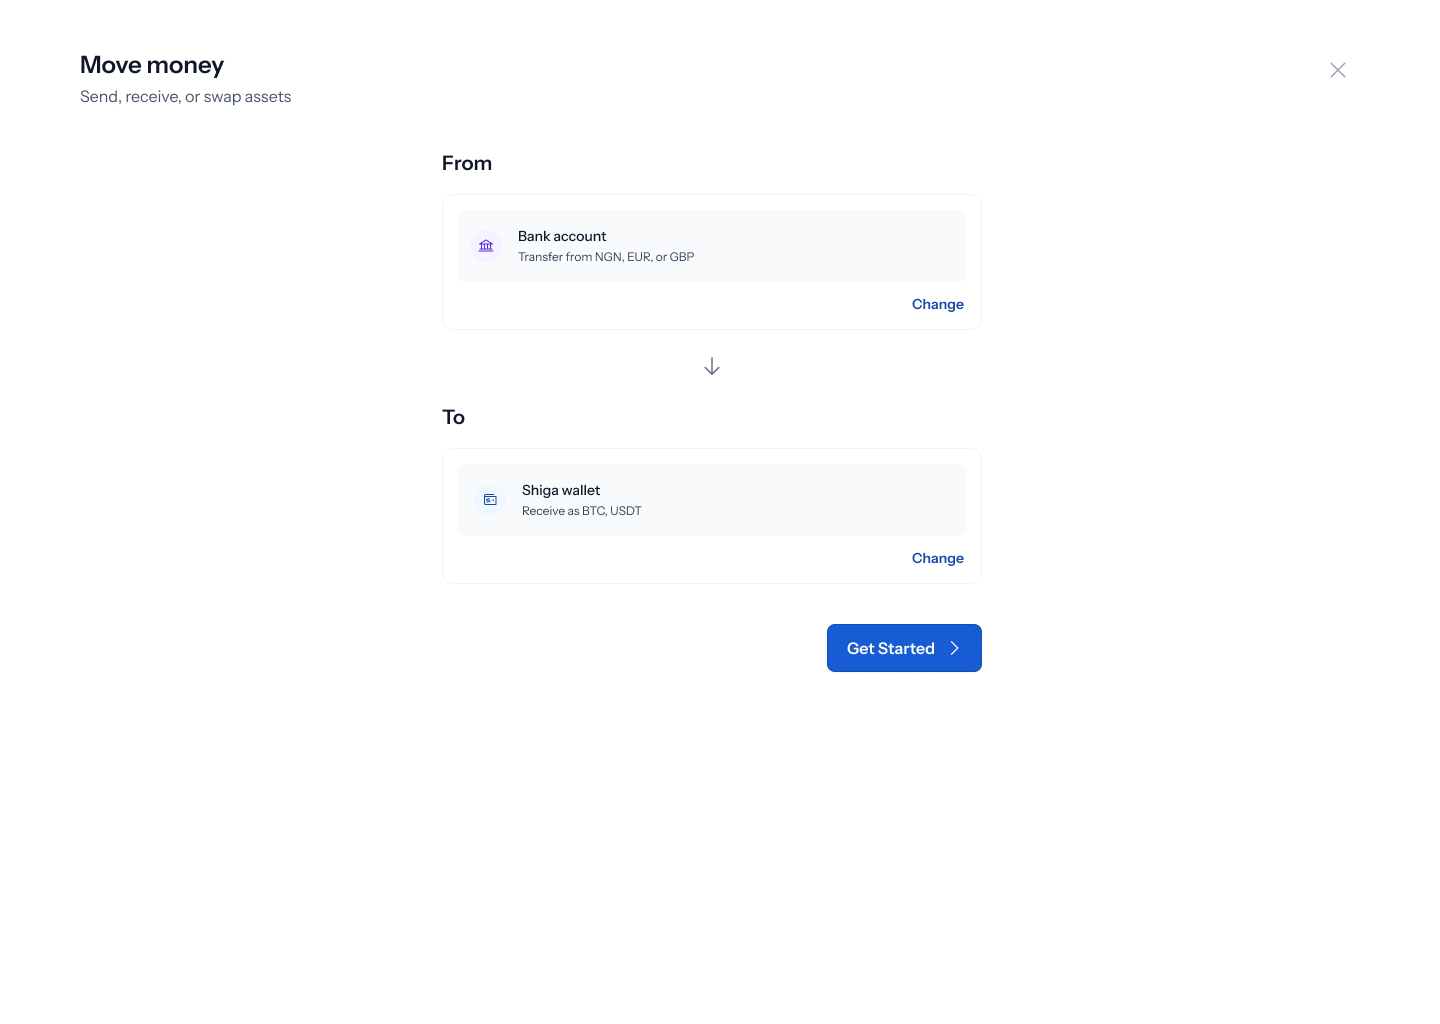
Tapping Move Money opens a panel titled “Move money” — “Send, receive, or swap assets”. Tap Change on the From field to pick where the money’s coming from: Shiga wallet (“Choose from BTC, USDT”), External wallet (“Connect MetaMask or other wallets”), or Bank account (“Transfer from NGN, EUR, or GBP”). Pick Bank account.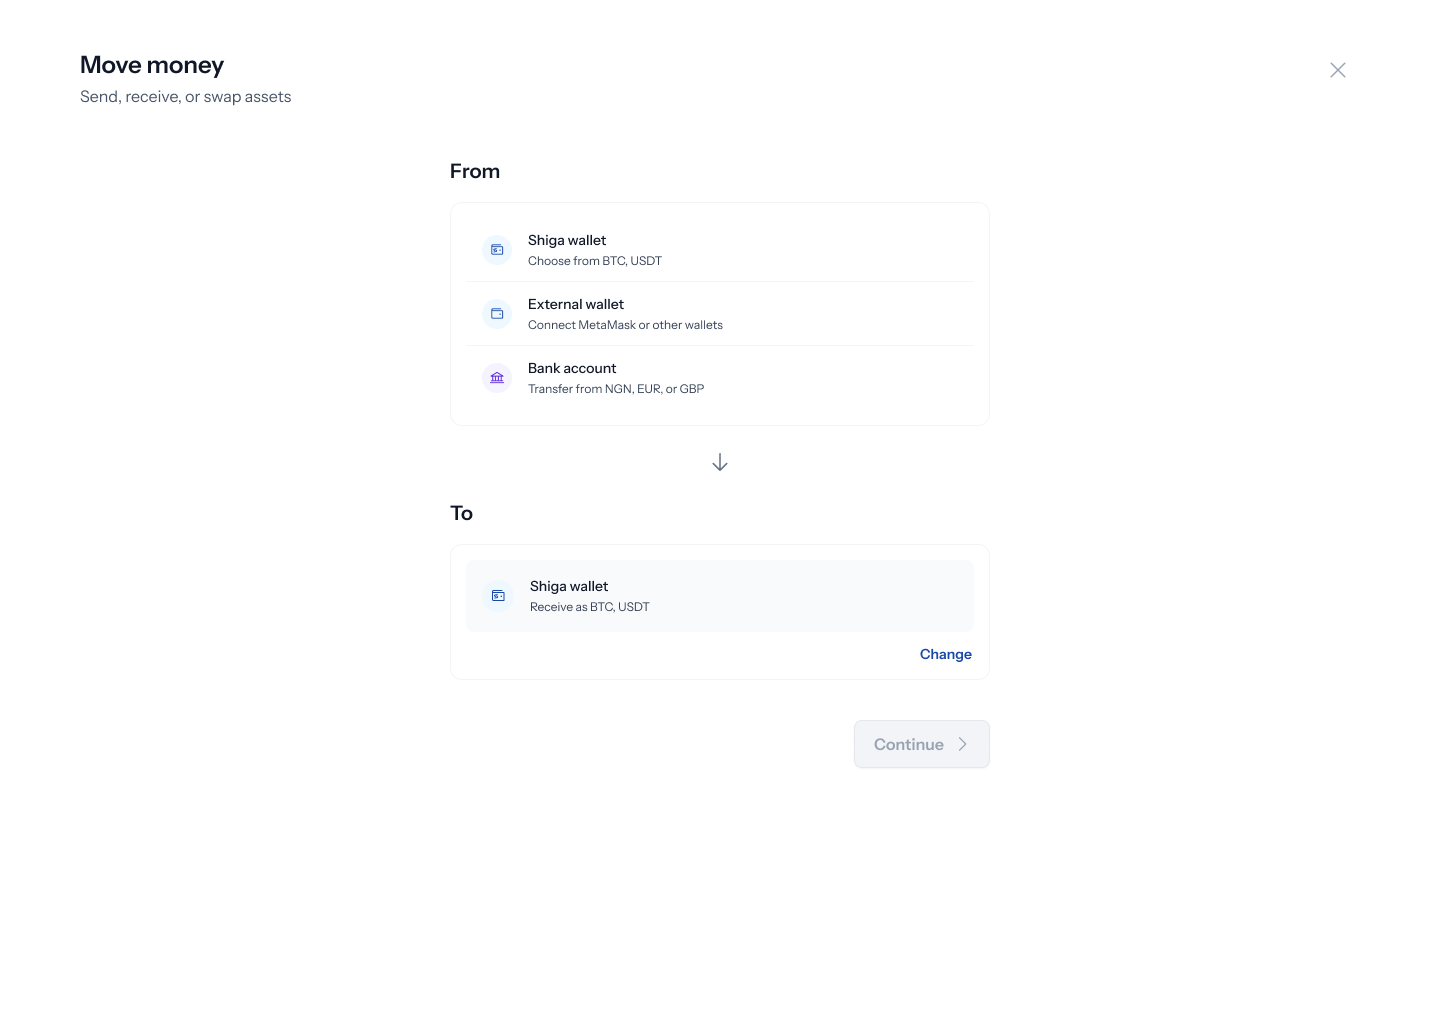
3. Choose Shiga wallet as the destination
With Bank account set as From, tap Change on the To field to see: Shiga wallet (“Receive as BTC, USDT”), External address (“Send to any wallet address”), or Bank account (“Cash out to NGN, EUR, or GBP”). Pick Shiga wallet.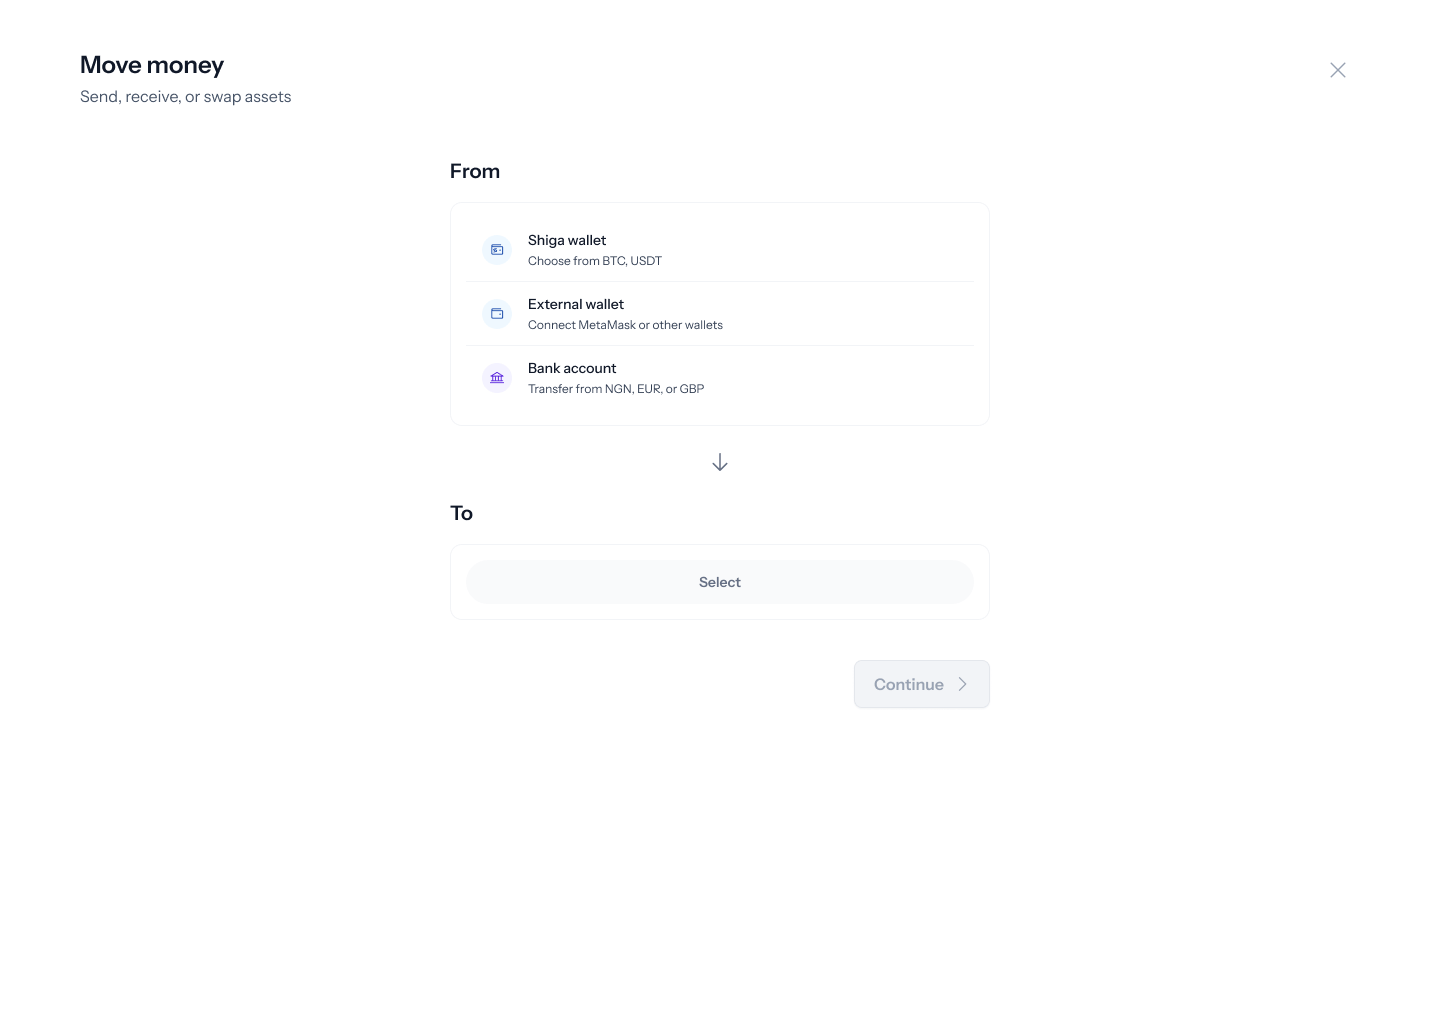
4. Choose your currency and enter an amount
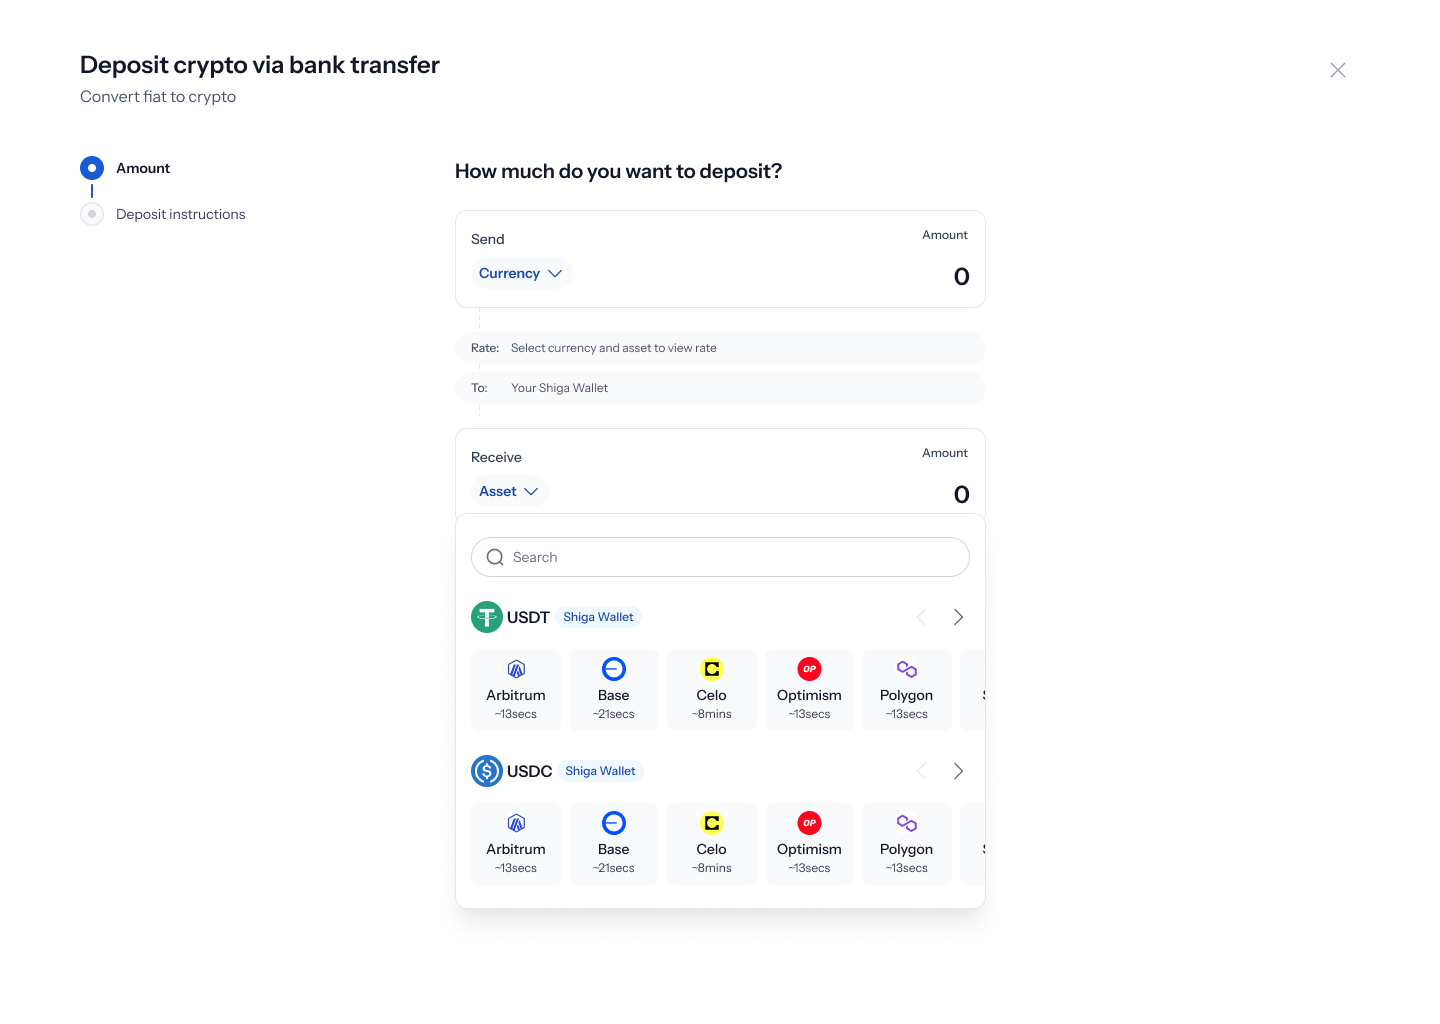
Tapping Get started opens a Deposit crypto via bank transfer screen — “Convert fiat to crypto” — with a two-step tracker down the left: Amount, Deposit instructions. A Send card holds a Currency dropdown and an amount field, and a Receive card holds an Asset dropdown and an amount field — both start at 0, with the rate row reading “Select currency and asset to view rate” until both are chosen. The destination is fixed as “Your Shiga Wallet.”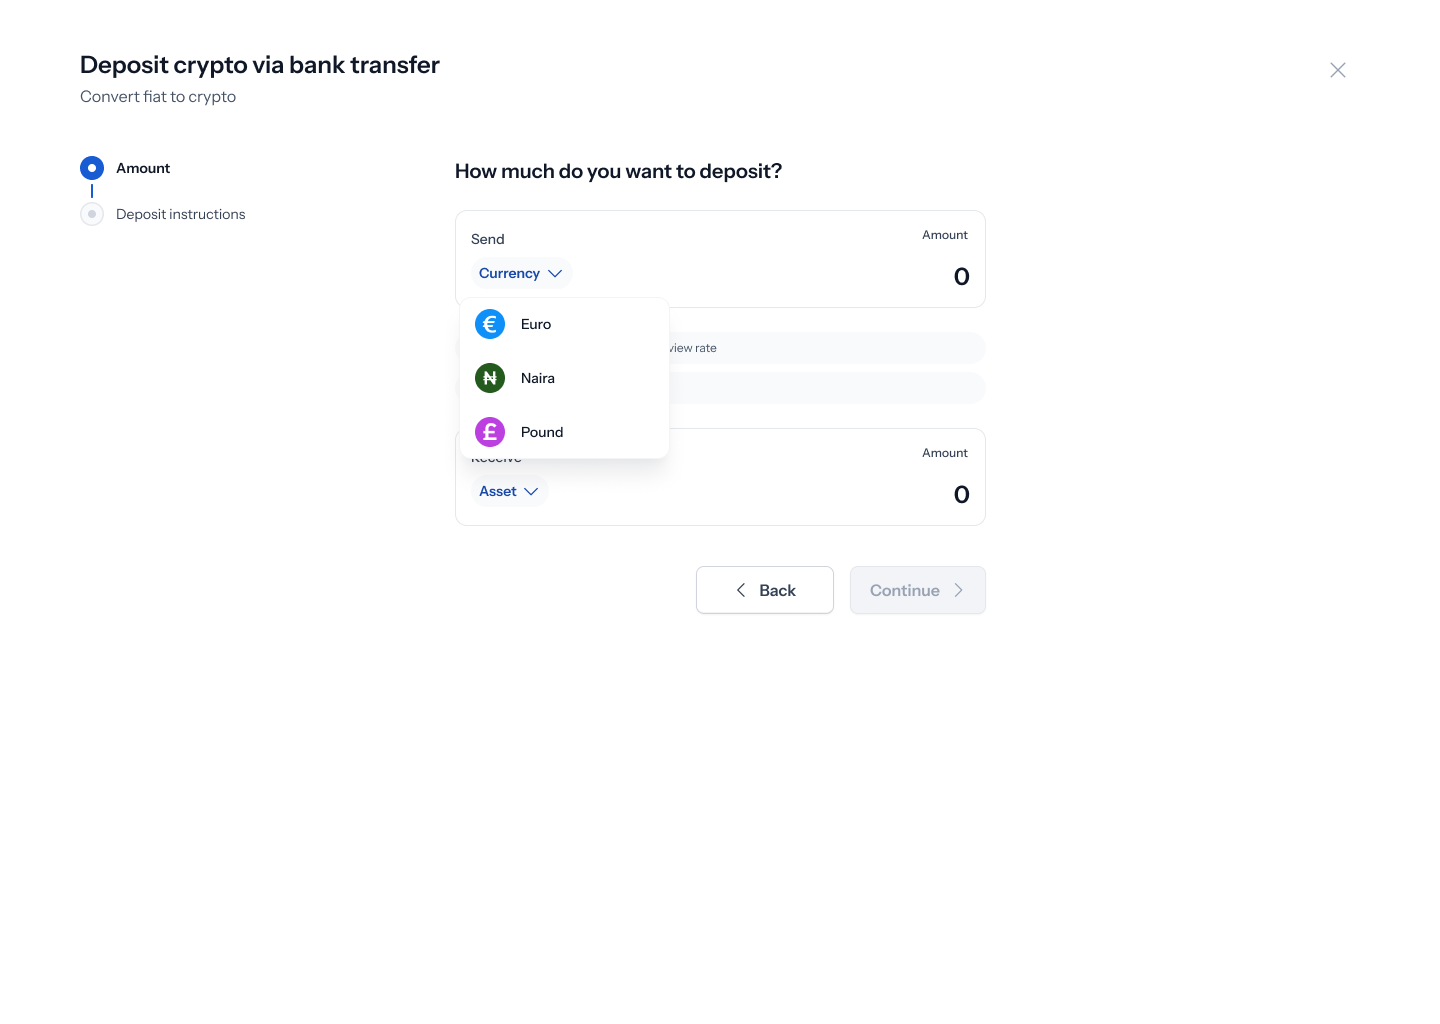 Tap the Currency dropdown to choose Euro, Naira, or Pound.
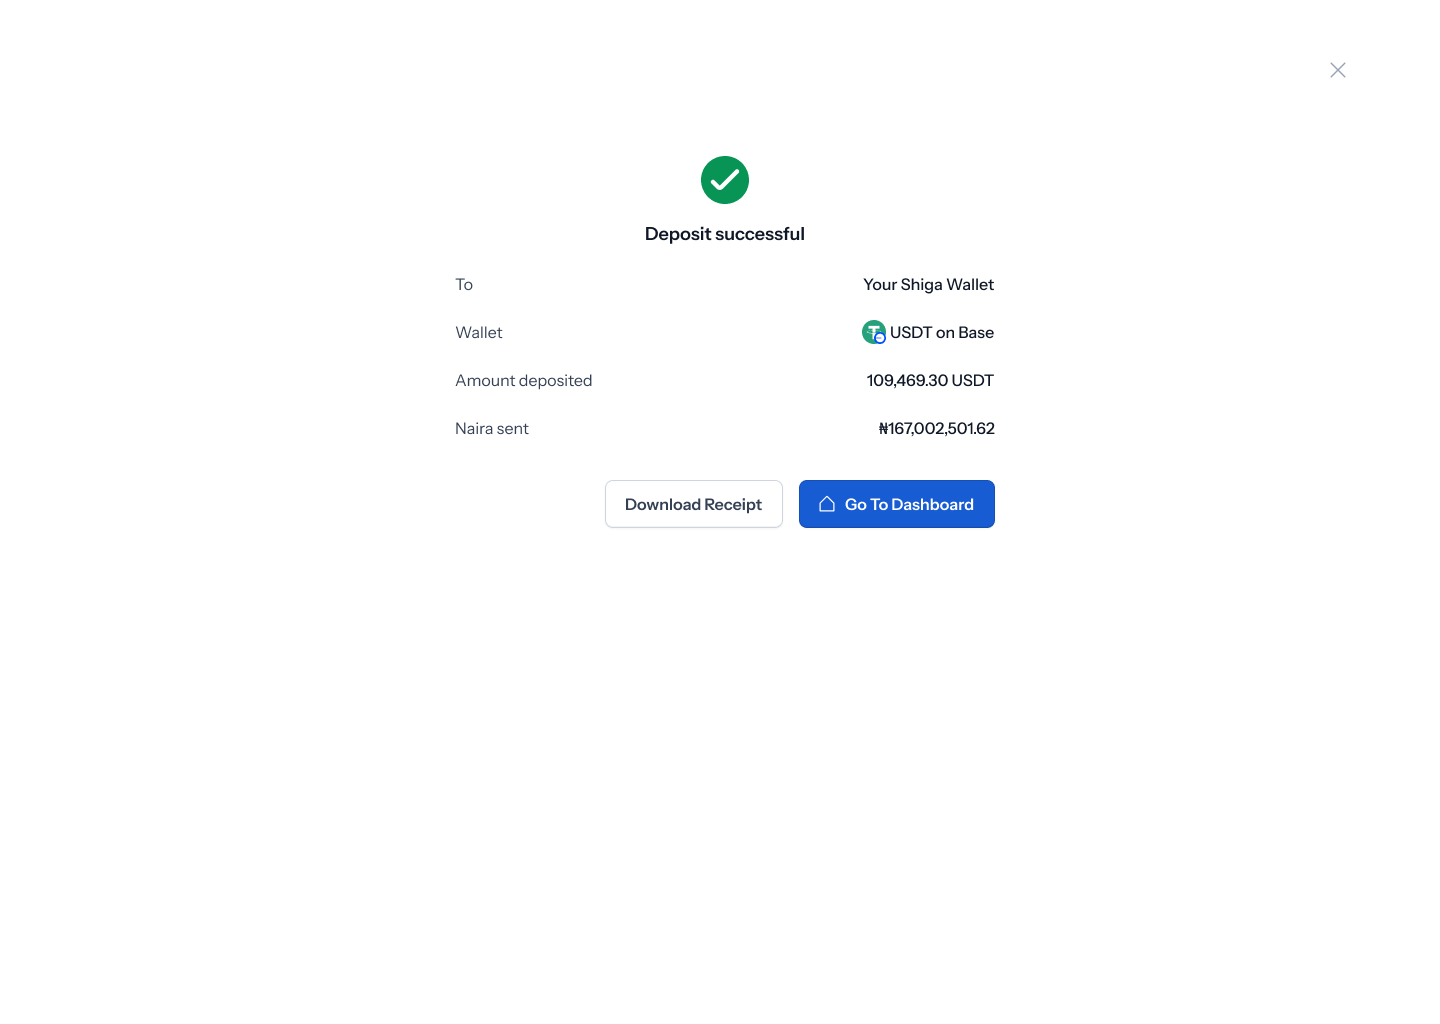
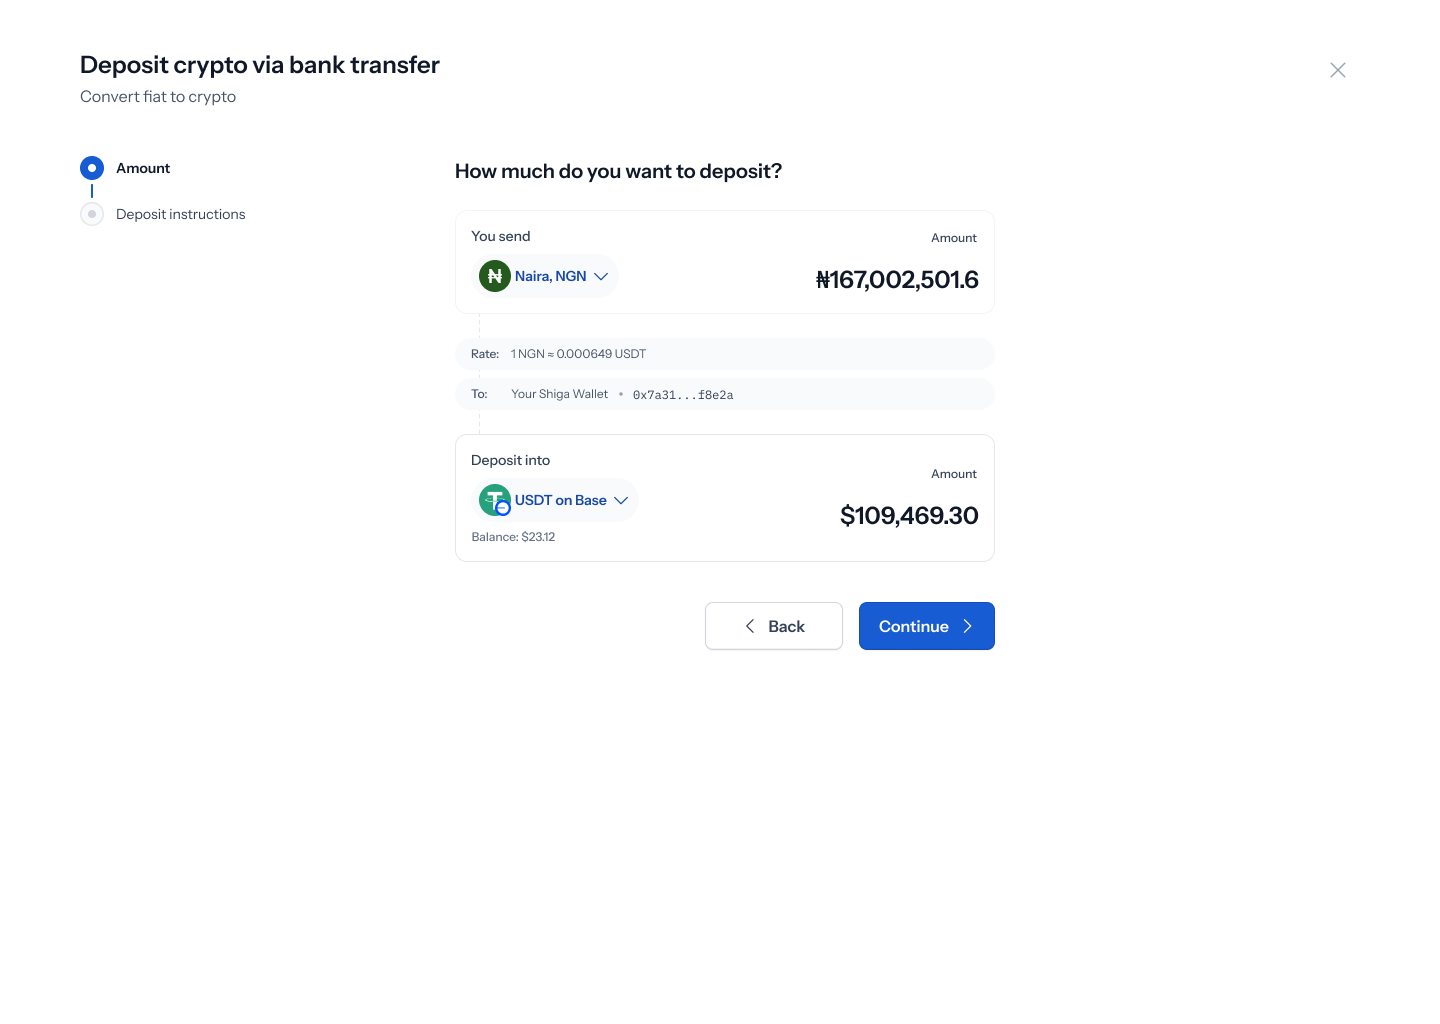
 Picking Naira and entering an amount computes the receiving asset automatically — for example, ₦167,002,501.62 converts at 1 NGN ≈ 0.000649 USDT into 109,469.30 USDT on Base, going to Your Shiga Wallet. Your existing balance for that asset is also shown for reference. Tap Continue.
5. Get your bank transfer instructions
Continuing opens Deposit instructions — the same conversion summary carries over, along with Estimated time: ~30s, From (tagged Bank Transfer), and To (your Shiga wallet address, tagged Shiga Wallet). Below that, a Transfer to this account card gives the real bank details to send to: Amount (with a copy button), Bank, Account number (with a copy button), and Account name.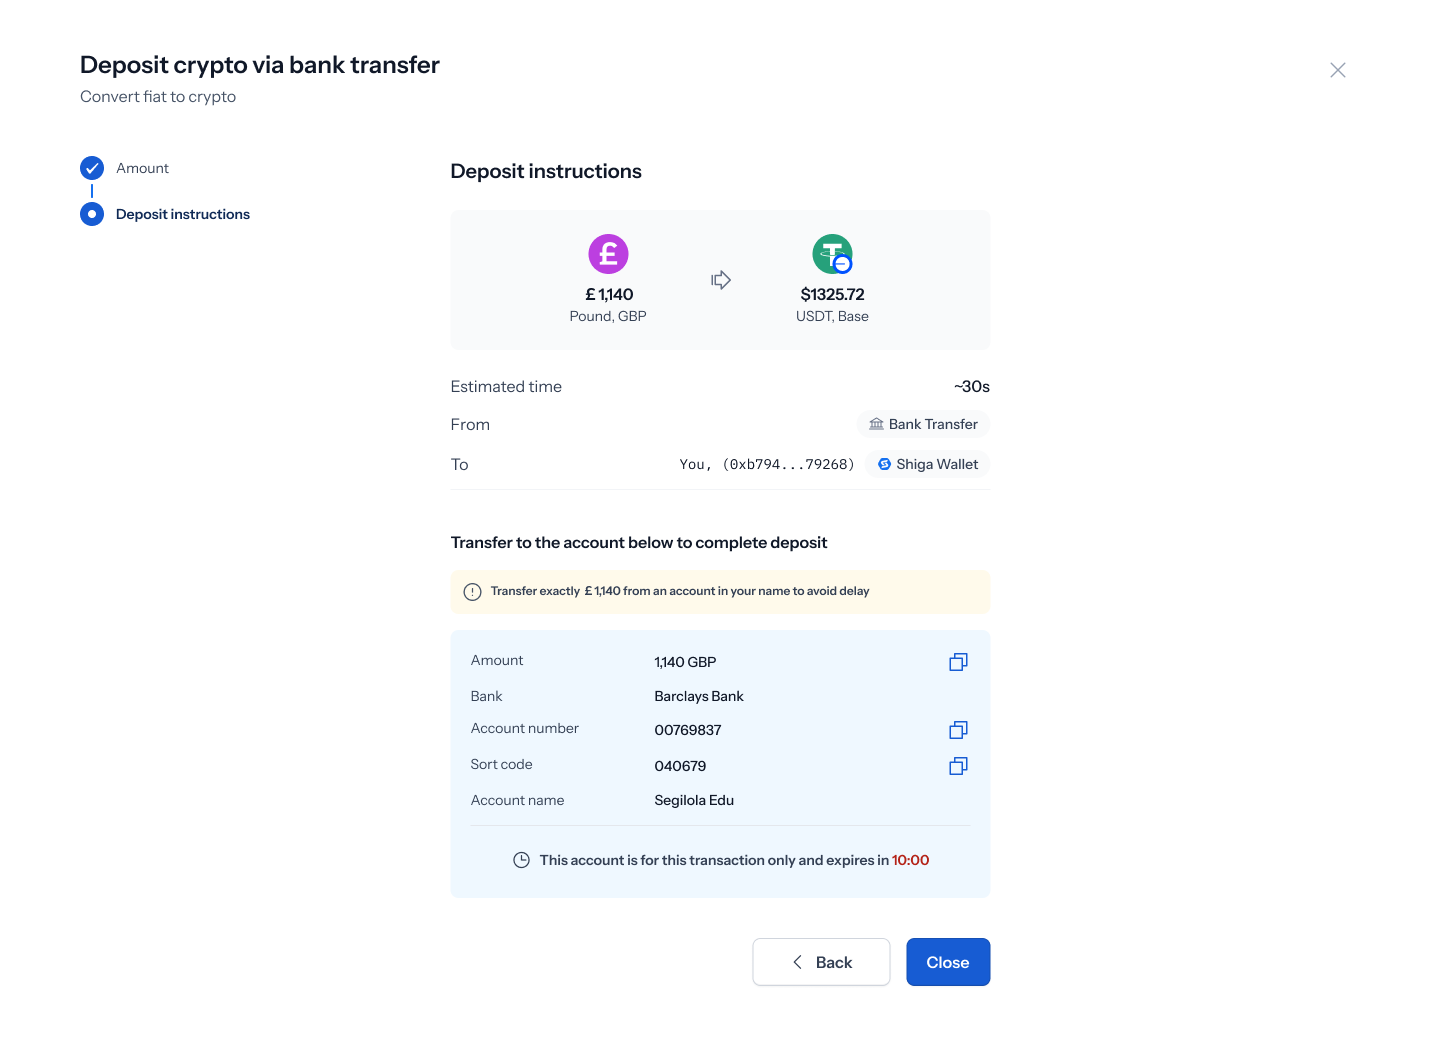 From here, tap Back to change anything, or Close once you’ve made the transfer from your bank.
6. Wait for your transfer to be confirmed
After you send the transfer from your bank, Enta shows a Checking transaction status screen with your conversion summary still visible underneath, plus Back and Close buttons.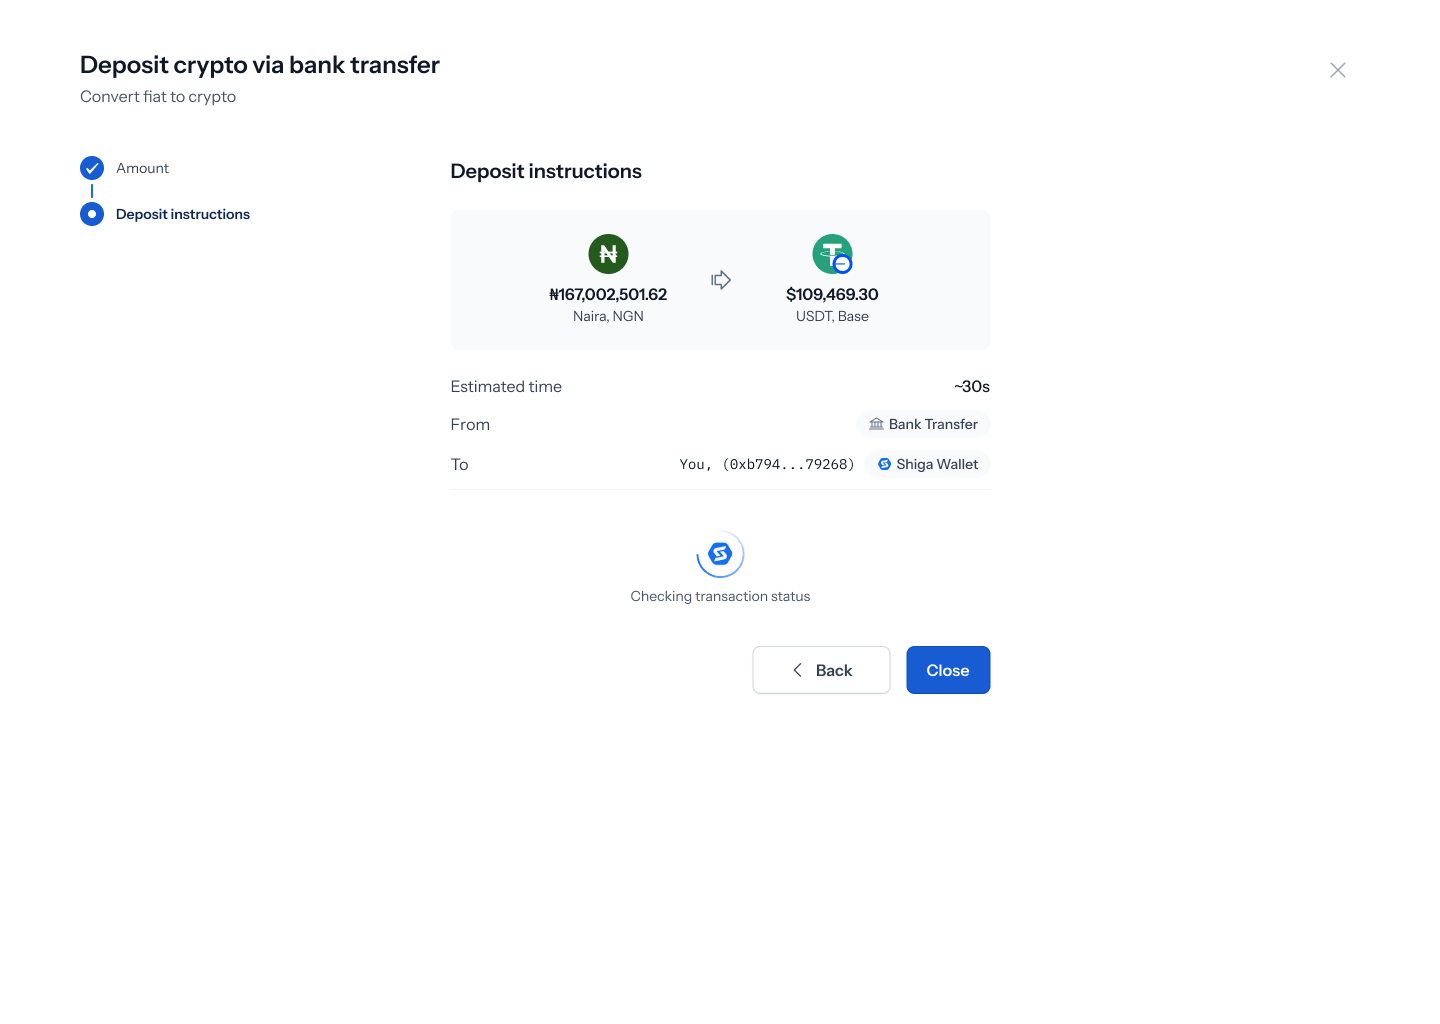
7. Confirmation
Once your transfer is matched, you’ll land on a screen reading “Deposit successful”, showing To (Your Shiga Wallet), Wallet (e.g. USDT on Base), Amount deposited, and Naira sent. Tap Download receipt or Go to Dashboard to finish up.